The Initial Setup menu
13
96
En
• Select by code number: Press
(cursor down) then
use the number buttons to enter the 4-digit language
code.
See
Language code list
on page 108 for a list of available
languages and corresponding codes.
3 Press ENTER to confirm and exit the screen.
Recording settings
Manual Recording
• Default setting:
Off
On the default setting there are four different recording
time/picture quality settings,
FINE
,
SP
,
LP
and
EP
. If you
want to create a custom setting, switch on Manual
Recording and select one of the 32 manual settings.
When recording, you can select your Manual Recording
setting using the
REC MODE
button.
1 Select ‘On (go to setup)’ to display the manual
recording setting screen.
2 Use the
/
(cursor left/right) buttons to
change the manual recording level.
• You can also use the
and
buttons to cycle
between levels
MN1
,
MN9
,
MN21
and
MN32
.
• To preview the recording quality, press
(cursor
down) and select
Preview
. To return to the level
adjust screen, press
ENTER
.
3 Press ENTER to set the manual recording level
and return to the menu screen.
Note
• The preset picture quality settings correspond to the
following manual settings:
FINE
:
MN32
,
SP
:
MN21
,
LP
:
MN9
,
EP
:
MN1
.
• See page
Manual recording modes
on page 107 for
detailed information on the manual recording levels.
Optimized Rec
• Default setting:
Off
On the default setting, if a timer program (standard, easy
or VCR Plus+ programming system) is set but there isn’t
enough space on the disc at the recording quality set, the
recording will start, but it will be cut off when the disc is
full. Set
Optimized Rec
to
On
to have the recorder
automatically adjust the recording quality to fit the
available disc space.
Note
• You may notice a reduction in picture quality if the
recorder has to fit a lot of extra material into the
remaining time available on the disc.
• If, even on recording level
MN
1
, there is insufficient
space available on the disc, the recording is made at
level
MN
1
but recording will stop once the disc is
full.
• Optimized Recording only compensates for the first
(earliest starting) timer program if more than one has
been set.
• Optimized recording works only with DVD
recordings.
Navi Mark
• Default setting:
0 seconds
In the Disc Navigator, each title is shown with a still
frame picture to remind you what it is. This setting lets
you decide the default still frame. The default setting of
0
seconds
takes the first frame of the title, but you can also
set it to
30 seconds
or
3 minutes
into the title (if the title
is shorter than the setting, then the first frame is used).
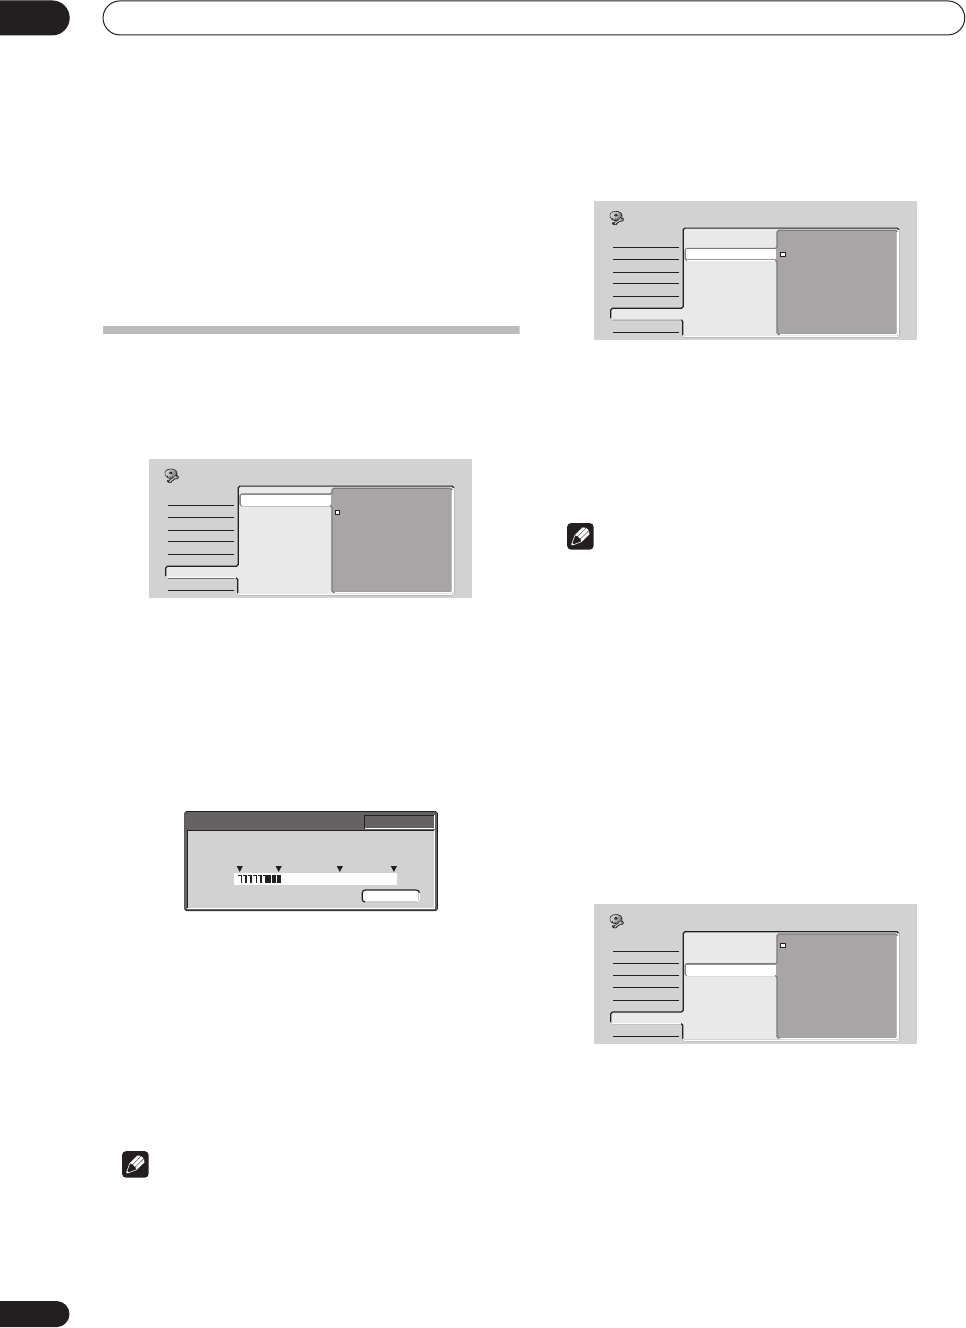
Basic
Tuner
Video Out
Audio In
Audio Out
Language
Recording
Playback
Manual Recording
Optimized Rec
Navi Mark
Auto Chapter (Video)
Frame Accurate
DVD-RW Auto Init.
On (go to setup)
Off
Initial Setup
32ch
EP LP SP FINE
Preview
DVD Remain 2h00m HDD Remain 2h33m
MN 9 (4h00m/DVD) 2.60Mbps
Basic
Tuner
Video Out
Audio In
Audio Out
Language
Recording
Playback
On
Off
Manual Recording
Optimized Rec
Navi Mark
Auto Chapter (Video)
Frame Accurate
DVD-RW Auto Init.
Initial Setup
Basic
Tuner
Video Out
Audio In
Audio Out
Language
Recording
Playback
0 seconds
30 seconds
3 minutes
Manual Recording
Optimized Rec
Navi Mark
Auto Chapter (Video)
Frame Accurate
DVD-RW Auto Init.
Initial Setup
DVR-03_HDD_KU.book 96 ページ 2003年8月7日 木曜日 午前10時40分


