Recording
05
48
En
After setting up for Auto Start Recording, this
recorder starts recording when it detects a
signal from the other component. When the
signal ceases, the recorder stops recording.
If you want to use this recorder with the
timer features of your satellite tuner, see
Additional information for cable/satellite/STB
(set-top box) users
below.
Important
• It takes a little while for this recorder to
switch on and start recording after
detecting a signal. Please bear this in
mind when setting the timer.
• If Auto Start Recording is set, it will not
start if another timer recording is in
progress.
• Timer recordings take precedence over
Auto Start Recording. Auto Start
Recording will stop if a timer recording is
due to start. After the timer recording
has finished, Auto Start Recording will
resume.
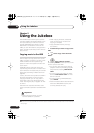
1 Set the timer for the satellite receiver
(or other component), then switch it into
standby (if necessary).
Check the manual that came with the
receiver if you’re not sure how to do this.
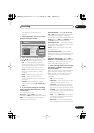
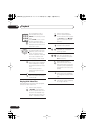
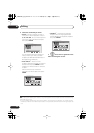
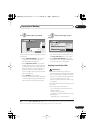
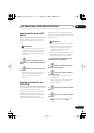
2 Check that the ‘Audio In’ settings for
‘External Audio’ and ‘Dual Mono
Recording’ are as you want them.
See
Audio In
on page 111 for more on these
settings.
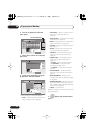
3 Set up the recorder.
• Use
REC MODE
to set the recording
quality. See
Setting the picture quality/
recording time
on page 37 for detailed
information.
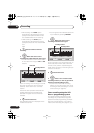
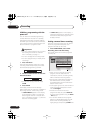
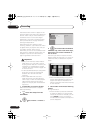
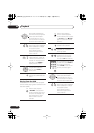
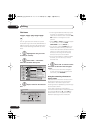
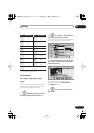
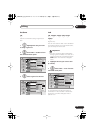
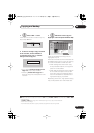
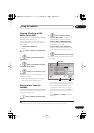
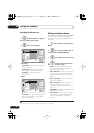
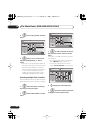
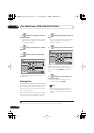
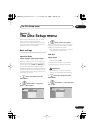
4 Select ‘Timer Recording’, then
‘Auto Start Recording’ from the Home
Menu.
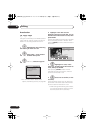
5 Select ‘Yes’ to switch Auto
Start Recording on, or ‘No’ to switch off.
If you choose
‘Yes’
the recorder
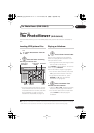
automatically goes into standby.
The
AUTO
indicator in the front panel
display lights.
The recorder will automatically switch on
and start recording when the other
component comes on. Recording stops
when the external component switches off.
• To cancel Auto Start Recording, press
STANDBY/ON
while the recorder is in
standby. The
AUTO
indicator goes off.
• To cancel Auto Start Recording once
recording has already started, press
ì
REC
for three seconds (this cancels Auto
Start Recording, but recording
continues), then
STOP REC
to stop
recording.
• You can also stop recording by pressing
STOP REC
then selecting
Yes
to confirm.
Tip
• Alternatively, with no OSD displayed,
press and hold the front panel
STOP
REC
button for more than three seconds
to switch Auto Start Recording on
directly. After switching on, switch the
recorder into standby (step
6
).
HOME MENU
ENTER
DVR640H_KU_EN.book 48 ページ 2006年3月7日 火曜日 午後3時18分