


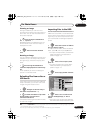
The PhotoViewer
117
En
13
Important
• Use a blank DVD-R/-RW disc, or one that
has already been initialized for Video
mode recording but has nothing yet
recorded on it. Discs that have already
been recorded on (as well as CD-R/-RW
discs) cannot be used.
• After backing up the pictures in your
digital camera to DVD, we recommend
verifying that they have been recorded
properly before deleting anything from
the camera.
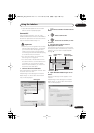
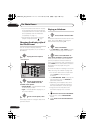
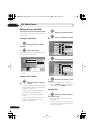
1 Press HOME MENU and select
‘PhotoViewer’ to display the
PhotoViewer screen.
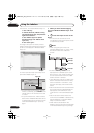
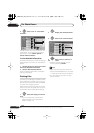
2 Load a blank (or unrecorded Video
mode) DVD-R or DVD-RW disc.
3 Select ‘Copy Files from a Digital
Camera’ from the menu.
4 Select ‘Yes’ to confirm, or ‘No’ to
cancel.
• Note that during copying, any timer
programmes set to start will not begin,
and no other operations are possible.
Copying selected files to a
DVD-R/-RW
This feature allows you just to copy some of
the files stored on HDD to a DVD.
A slideshow of the files is also recorded on
the disc as a Video mode title, making it
possible to view the photos on other DVD
players/recorders that may not be
compatible with JPEG file playback. Note
however that you may need to finalize the
disc before it will play on another DVD player
(copying selected files doesn’t automatically
finalize the disc).
Important
•A maximum of 99 slideshow titles can be
recorded.
• One slideshow title can contain up to 99
files. If there are more files than this in
the slideshow, multiple slideshows are
created on the disc.
• If you erase a slideshow title from a DVD
the slideshow will become unplayable
but the free space will not increase.
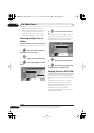
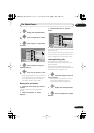
1 Load a blank (or unfinalized Video
mode) DVD-R or DVD-RW disc.
2 Select ‘View/Edit Photos on
the HDD’ from the menu.
3 Select the file(s) or folder(s)
you want to copy.
• Copying a folder will copy all the files
contained in it.
• To copy multiple folders, use the Multi-
Mode; see
Selecting multiple files or
folders
on page 116.
4 Select ‘Copy to DVD’ from the
menu.
5 Select ‘Yes’ to confirm or ‘No’
to cancel.
• Folder names on the disc will be
number
PIONR
. File names will be
PHOT
number.
• Note that during copying, any timer
programmes set to start will not begin,
and no other operation is possible.
• While
‘Cancel’
is displayed, you can
press
ENTER
to cancel.
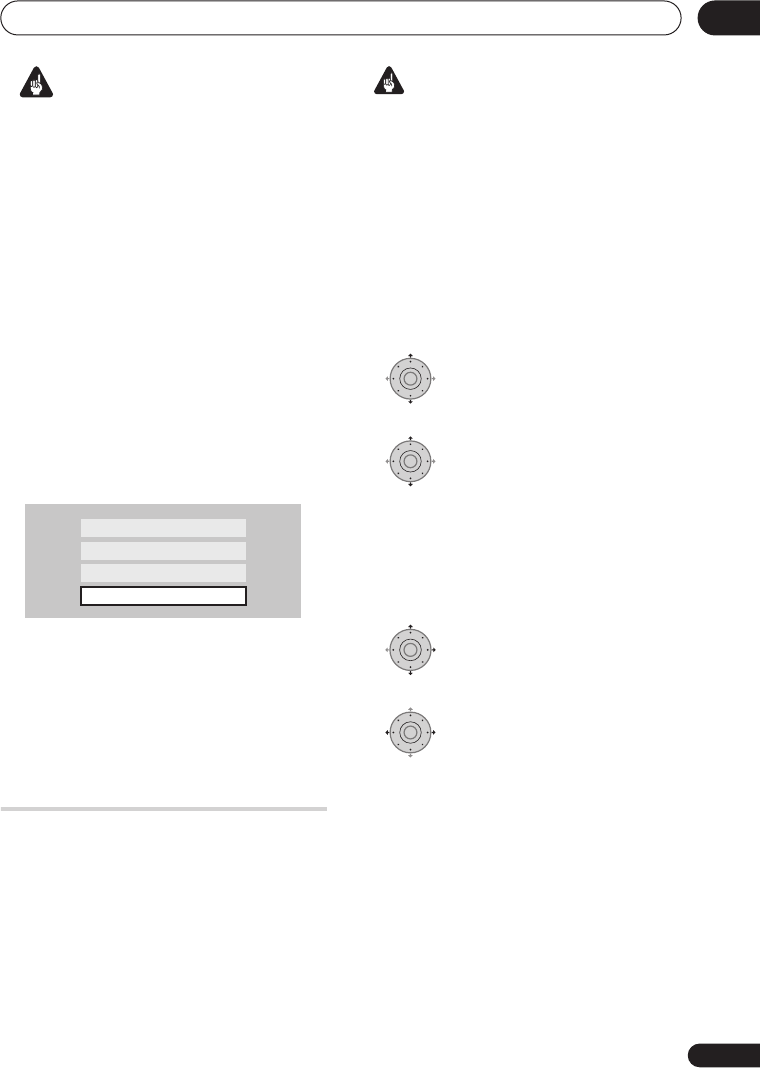
View/Edit Photos on the HDD
View Photos on a USB Device
Copy Files from a Digital Camera
View Photos on a CD/DVD
ENTER
ENTER
ENTER
ENTER
DVRLX60D_WV_EN.book 117 ページ 2007年3月26日 月曜日 午後12時16分