


Using the GUIDE Plus+® electronic programme guide
43
En
05
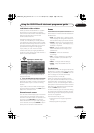
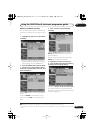
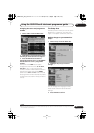
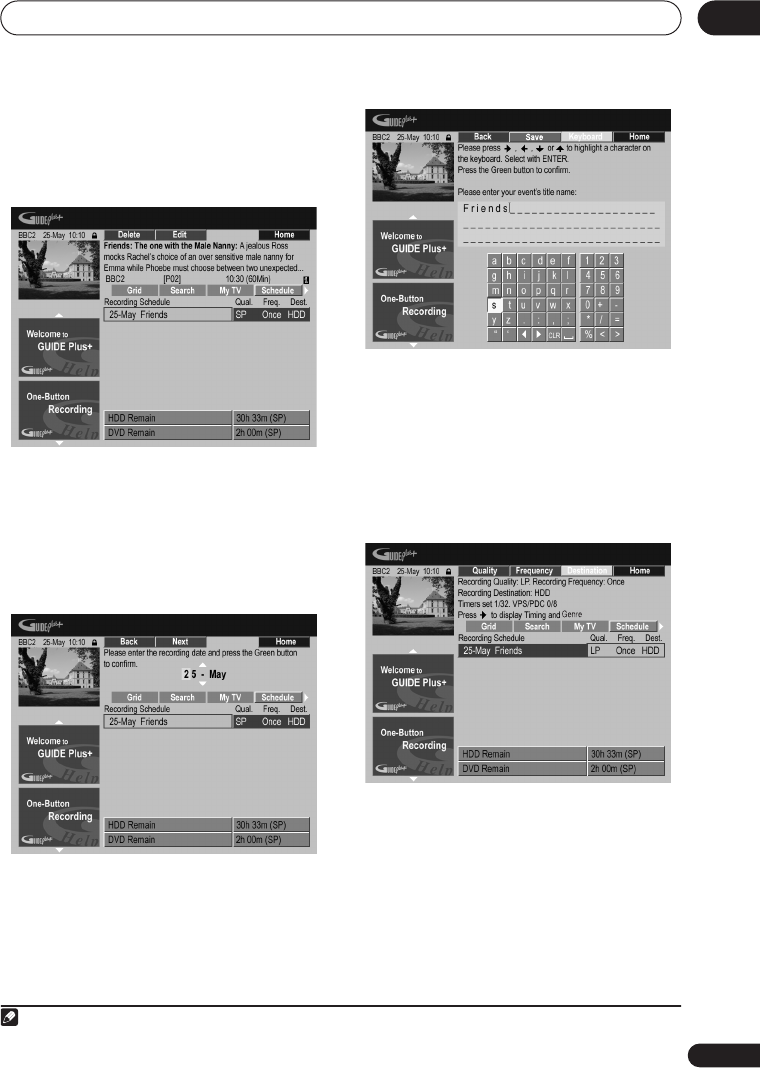
Editing a scheduled recording
You can edit any parameter in a scheduled
recording, or delete it if you no longer require
it
1
.
1 Highlight the left tile of a scheduled
recording.
• If you only want to edit the recording
quality, frequency, destination, timing or
genre settings, skip to step
5
below.
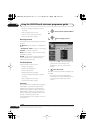
2 Press the GREEN Action button (Edit).
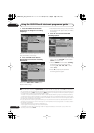
3 Use the cursor and number buttons
to edit the recording date, start time, end
time and channel.
Use the
/
buttons or the number buttons
to edit.
Press the
GREEN
Action button to go to
continue, or the
RED
Action button to go
back.
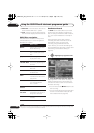
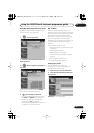
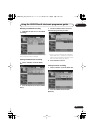
4 Enter a name for the scheduled
recording.
Use the
///
buttons followed by
ENTER
to select characters from the on-
screen keyboard.
After entering the whole name, press the
GREEN
Action button to continue.
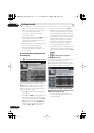
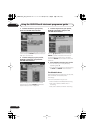
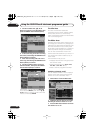
5 Highlight the right recording tile.
6 Press the RED Action button (Quality)
to change the recording quality.
Select from
AUTO
2
,
XP
,
SP
,
LP
,
EP
,
SLP
,
SEP
or a manual recording mode (see
Manual
Recording
on page 135
and
Manual recording
modes
on page 145).
Note
1 See
About timer recordings
on page 68 for more information about scheduled recordings.
2 This mode maximizes the recording quality to fit on to a single DVD disc. Can also be used when recording to
HDD.
DVRLX60D_WV_EN.book 43 ページ 2007年3月26日 月曜日 午後12時16分