32
Adjusting the Video Quality
(Digital video Noise
Reduction) – DVD/Video CD
This feature is only available if the player is
connected to your TV using the component video
jacks and the progressive scan video is output
(page 34).
You can either select a preprogrammed setting
designed to match certain program types or make
adjustments to match your own preferences and
save them in the player’s memory.
Selecting a preprogrammed setting
Video Memory Select
Video Setup
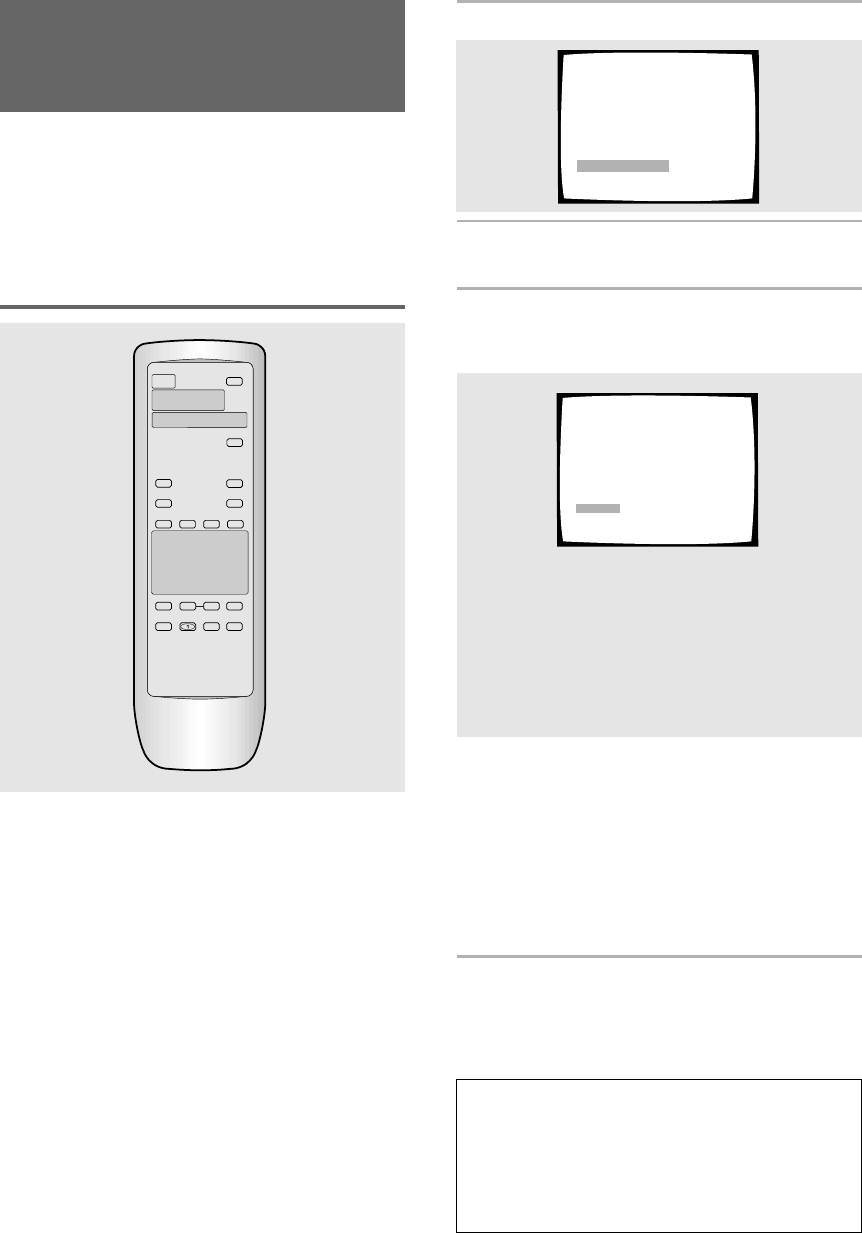
1 Press VNR.
2 Use the cursor button (5/∞) to select
[Video Memory Select] and press ENTER.
3 Use the cursor button (2/3) to select one
of the preprogrammed picture quality
settings.
Settings: Standard*
(Preset that presents the source video as it
is, with no special adjustments.)
Memory1
Memory2
*Factory setting
• If there is a DVD or Video CD playing, the effects
of each setting can be viewed while it is
highlighted on the screen. This may be useful in
selecting an appropriate setting.
• [Memory1] and [Memory2] are user
programmable settings. Refer to
‘Adjusting the
picture quality settings’
on the following page
for more information on customizing your own
picture quality settings.
4 Press ENTER.
The new selection is set.
Note
Each picture quality setting is defined by a number of
individual settings, described in
‘Adjusting the picture
quality settings’
on the following page. When the [DNR]
setting of the picture quality setting is set to anything other
than 0, the “VNR” indicator lights on the display window.
Please note that the [Standard] setting each have [DNR]
settings higher than 0.
continued
A
-
B
