Getting started
03
15
En
English
Using the Quick Room Setup
• Default setting: M (U.S. model only —
see note below)
Depending on the distance of your speakers
from the listening position, choose between
Small, Medium, or Large (see the following
table).
• Press ROOM SETUP repeatedly to
select your room type then press ENTER.
S
1.8m
(6 ft)
1.5m
(5 ft)
0.9m
(3 ft)
Front
Center
Surround
M
1.8m
(6 ft)
1.5m
(5 ft)
1.8m
(6 ft)
L
1.8m
(6 ft)
1.5m
(5 ft)
2.7m
(9 ft)
• The channel levels will also be adjusted
according to the distance setting.
• If you have already set the channel
levels manually (see Setting the relative
volume level of each channel on page
41), you will see ROOM – – in the
display when you first press the ROOM
SETUP button.
Except for U.S. model
• Since the default channel levels are not
the same as the channel levels for any
of the room setup options, ROOM – –
will show in the display when you first
press the ROOM SETUP button. See
Setting the relative volume level of each
channel on page 41 for more on
individual channel level settings.
Setting the clock
After setting the unit to match your TV
system, the first thing to do is to set the
clock. This only needs to be done once
(unless all power to the unit is cut) and will
enable you to use the timer features.
TV CONTROL
123
456
7890
CLEAR
ENTER
SYSTEM SETUP
DVD SETUP
TOP MENU
DVD MENU
SHIFT
CHANNELINPUT VOLUME
SUBTITLE
VOLUME
ANGLE ZOOM
ADVANCED
AUTO
MIDNIGHT
QUIET/
BASS MODE
DVD
AUDIO
DVD/CD
TV
FM/AM LINE
L1/L2
SURROUND
PROGRAM
TEST TONE
REPEAT
CH LEVEL
RANDOM
TIMER
DIMMERDVD DISP
ROOM
SETUP
SYSTEM DISP
MUTE
TUNE +
ST+ST–
TUNE –
RETURN
FOLDER +FOLDER –
SOUND
MODE
ENTER
STANDBY/ON
4
/e
E/
1
¡
¢
8
7
3
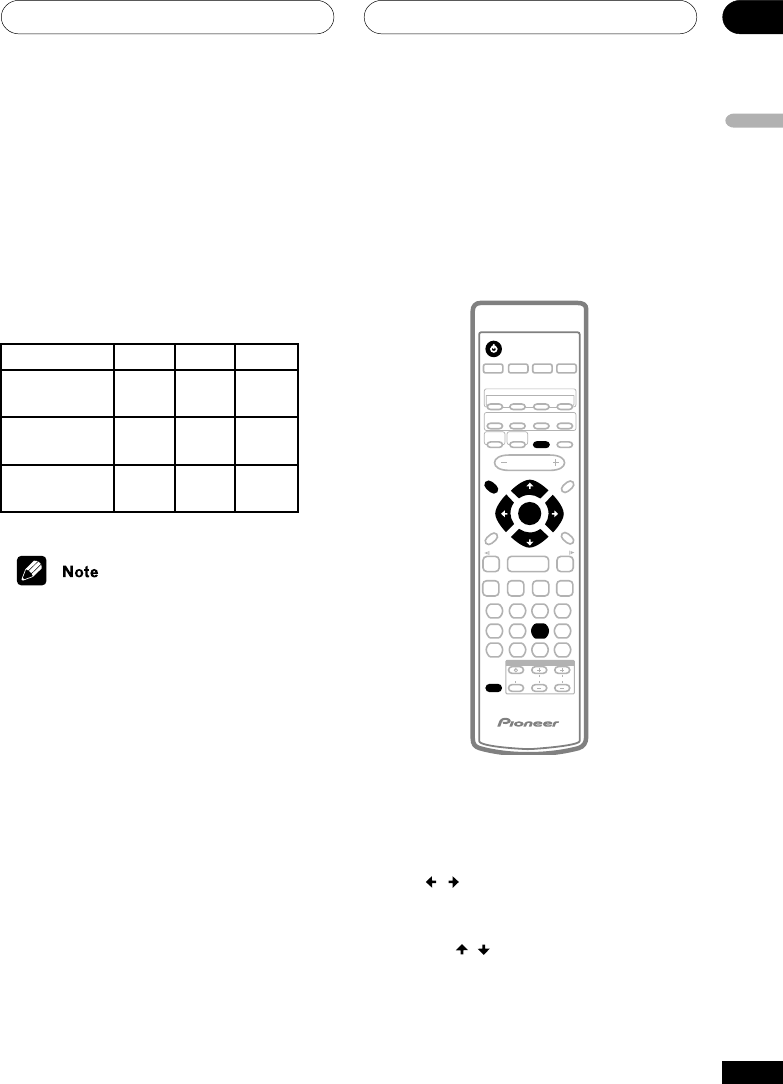
1 Press TIMER (SHIFT+6).
2 If CLOCK ADJ isn’t already selected,
use the
/
buttons to select it.
3 Press ENTER.
4 Use the
/
buttons to set the hour.
5 Press ENTER.


