28
Chapter 3: Using the Recorder’s Features
About GUIDE
Plus+ System Program Guide
The GUIDE Plus+ system is a no-fee, on-screen, program guide that lists TV
schedules for your area and allows your Digital Media Recorder direct control of a
cable box. The GUIDE Plus+ system doesn’t list satellite programming.
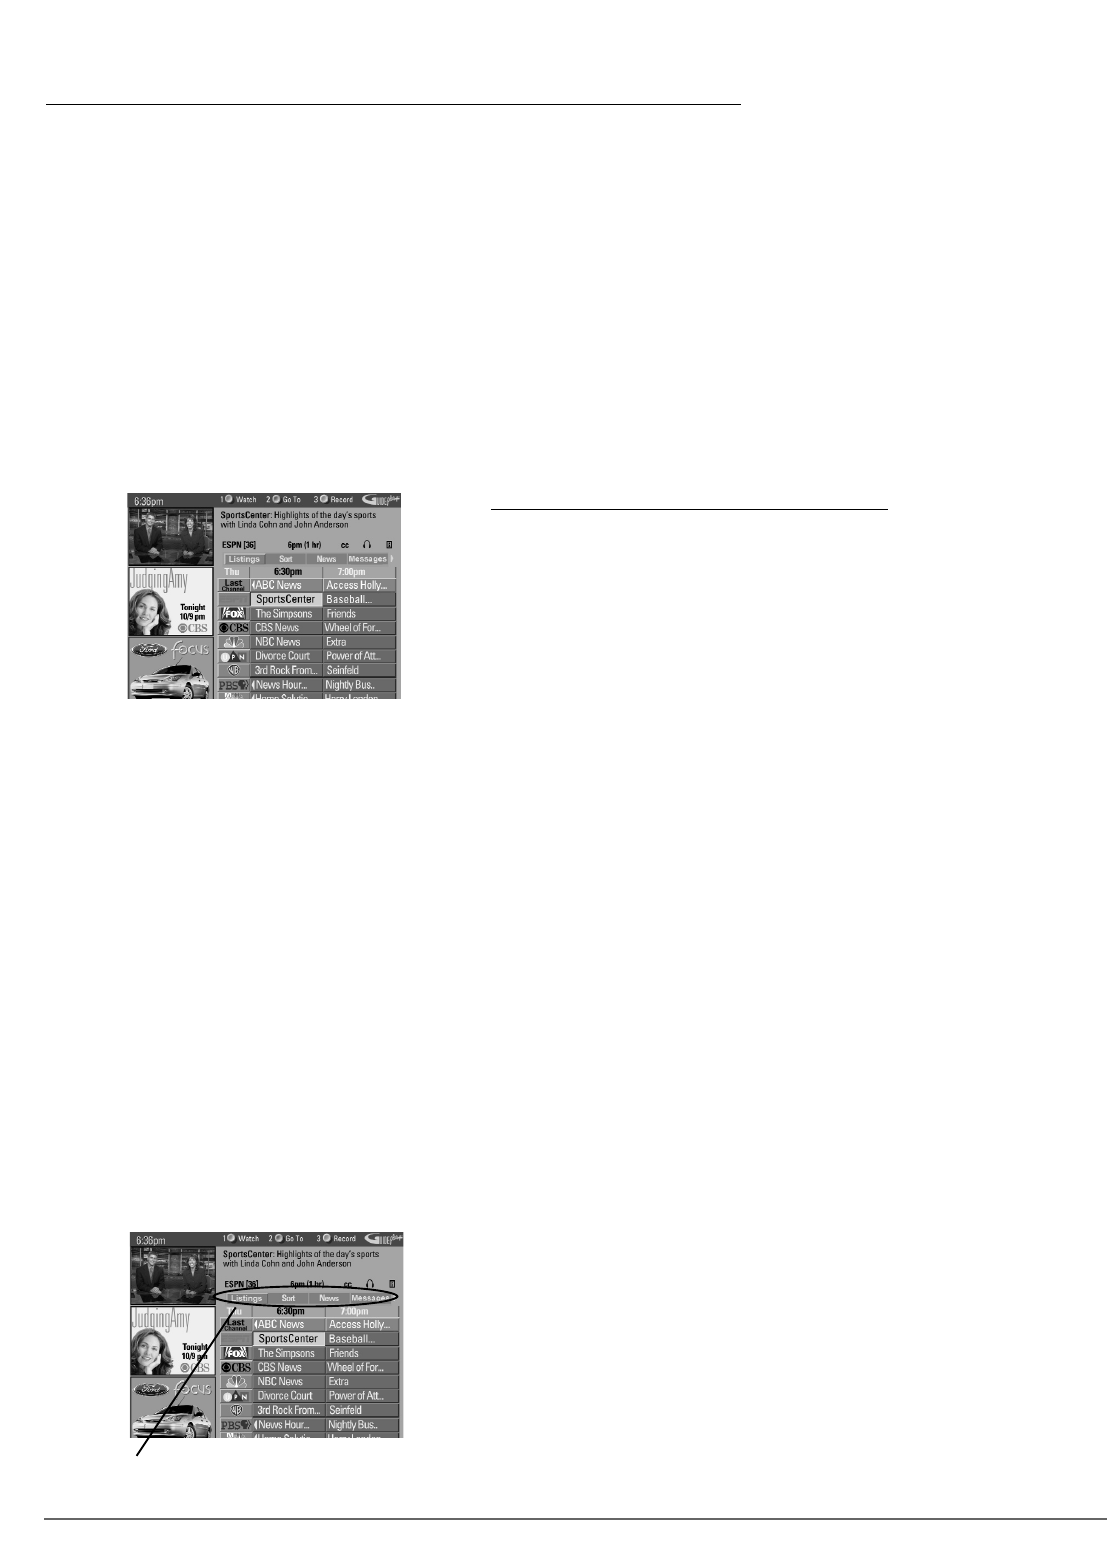
There are six sections of the GUIDE Plus+ system:
•Action buttons at the top of the screen (1, 2, 3)
•A video window
• Program information
•A row of on-screen menu options (Listings, Sort, News, Messages, Promotions,
Schedule, and Setup,)
• Channel listings
• Promotional information
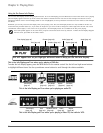
The GUIDE Plus+ System Menu Bar
The GUIDE Plus+ system offers eight different options on the menu bar: Listings,
Sort, News, Messages, Promotions, Schedule, and Setup. To access the Menu bar:
1. Press the GUIDE button (the GUIDE Plus+ programming guide appears).
2. To highlight the Menu bar items, press MENU or press the up arrow button (the
Listings Guide appears by default).
3. Use the left and right arrow buttons to access other menus in the Menu bar.
Notes:
The GUIDE Plus+ system screens illustrated in this book are representations of what you are likely to see. Not all channels, programs, and GUIDE
Plus+ information depicted will be available in your area.
New features and options can be downloaded to the GUIDE Plus+ system, so these are subject to change also.
The GUIDE Plus+ system doesn’t display program listings for satellite TV. If you receive programming through satellite TV service, your Digital
Media Recorder’s Guide Plus+ System won’t work.
Using the GUIDE Plus+ System
To enter the GUIDE Plus+ system:
• Press the GUIDE button on the remote control.
To exit the GUIDE Plus+ System:
•Highlight a program and press OK to exit the GUIDE Plus+ system and tune to the program (channel).
• Press GUIDE to exit the GUIDE Plus+ system and tune to the program (channel) displayed in the video window.
• Press CLEAR to exit the GUIDE Plus+ system and return to the original channel.
Deleting Programs, Music and/or Pictures from the Digital Media Recorder
Your Digital Media Recorder has 40 GB of memory — which translates to approximately 40 hours of video programs, dependent upon the
recording quality you’ve chosen; up to 10,000 JPEG files; or 1,000 mp3 files that can be saved onto the hard disk drive. You can see the status of
the space left on the hard disk drive in the Video menu. The information is only an approximation based on current Recording Quality setting
(page 44). When you want to delete programs, music, or pictures to make more space available, follow the instructions below:
1. From the main menu, select the menu that corresponds to the content you want to delete (Video, Music, or Pictures), and press the OK
button.
2. Use the arrow buttons on the remote control to highlight a video program, mp3 song, or JPEG picture.
3. Press the right arrow button to highlight the box to the right of the content list (it has arrows at the top and bottom to indicate that you can
see choices by pressing up and down arrow buttons on the remote control).
4. Press the down arrow button until Delete appears. Press OK (a screen appears asking you to confirm that you want to delete the program).
Saving Program, Music, and/or Pictures from the Digital Media Recorder to a VCR
If your hard disk drive is full, you can always connect it to your VCR’s Input Jacks and copy the content onto a videocassette. For instructions,
go to page 60.
GUIDE Plus+ System menu bar


