First Things First
5
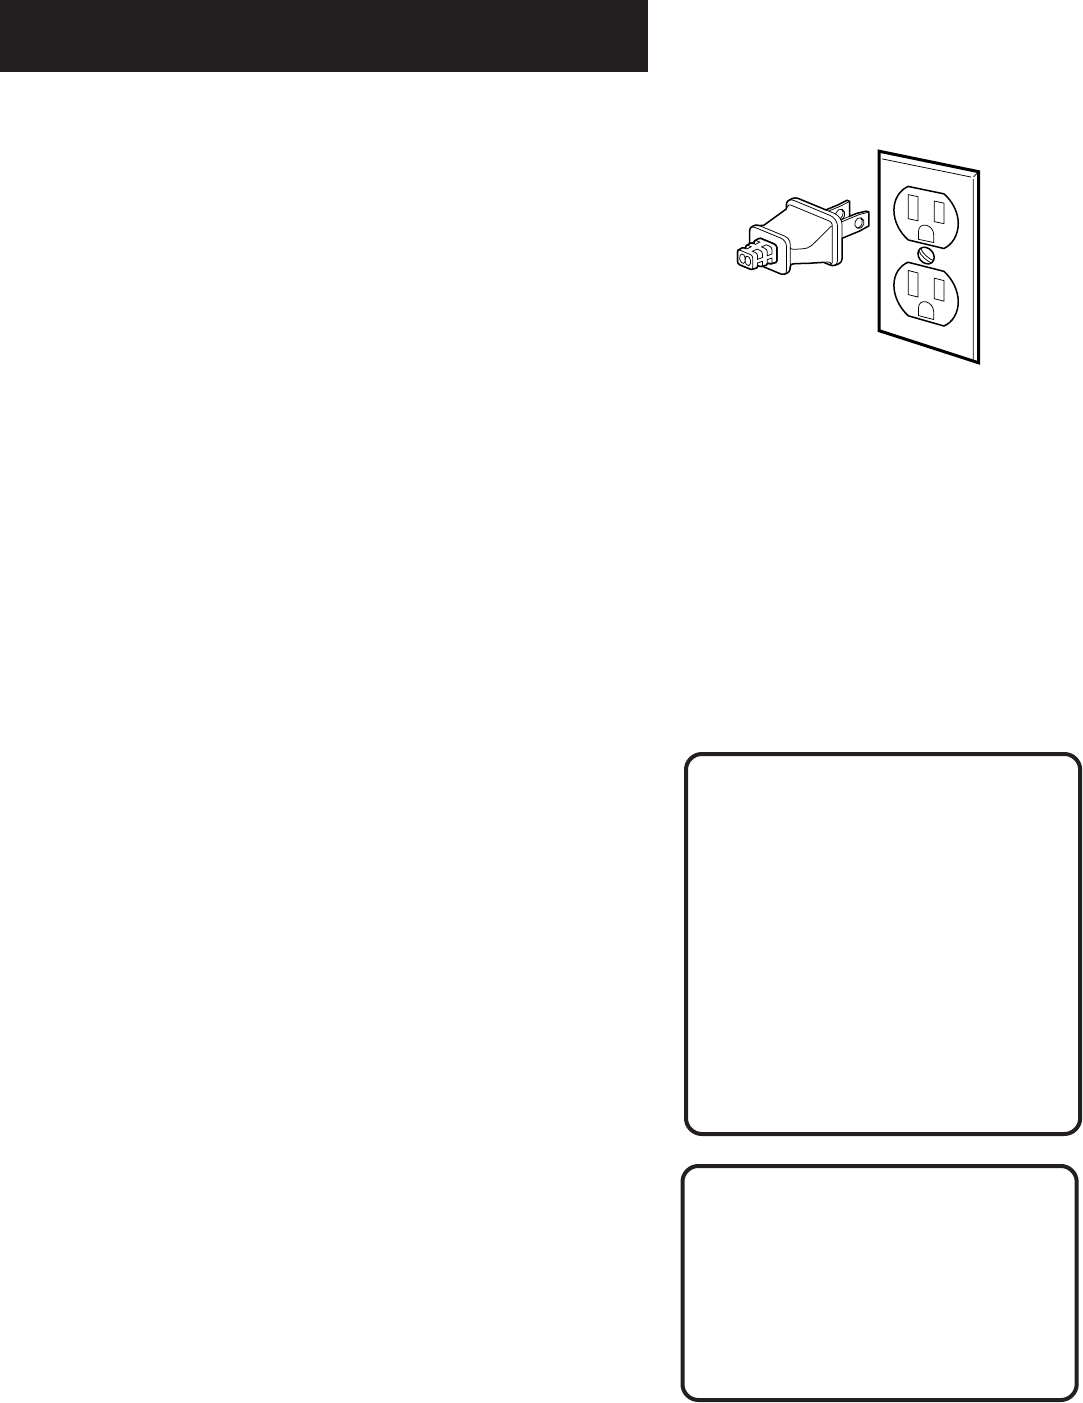
STEP 4: PLUG IN THE VCR
Match the wide blade of the plug with the wide slot in the
outlet. Be sure to insert the plug completely.
STEP 5: TUNe THE TV
Tune the TV to the VCR viewing channel. The VCR viewing
channel is channel 3 or 4 or the TV’s video input, depending on
the connection you’ve chosen.
• If you connect your VCR using the ANTENNA connectors with
RF coaxial cable, set the 3CH4 switch to channel 3 or channel
4—the channel you want to use on your TV.
• If you connect your VCR using the AUDIO/VIDEO jacks with
audio/video cables, select the TV’s video input to see the
signal. See the TV Owner’s Manual.
STEP 6: turn on the vcr
Press POWER on the VCR’s front panel, or VCR on the remote to
turn on the VCR. The VCR will begin Auto Channel Search. Once
your local channels are stored in memory, the VCR searches for a
channel carrying XDS (Extended Data Services) information to
automatically set the time.
To complete setting up the VCR, you will need to understand
how to move through and change items in the on-screen menus.
STEP 7: Access the menus
The MENU and number buttons let you access, select and change
menu items. For example, to change the AUTO PLAY setting, you
would do the following:
VCR Viewing Channel
When using only the IN FROM ANT
and OUT TO TV jacks to connect your
VCR, tune your TV to channel 3 or 4.
When using the audio/video jacks to
connect your VCR, tune your TV to
the TV’s video input.
Auto Channel Search/Auto Clock
You can quit Auto Channel Search by
pressing any key on the remote.
However, doing so may prevent the
time from being set automatically
Auto Clock will set the time, but you
may have to set the time zone and
daylight saving time manually before
the time is correct.
Refer to the next section, Setting up
the VCR, for more information on
these features.


