26
ENG
If no signal is being received or the signal is very weak, a blue
screen automatically replaces the noisy picture background.
If you wish to continue viewing the poor picture, you must set the
“Blue Screen” mode to “Off”.
1 Press the MENU button.
Result
: The main menu is displayed.
2 Press the † or … button to select Function.
Result
: The options available in the Function group are
displayed.
3 Press the œ or √ button.
4 Press the † or … button to select Blue Screen.
5 Press the œ or √ button to change the setting (Off or On).
Setting the Blue Screen
Language : English
Time √
Plug & Play √
TV/AV/DVD œ TV √
Blue Screen : Off
Panel Lock : Off
Function
Select Enter Exit
Language : English
Time √
Plug & Play √
TV/AV/DVD œ TV √
Blue Screen : Off
Panel Lock : Off
Function
Select Enter Exit
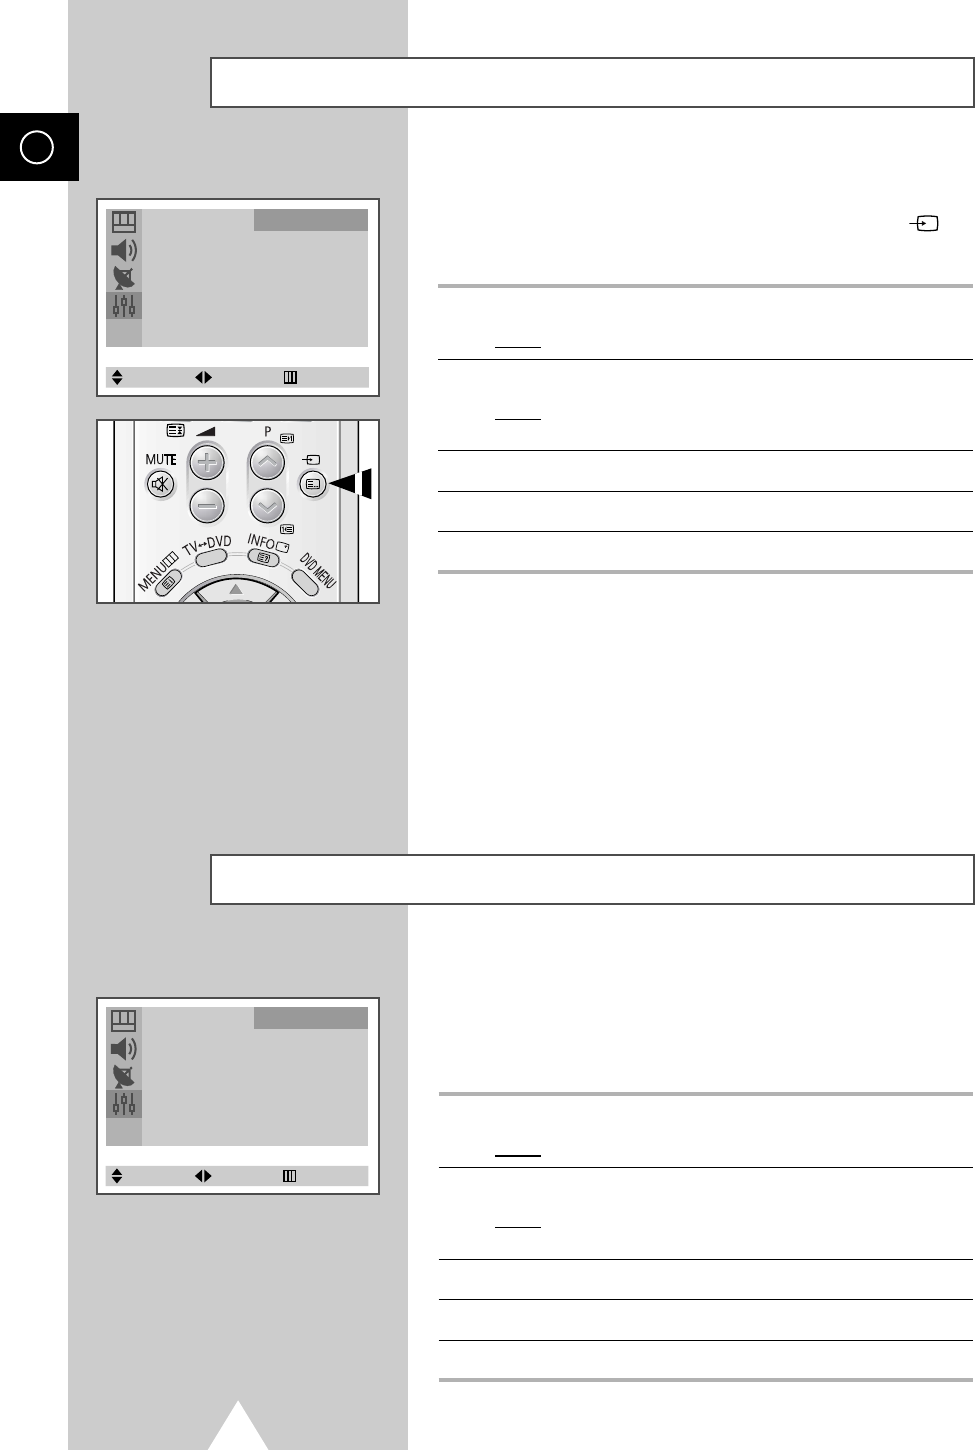
Once you have connected up your various audio and video systems,
you can view different sources by selecting the appropriate input.
You can select these options by simply pressing the INPUT (
)
button on the remote control.
1 Press the MENU button.
Result
: The main menu is displayed.
2 Press the † or … button to select Function.
Result
: The options available in the Function group are
displayed.
3 Press the œ or √ button.
4 Press the † or … button to select TV/AV/DVD.
5 Press the œ or √ button to change the setting.
➢
◆ Depending on the source selected, the pictures may
appear automatically.
◆ To watch television programme again, press the
INPUT button and select the number of the channel
required.
◆ To connect different types of video equipment to your
television, use the input connectors on the side and
rear panels (RCA and SCART respectively).
If equipment is plugged into both these connectors,
the side connector has priority.
INPUT
Viewing Pictures From External Sources
C19A_ENG_03185A 12/19/03 8:47 AM Page 26
