8
Selecting the Audio Language
You can select a desired audio language available on a disc quickly and easily with the AUDIO button.
Using the AUDIO (
√
) Button (DVD/MPEG4)
1. During play, press the AUDIO (
√
) button. Change the audio language by pressing the π/† button.
- The audio languages are represented by abbreviations.
2. To remove the AUDIO icon from the screen, press the RETURN button
Notes
- This function depends on the audio languages that are encoded on the disc. This function may not
work with all DVDs.
- A DVD disc can contain up to 8 audio languages.
Selecting the Subtitle Language
You can select a desired subtitle language quickly and easily with the SUBTITLE button.
Using the SUBTITLE Button (DVD)
1. During play, press the SUBTITLE (π) button.
2. Press the SUBTITLE (π) button to change the language. Each time you press the SUBTITLE (π) or
π/† buttons, the language changes.
3. Press the RETURN button to exit the Subtitle function
.
Changing the Camera Angle
When a DVD contains multiple angles of a particular scene, you can use the ANGLE function.
Using the ANGLE function (DVD)
If a scene contains multiple angles, the ANGLE mark appears on the screen.
1. During play, press the TOOLS button on the remote control.
2. Press the π/† buttons to select
. When the angle screen is displayed, press the √/® buttons
on the remote control to select the desired angle option.
Notes
- The subtitle languages are represented by abbreviations.
- Depending on the DVD, you may have to select the desired subtitle language in the DVD’s Disc Menu.
Press the INFO button.
- This function depends on which subtitle languages are encoded on the disc. This function may not
work with all DVDs.
- A DVD disc can contain up to 32 subtitle languages.
Note
- Depending on the disc, the Bookmark function may not work.
Using the Bookmark Function
This feature lets you bookmark sections of a DVD, so you can quickly find them at a later time.
Using the Bookmark Function (DVD)
1. During play, press the MARKER button on the remote control.
2. When you reach the scene you want to mark, press the √/® or π/† buttons, and then press the
MARKER button. You can bookmark up to 12 scenes at a time.
Recalling a Marked Scene
1. During play, press the MARKER button on the remote control.
2. Press the √/® or π/† buttons to select a marked scene.
3. Press the PLAY (
) button to skip to the marked scene.
Clearing a Bookmark
1. During play, press the MARKER button on the remote control.
2. Press the √/® or π/† buttons to select the bookmark number you want to delete.
3. Press the ENTER button to delete a bookmark number.
Using the Zoom Function
Using the Zoom Function (DVD)
1. During play, press the TOOLS button on the remote control.
2. Press the π/† buttons to select
icon, and then press the ENTER button to zoom in X1, X2, X3, X4.
Folder Selection
You can select a folder both in Stop or Play mode.
- To select a Parent Folder
Press the RETURN button to go to the parent folder, or press the π/† buttons to select “..” and then
press ENTER to go to the parent folder.
- To select a Peer Folder
Press the π/† buttons to select the desired folder, and then press ENTER.
- To select a Sub-Folder
Press the π/† buttons to select the desired folder, and then press ENTER.
Clips Menu for MP3/WMA/JPEG/MPEG4/CD Audio
CD Audio or discs with MP3/WMA/JPEG/MPEG4 files contain individual
songs and/or pictures. The player organizes these discs into folders that
contain only one content type (for example, only pictures, only music, etc.).
The folders function much like the folders you use on your computer.
To go access these folders and the files in them, follow these steps :
1. Open the disc tray. Place the disc on the tray.
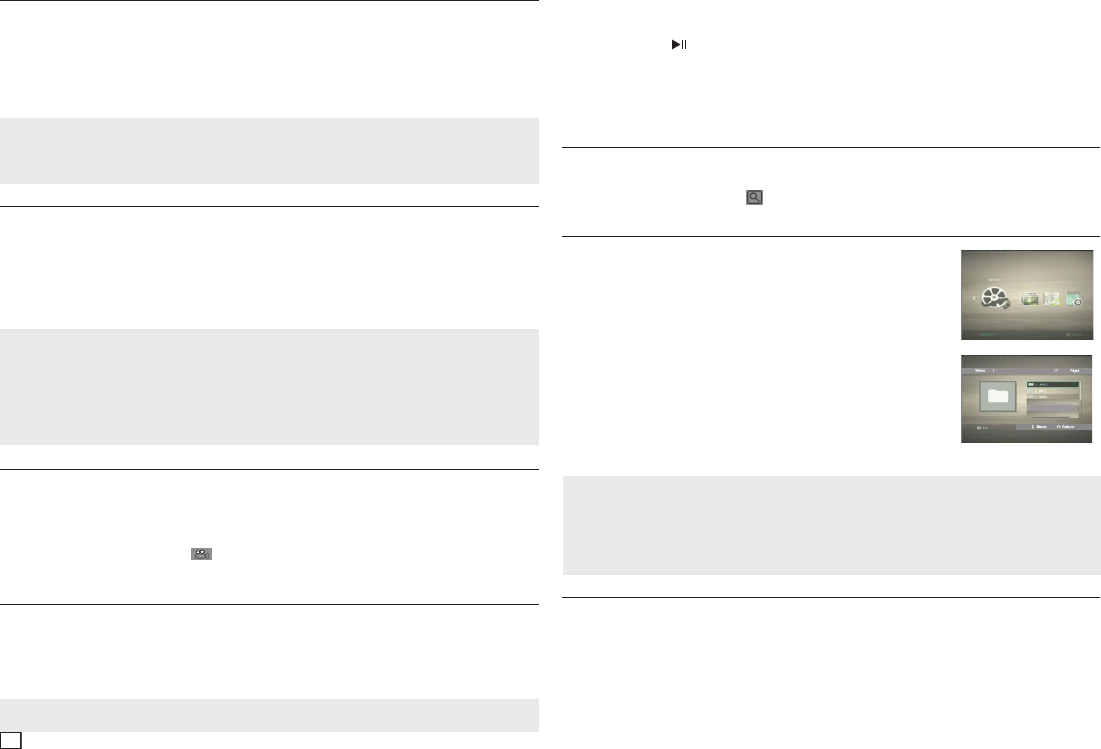
2. Close the tray. The tray closes and the Parent Folder Menu screen
appears (top screen image.) Parent folders contain all the Peer folders
that have the same kind of content: Videos, music, photos, etc.
3. Press the √/® buttons to select the Parent folder of your choice (Video,
Photos, or Music) and then press ENTER. A screen displaying the Peer
folders appears.
The Peer folders contain all the folders with the same kind of content
(videos, music, photos, etc.) that are in the Parent folder.
Notes
- While the screen will display folders for all content types, only the files of the content type you select-
ed will be visible when you open a folder. For example, if you selected Photos, only photo files in the
Pictures Peer folder will be visible. Music files and Video files will be invisible and inaccessible. To
view music or video files, you must return to the Parent Folder Menu screen and select either Videos
or Music.
