English - 47
Recording
Recording from External
Equipment
Check that the disc has enough available space for the
recording. Adjust the record mode.
1
Press the OPEN/CLOSE button, and place a
recordable disc on the disc tray.
2
Press the OPEN/CLOSE button to close the disc tray.
Wait until “LOAD” disappears from the front panel
display.
If an unused DVD-RW disc is inserted, the message
“Uninitialized Disc Do you want to initialize this disc?” will
appear (See page 44)
3
Press the INPUT SEL. button to select the input
source according to the connection you made.
The front panel display changes in the following
sequence:
➞
Channel Number
➞
AV1
➞
AV2
➞
DV
If you’ve connected a digital camcorder, press the
INPUT SEL. button to select DV. (See page 48)
4
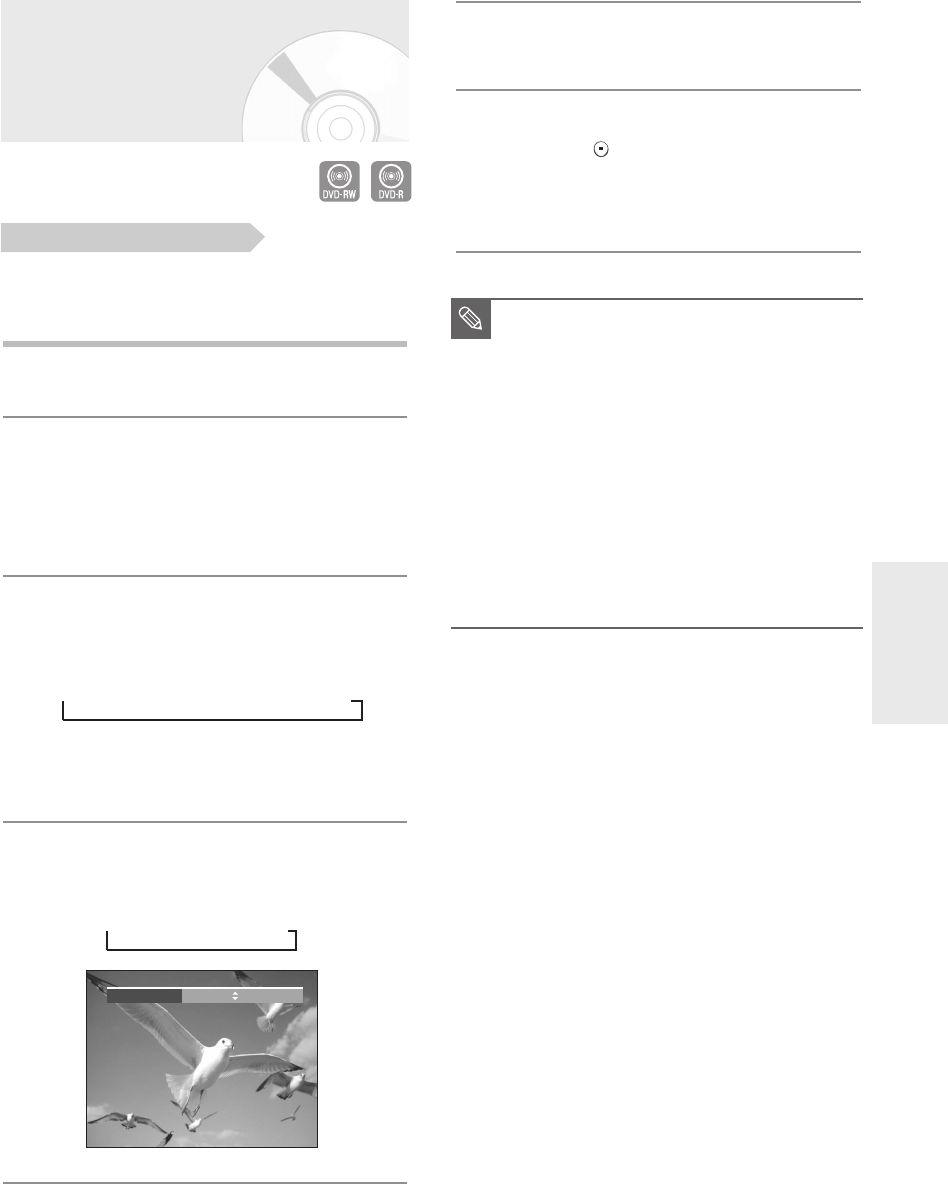
Press the REC MODE button repeatedly, (or press
the REC MODE button and then press the
……††
button) to select the recording speed(quality).
➞
SP ➞ LP ➞ EP ➞ XP
5
Press the REC button.
To stop recording
Press the STOP ( ) button to stop or finish
recording in progress.
•
When using DVD-RW/DVD-R discs, the message
‘Updating the information of disc. Please wait for a
moment.’ is displayed.
Before you start
■
You can not change the record mode and
input source during recording.
■
Recording will stop automatically if there is
no free space left for recording.
■
Up to 99 titles can be recorded onto a
disc.
■
Recording will stop automatically if a copy
protected image is selected.
■
DVD-RW discs must be formatted before
starting to record. Most new discs are sold
unformatted.
■
Do not use DVD-R authoring discs with
this unit.
NOTE
Record Mode XP (01:11)
01002G-R130S-AFS-ENG-43-52 2006.2.24 4:32 PM Page 47
