


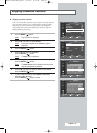
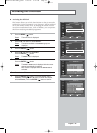
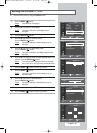
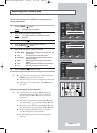
1 Press the MENU ()button.
Result
: The main menu is displayed.
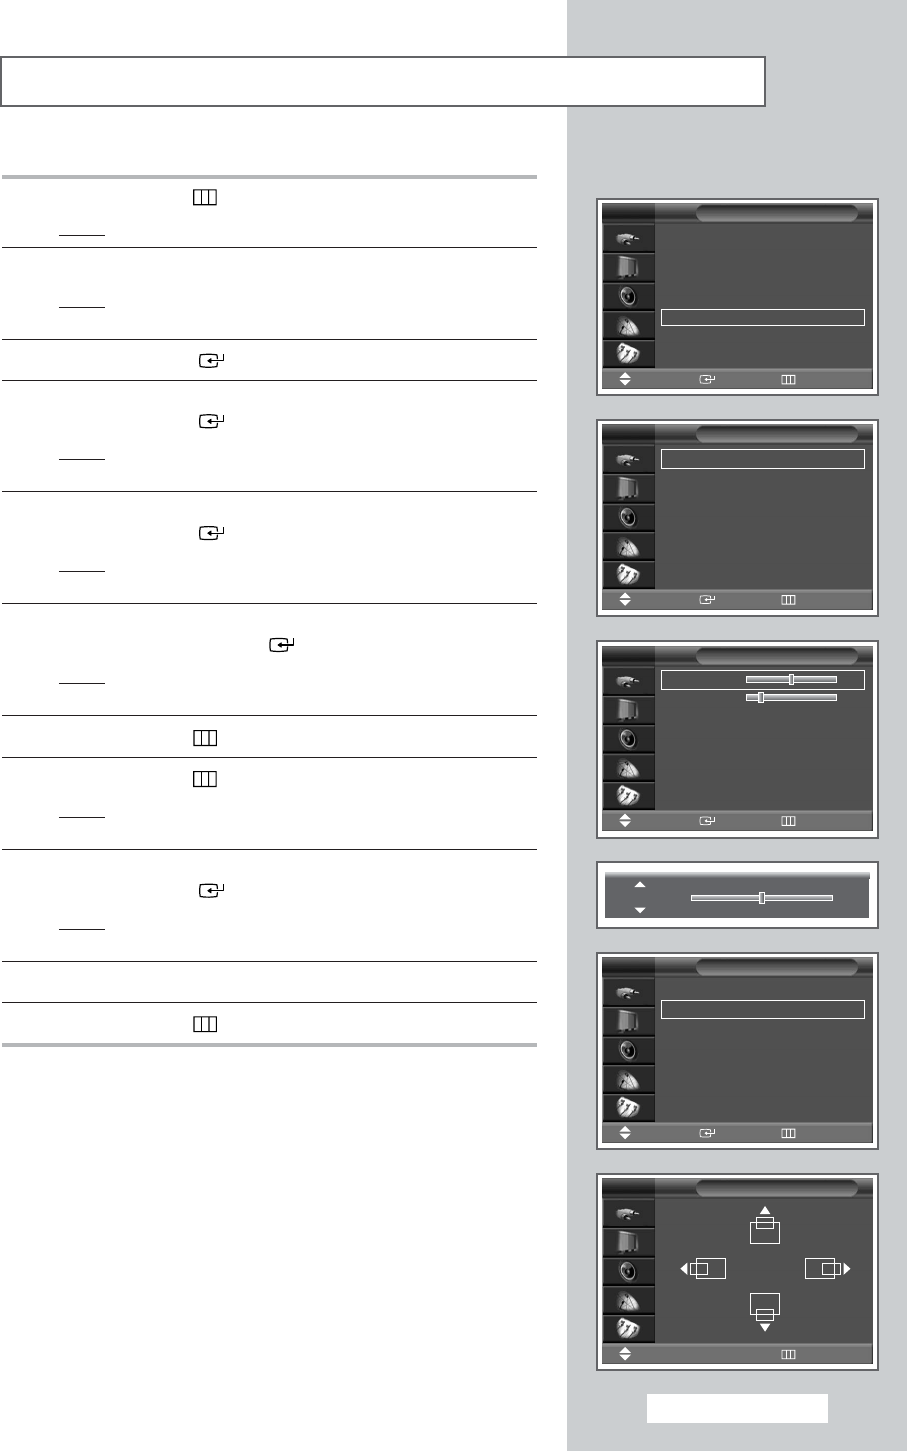
2 Press the … or † button to select Setup.
Result
: The options available in the Setup group are
displayed.
3 Press the ENTER () button.
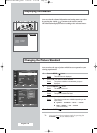
4 Press the … or † button to select PC Setup.
Press the
ENTER () button.
Result
: The options available in the PC Setup group are
displayed.
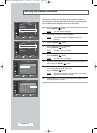
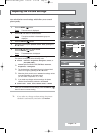
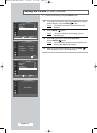
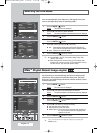
5 Press the … or † button to select Image Lock.
Press the ENTER () button.
Result
: The options available in the Image Lock group are
displayed.
6 Press the … or † button to select the option (Coarse, Fine) to be
adjusted. Press the
ENTER () button.
Result
: The horizontal bar is displayed. Move the horizontal
bar’s cursor left or right by pressing the
œ or √ button.
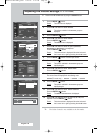
7 Press the MENU () button to confirm your choice
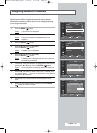
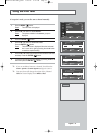
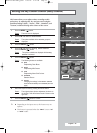
8 Press the MENU ()button.
Result
: The options available in the PC Setup group are
displayed again.
9 Press the … or † button to select Position.
Press the
ENTER () button.
Result
: The options available in the Position group are
displayed.
10 Adjust the position by using the …, †, œ, or √ button.
11 Press the MENU () button to confirm your choice
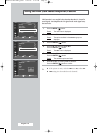
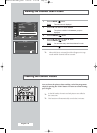
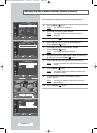
Setting the Picture (PC Mode)
➢
Preset to the PC mode by using the SOURCE button.
Time
√√
Language : English
√√
AV Setup
√√
Digital NR : On
√√
Miscellaneous
√√
PC Setup
√√
Colour Weakness
: Off
√√
Burn Protection
√√
Setup
TV
Image Lock
√√
Position
√√
Information
√√
Auto Adjustment
√√
PC Setup
TV
Coarse 50
Fine 20
Image Lock
TV
Coarse
50
Image Lock
√√
Position
√√
Information
√√
Auto Adjustment
√√
PC Setup
TV
Position
TV
Move Enter Return
Move Enter Return
Move Enter Return
Move Enter Return
Move
œœ √√
Move
Return
English - 29
BN68-00718S-00Eng_0825 8/25/04 2:07 PM Page 29