44_ DVR setup
DVR setup
DISK MANAGEMENT
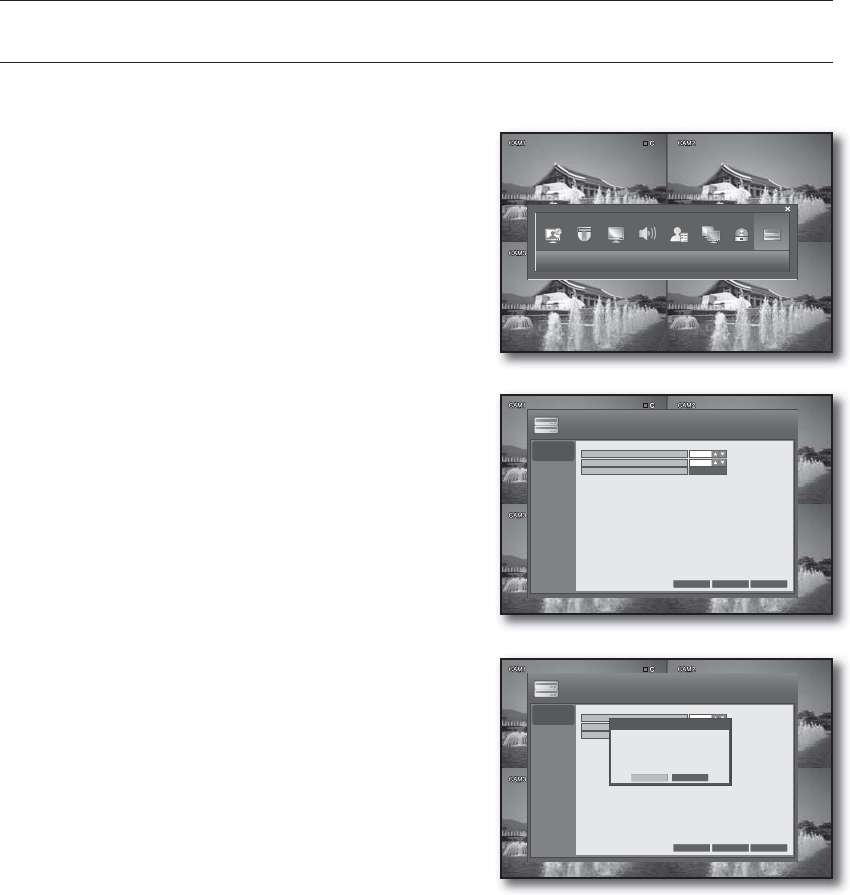
You can specify the recording auto deletion and overwrite options and format the HDD recording data.
See the previous section to repeat steps 1~3. (Page 23)
Use the direction buttons to move to the upper <DISK
MANAGEMENT> icon and press the [ENTER] button.
The DISK MANAGEMENT screen appears.
Use direction buttons (▲▼◄►) to move to a desired
item, and press the [ENTER] button to set the value.
AUTO DELETE: Specify the auto deletion period. You
can search for recording data only in that specified
period.
- The Auto Delete function is available only if
OVERWRITE is set to ON.
- The NTSC-type model does not support the function
of AUTO DELETE.
If there remains a large-sized data file, setup may take
a while. Note that recording will be disabled until setup
is completed.
It will be disabled if OVERWRITE is set to OFF.
OVERWRITE
If set to <ON>, recording will proceed by overwriting
the existing data even if the size of the recording data
exceeds the HDD capacity.
If set to <OFF> and the HDD is full, the DVR stops
recording and sounds the buzzer or alarm that is set
to operate in <EVENT / SENSOR>. (Page 40)
A message of "DISK FULL" is displayed on the screen.
FORMAT : Format the hard disk drive.
Press the <START> button.
You will see the alert that recording data can be deleted.
Press the <OK> button.
Note that formatting the HDD will delete all existing data.
When your settings are completed, press the <APPLY> button on the bottom.
Your settings will be applied.
Press the <CLOSE> button to display the confirmation dialog and return to the previous menu.
1.
2.
•
J
•
-
-
•
J
3.
4.
DISK
MANAGEMENT
CANCEL APPLY CLOSE
DISK MANAGEMENT
OVERWRITE
AUTO DELETE
FORMAT
ON
OFF
START
DISK MANAGEMENT
DISK
MANAGEMENT
CANCEL APPLY CLOSE
DISK MANAGEMENT
OVERWRITE
AUTO DELETE
FORMAT
ON
OFF
START
WARNING
All recorded data will be removed.
Do you want to continue?
OK CANCEL


