


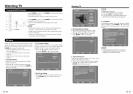
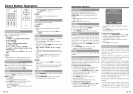
On-Screen Display Menu
Adjusts the picture to your preference with the
following picture settings.
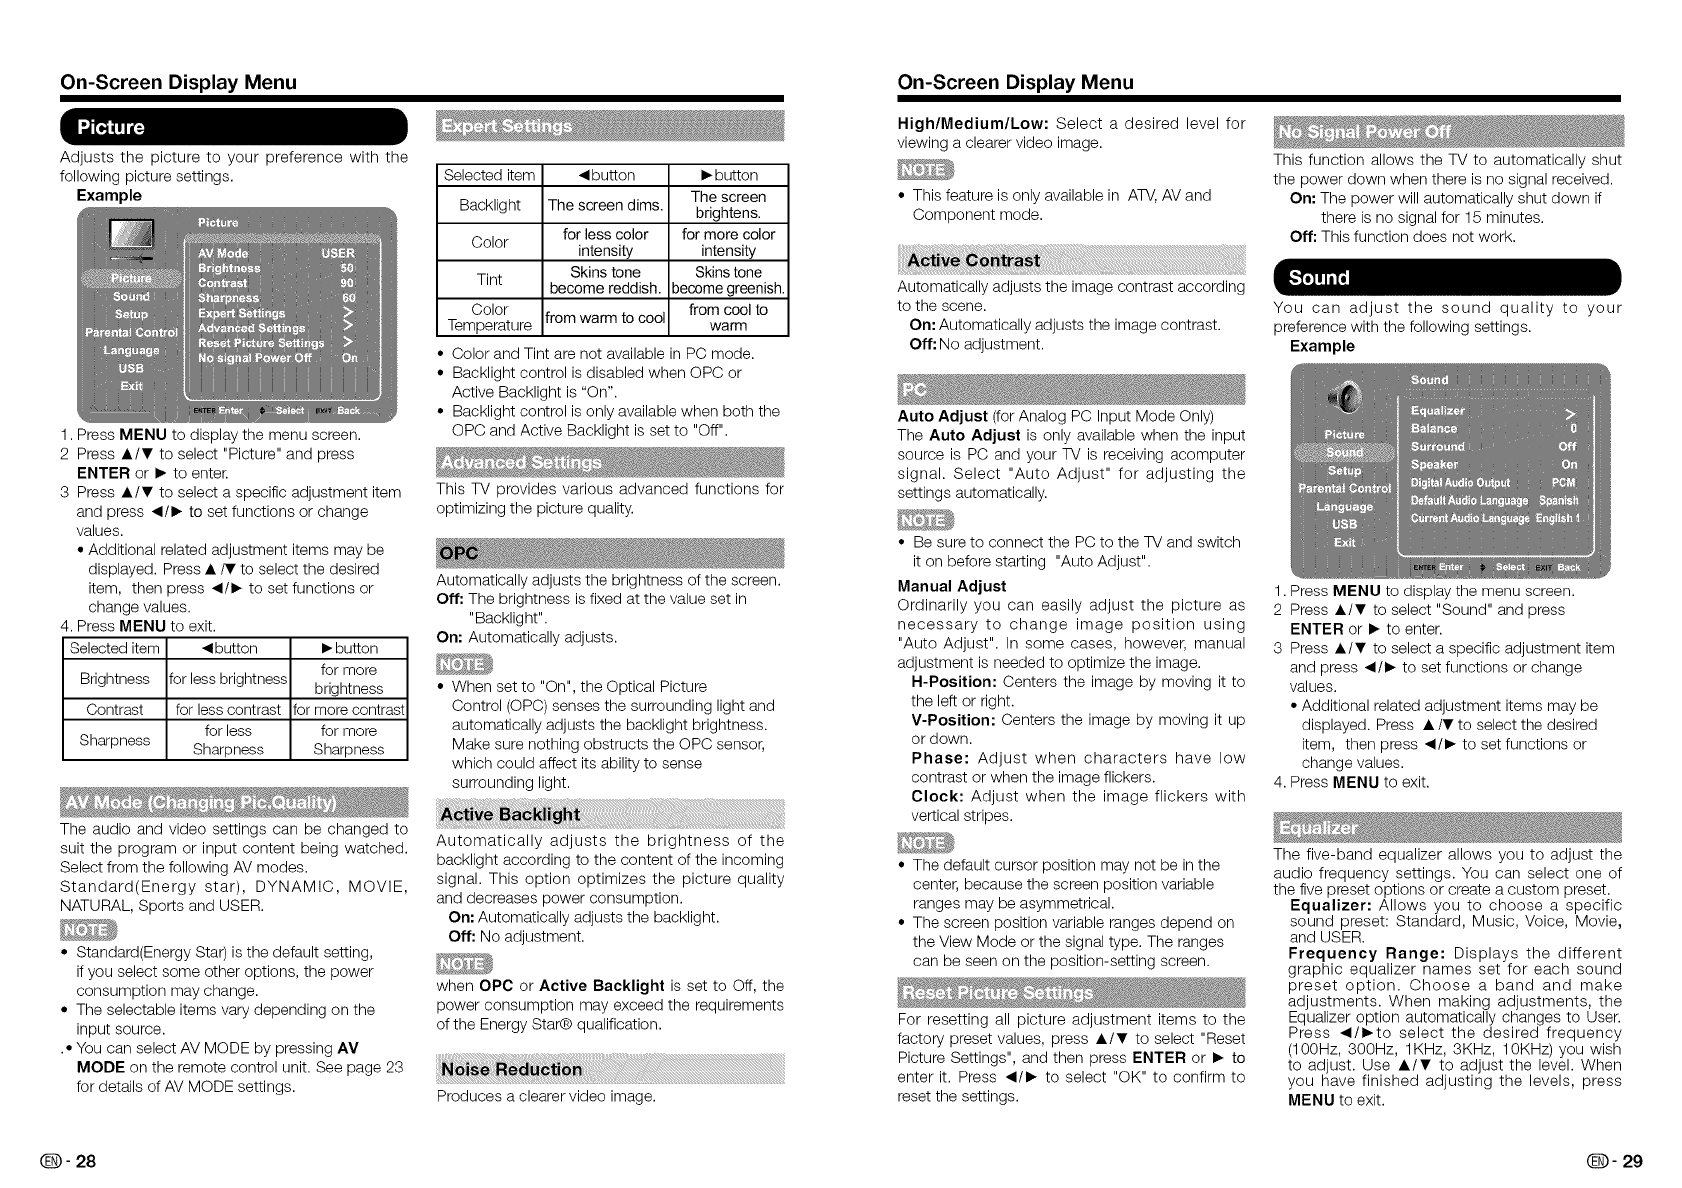
Example
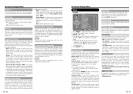
1. Press MENU to display the menu screen.
2 Press •/T to select "Picture" and press
ENTER or • to enter.
3 Press •IT to select a specific adjustment item
and press •/• to set functions or change
values.
• Additional related adjustment items may be
displayed. Press •/T to select the desired
item, then press •liD- to set functions or
change values.
4. Press MENU to exit.
Selected item • button • button
for more
Brightness for less brightness brightness
Contrast for less contrast for more contrasl
for less for more
Sharpness Sharpness Sharpness
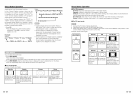
The audio and video settings can be changed to
suit the program or input content being watched.
Select from the following AV modes.
Standard(Energy star), DYNAMIC, MOVIE,
NATURAL, Sports and USER.
• Standard(Energy Star) is the default setting,
ifyou select some other options, the power
consumption may change.
• The selectable items vary depending on the
input source.
.• You can select AV MODE by pressing AV
MODE on the remote control unit. See page 23
for details of AV MODE settings.
Selected item • button • button
The screen
Backlight The screen dims. brightens.
Color for less color for more color
intensity intensity
Tint Skins tone Skinstone
become reddish, become greenish.
Color from cool to
Temperature from warm to cool warm
• Color and Tint are not available in PC mode.
• Backlight control is disabled when OPC or
Active Backlight is "On".
• Backlight control is only available when both the
OPC and Active Backlight is set to "Off".
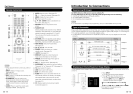
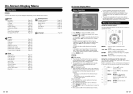
This TV provides various advanced functions for
optimizing the picture quality.
Automatically adjusts the brightness of the screen.
Off: The brightness isfixed at the value set in
"Backlig ht".
On: Automatically adjusts.
• When set to "On", the Optical Picture
Control (OPC) senses the surrounding light and
automatically adjusts the backlight brightness.
Make sure nothing obstructs the OPC sensor,
which could affect its ability to sense
surrounding light.
Automatically adjusts the brightness of the
backlight according to the content of the incoming
signal. This option optimizes the picture quality
and decreases power consumption.
On: Automatically adjusts the backlight.
Off: No adjustment.
when OPC or Active Backlight is set to Off, the
power consumption may exceed the requirements
of the Energy Star@ qualification.
Produces a clearer video image.
On-Screen Display Menu
High/Medium/Low: Select a desired level for
viewing a clearer video image.
• This feature is only available in ATV,AV and
Component mode.
Automatically adjusts the image contrast according
to the scene.
On: Automatically adjusts the image contrast.
Off: No adjustment.
Auto Adjust (for Analog PC Input Mode Only)
The Auto Adjust is only available when the input
source is PC and your TV is receiving acomputer
signal. Select "Auto Adjust" for adjusting the
settings automatically.
• Be sure to connect the PC to the TV and switch
it on before starting "Auto Adjust".
Manual Adjust
Ordinarily you can easily adjust the picture as
necessary to change image position using
"Auto Adjust". In some cases, however, manual
adjustment is needed to optimize the image.
H-Position: Centers the image by moving it to
the left or right.
V-Position: Centers the image by moving it up
or down.
Phase: Adjust when characters have low
contrast or when the image flickers.
Clock: Adjust when the image flickers with
vertical stripes.
• The default cursor position may not be in the
center, because the screen position variable
ranges may be asymmetrical.
• The screen position variable ranges depend on
the View Mode or the signal type. The ranges
can be seen on the position-setting screen.
For resetting all picture adjustment items to the
factory preset values, press •IT to select "Reset
Picture Settings", and then press ENTER or • to
enter it. Press •liD- to select "OK" to confirm to
reset the settings.
This function allows the TV to automatically shut
the power down when there is no signal received.
On: The power will automatically shut down if
there is no signal for 15 minutes.
Off: This function does not work.
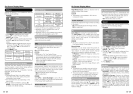
You can adjust the sound quality to your
preference with the following settings.
Example
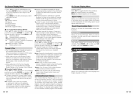
1. Press MENU to display the menu screen.
2 Press •/T to select "Sound" and press
ENTER or • to enter.
3 Press •IT to select a specific adjustment item
and press •/• to set functions or change
values.
• Additional related adjustment items may be
displayed. Press •/T to select the desired
item, then press •liD- to set functions or
change values.
4. Press MENU to exit.
The five-band equalizer allows you to adjust the
audio frequency settings. You can select one of
the five preset options or create a custom preset.
Equalizer: Allows you to choose a specific
sound preset: Standard, Music, Voice, Movie,
and USER.
Frequency Range: Displays the different
graphic equalizer names set for each sound
preset option. Choose a band and make
adjustments. When making adjustments, the
Equalizer option automatically changes to User.
Press •/•to select the desired frequency
(100Hz, 300Hz, 1KHz, 3KHz, 10KHz) you wish
to adjust. Use •/_' to adjust the level. When
you have finished adjusting the levels, press
MENU to exit.
Q- 28 Q- 29