42
Basic Operations
Setting the timer
manually
If VCR Plus+ is not available in your area, follow the instructions below
to set the timer to record programs.
Before you start...
• Check that the clock is set to correct time.
• Insert a tape with its protect tab not slid to red. Make sure the tape is
longer than the total recording time.
• Turn on your TV and set it to the video channel.
• When using a cable box, turn it on.
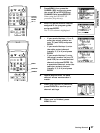
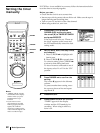
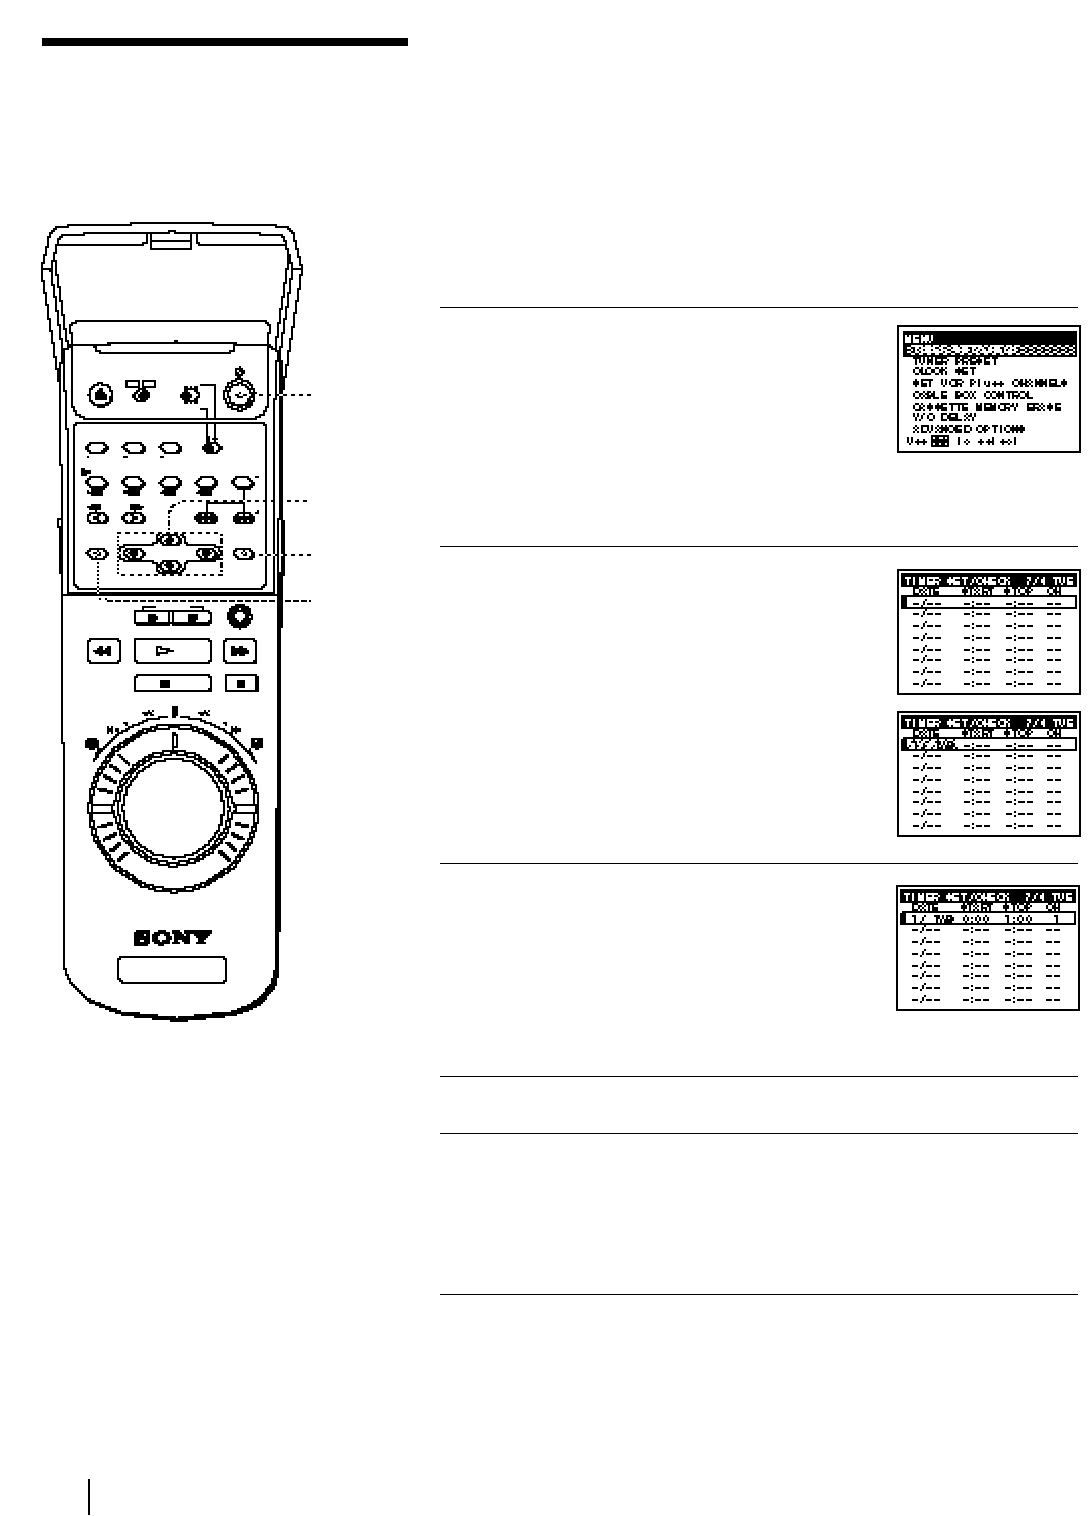
1 Press MENU, then press the
CURSOR (>/.) buttons to move
the cursor (❚) to TIMER SET/CHECK
and press EXECUTE.
If the clock needs to be set, “Please set
the clock” appears on the screen and
the VCR automatically enters the clock
setting mode.
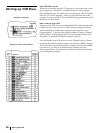
2 Set the date, start and stop times,
and channel:
1 Press CURSOR / to highlight each
item in turn.
2 Press CURSOR >/. to set each item.
To correct a setting, press CURSOR ?
to return to that setting and reset.
To record a source connected to one of
the inputs, select L1 or L2 in the “CH”
position.
3 Press CURSOR / to confirm the
setting.
The cursor (❚) appears in the leftmost
column.
To preset another timer setting, move
the cursor to the next line and repeat
step 2 and 3.
4 Press EXECUTE.
5 Press POWER to turn off the VCR.
“TIMER” appears in the display
window and the VCR stands by for
recording. When using a cable box,
leave it on.
Notes
• “TIMER” and the cassette
mark flashes in the display
window when you press
POWER with no tape
inserted.
• If you timer record a
program that is encoded
with copyright protection
signals, the VCR will
continue recording but the
video and audio signals will
not be recorded on tape.
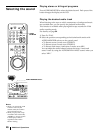
POWER
MENU
EXECUTE
CURSOR


