


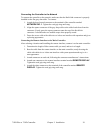
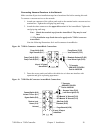
7/50D Plus or 7/50D Controller Chapter 3: Installation 23
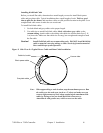
Installing KwikLink™ Connectors
KwikLink connectors let you connect the controller and the power supply to the system. They
are also used to electronically terminate power cable and data cable runs.
Just like ArmorBlocks, KwikLink connectors are insulation displacement connectors (IDCs).
Caution! Exercise care when installing Kwiklink connectors.
IDC blades on KwikLink connectors are SHARP!
Gently push back any protruding IDC blades before installing flat cables
inside.
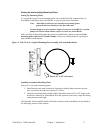
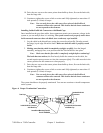
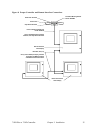
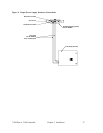
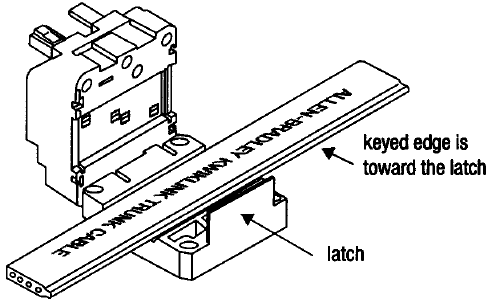
The KwikLink connector should already be attached to the mounting plate, so the hinge side
is down. If not, reinstall it with its proper alignment, along the correct flat cable. See the
installation drawing located in your Customer Information Packet for further details.
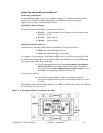
To install flat cable inside KwikLink connectors:
1. Lay the cable in the hinged base, noting the correct keyed profile; flat edge toward
the hinge, keyed edge toward the latch. Make sure that the cable is properly seated
inside.
2. Making sure that the cable is completely straight, carefully close the hinged
assembly, and apply firm, even pressure until the first latch locks into place.
Note: Make sure that the flat cable is completely straight before continuing!
The latch has two catches; the first loosely holds the connector on the cable, the
second requires more pressure to close the connector tightly. The cable must be in the
correct position for the connector to close properly.
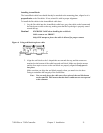
3. Drive the two screws at the center points about halfway down; first on the latch side,
then the hinge side.
4. Continue to tighten the screws a little at a time until fully tightened; no more than 15
inch-pounds (5.6 N
•m) of torque.
Note: You can only pierce the cable once. Once pierced, the KwikLink
connector must not be removed. This insures that the inner conductors
are not exposed to the elements.