(E) 51/57/65H93
Copyright © 2003 TOSHIBA CORPORATION. All rights reserved.
59
Chapter 7: Using the TV Guide On Screen interactive program guide
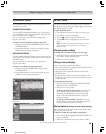
SETUP menu
The SETUP menu allows you to change your TV Guide On
Screen system settings, change the channel display, and turn the
auto display feature on and off.
To open the SETUP menu:
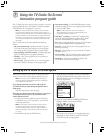
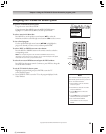
1. Press GUIDE to open the TV Guide On Screen system.
2. Press MENU to select the Menu Bar.
3. Use the x • buttons to select the SETUP menu.
4. Use the yz buttons to highlight an item, as described
below.
Note: The picture in the Video Window will change as you scroll
through the listings in the SETUP menu, even if the Video
Window is locked.
Change system settings
To change your TV Guide On Screen system settings:
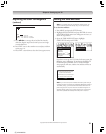
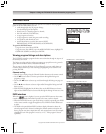
1. In the SETUP menu, highlight CHANGE SYSTEM
SETTINGS, and then press ENTER.
2. Follow the on-screen prompts.
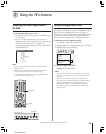
Change channel display
You can customize the channel list as follows:
• Choose which channels are displayed in the LISTINGS menu
by turning them ON or OFF.
• Change the order in which the channels are listed in the
LISTINGS menu.
• Reassign channel numbers (if the number displayed in the
Listings does not match the actual channel number you use to
tune the channel).
To customize the channel list:
1. In the SETUP menu, highlight CHANGE CHANNEL
DISPLAY, and then press ENTER.
2. Follow the on-screen prompts.
To change the channel order: Highlight the station call
letters, and then press the BLUE button to move the
channel up, the GREEN button to move the channel
down, or the Channel Number buttons to assign the
position by number.
To reassign a channel number: Highlight the channel
number and then press the Channel Number buttons on
the remote control to key the new number.
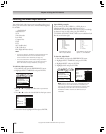
Review options (change the auto display setting)
The TV Guide On Screen program guide automatically opens
each time you turn on the TV.
To disable or enable the auto display setting feature:
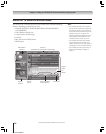
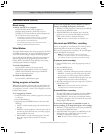
1. In the SETUP menu, highlight REVIEW OPTIONS, and
then press ENTER.
2. Select NO to disable the feature; select YES to enable it.
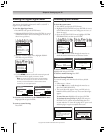
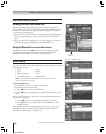
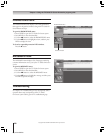
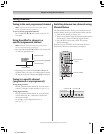
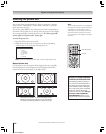
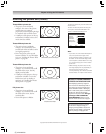
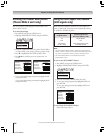
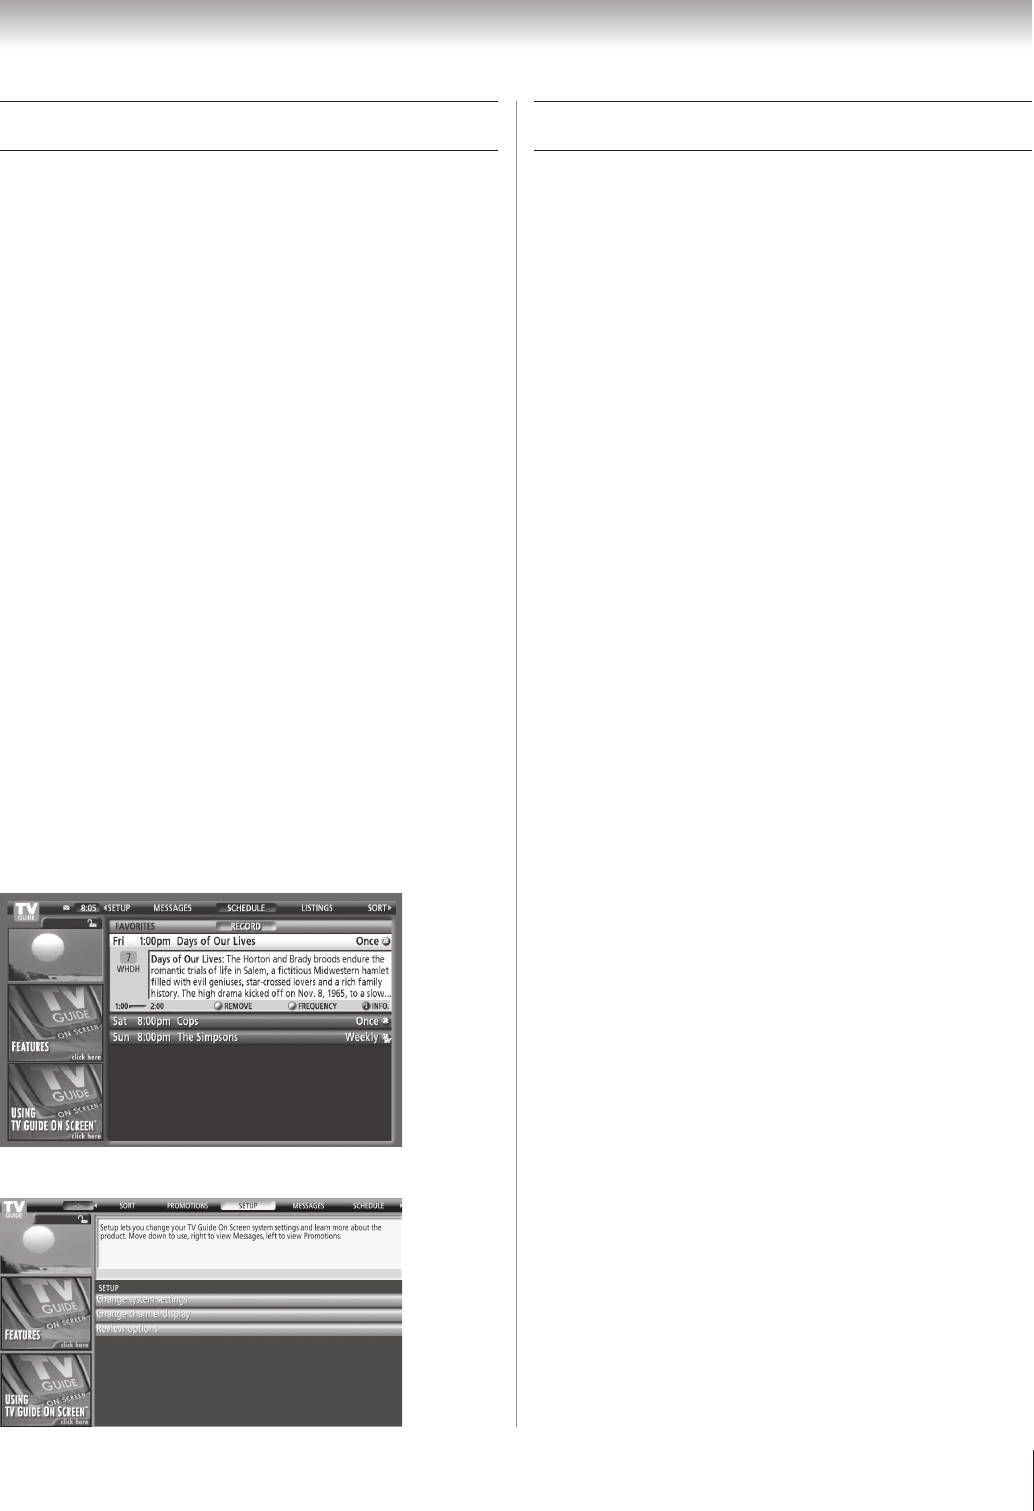
SCHEDULE menu with RECORD sub-menu selected
SETUP menu
SCHEDULE menu
The SCHEDULE menu displays a list of the programs you set
as favorites or to record.
FAVORITES SCHEDULE
The FAVORITES SCHEDULE displays a list of the programs
you set as favorites. (These programs are listed with a heart icon
in the LISTINGS menu; see page 57.)
You can use this list to remove favorites or change their
frequency (see below).
To remove a favorite program or change its frequency:
1. Select the program in the FAVORITES sub-menu of the
SCHEDULE menu.
2. Press the BLUE button to remove the program; press the
GREEN button to change its frequency.
RECORD SCHEDULE
The RECORD SCHEDULE displays a list of the programs you
set to record. (These programs are listed with an “R” icon in the
LISTINGS menu.)
You can use this list to remove programs or change their
frequency (see below).
To remove a recording or change its frequency:
1. Select the program in the RECORD sub-menu of the
SCHEDULE menu.
2. Press the BLUE button to remove the program; press the
GREEN button to change its frequency.


