


103EN 103EN
Disc
Management
Recording PlaybackIntroduction Connections Basic Setup Editing Function Setup VCR Function
Others
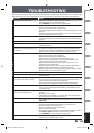
TROUBLESHOOTING
Before requesting service for this unit, check the table below for a possible cause of the problem you are experiencing.
Some simple checks or a minor adjustment on your part may eliminate the problem and restore proper operation.
Symptom Remedy
D
V
D
•
V
C
R
The power does not turn on. • Check that the AC power cord is connected securely.
• Check the breaker (in case of power failure).
• Press [TIMER SET] to cancel the timer standby mode.
There is no picture. • Re-connect the connecting cords securely.
• Check if the connecting cords are damaged.
• Check the connection to your TV (page 19-22).
• Check if the progressive scan mode is set correctly according to your TV
(page 95).
• Switch the input selector on your TV (such as to “L1”) so that the signal
from the unit appears on the TV screen.
Cannot record a TV program. • This unit does not have a tuner to receive TV broadcasting.
• You must connect this unit to an external tuner to record TV programs
(page 19).
TV program pictures are distorted. • Check if all the connections are made correctly (page 19).
Playback picture is distorted. • Keep the device which may cause electrical disturbances, such as a
cellular phone, away.
Playback picture or TV program from
the device connected through the unit
is distorted.
• If the playback picture output from a DVD player, VCR or tuner goes
through the unit before reaching your TV, the copy-protection signal
applied to some programs could affect picture quality. Disconnect the
playback device in question and connect it directly to your TV.
There is no sound. • Re-connect all connections securely.
• Check if the connecting cord is damaged.
• Check the connections to the amplifier input.
• Check if the input device setting on the amplifier is correct.
• When the unit is in pause mode or in slow-motion playback mode,
sound is not output. This is not a malfunction.
• When the unit is in fast forward or fast reverse mode, sound is not
output. This is not a malfunction.
• If the audio signal does not come through the DIGITAL AUDIO OUT
(COAXIAL) jack, check the setting in “Audio Out” (page 90).
• While the setup menu or timer programming display is shown, or while
the screen saver is active, the audio is muted.
No DTS sound on digital output. • Change the setting menu for “DTS” to “ON”.
No DTS sound from analog output • This unit has no analog sound output when playing back the selected
DTS sound mode.
Nothing was recorded even though
you set the timer setting correctly.
• There was a power failure during recording.
• The unit’s internal clock stopped due to a power failure that lasted for
more than 30 seconds. Reset the clock (page 26).
• The program contains copy protection signals that restricts copying.
• The timer setting overlapped with another setting that has priority.
Timer recording does not start. • No disc is inserted.
• A disc is not recordable (finalized DVD-RW/-R, finalized DVD+R, a fully
recorded disc, etc.).
Timer recording is not complete or did
not start from the beginning.
• The timer setting overlapped with another setting that has priority
(page 42).
• Disc space was not enough.
• “Make Recording Compatible“ is not set to “ON”, when recording onto
DVD+RW/+R that was recorded on other unit.
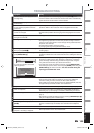
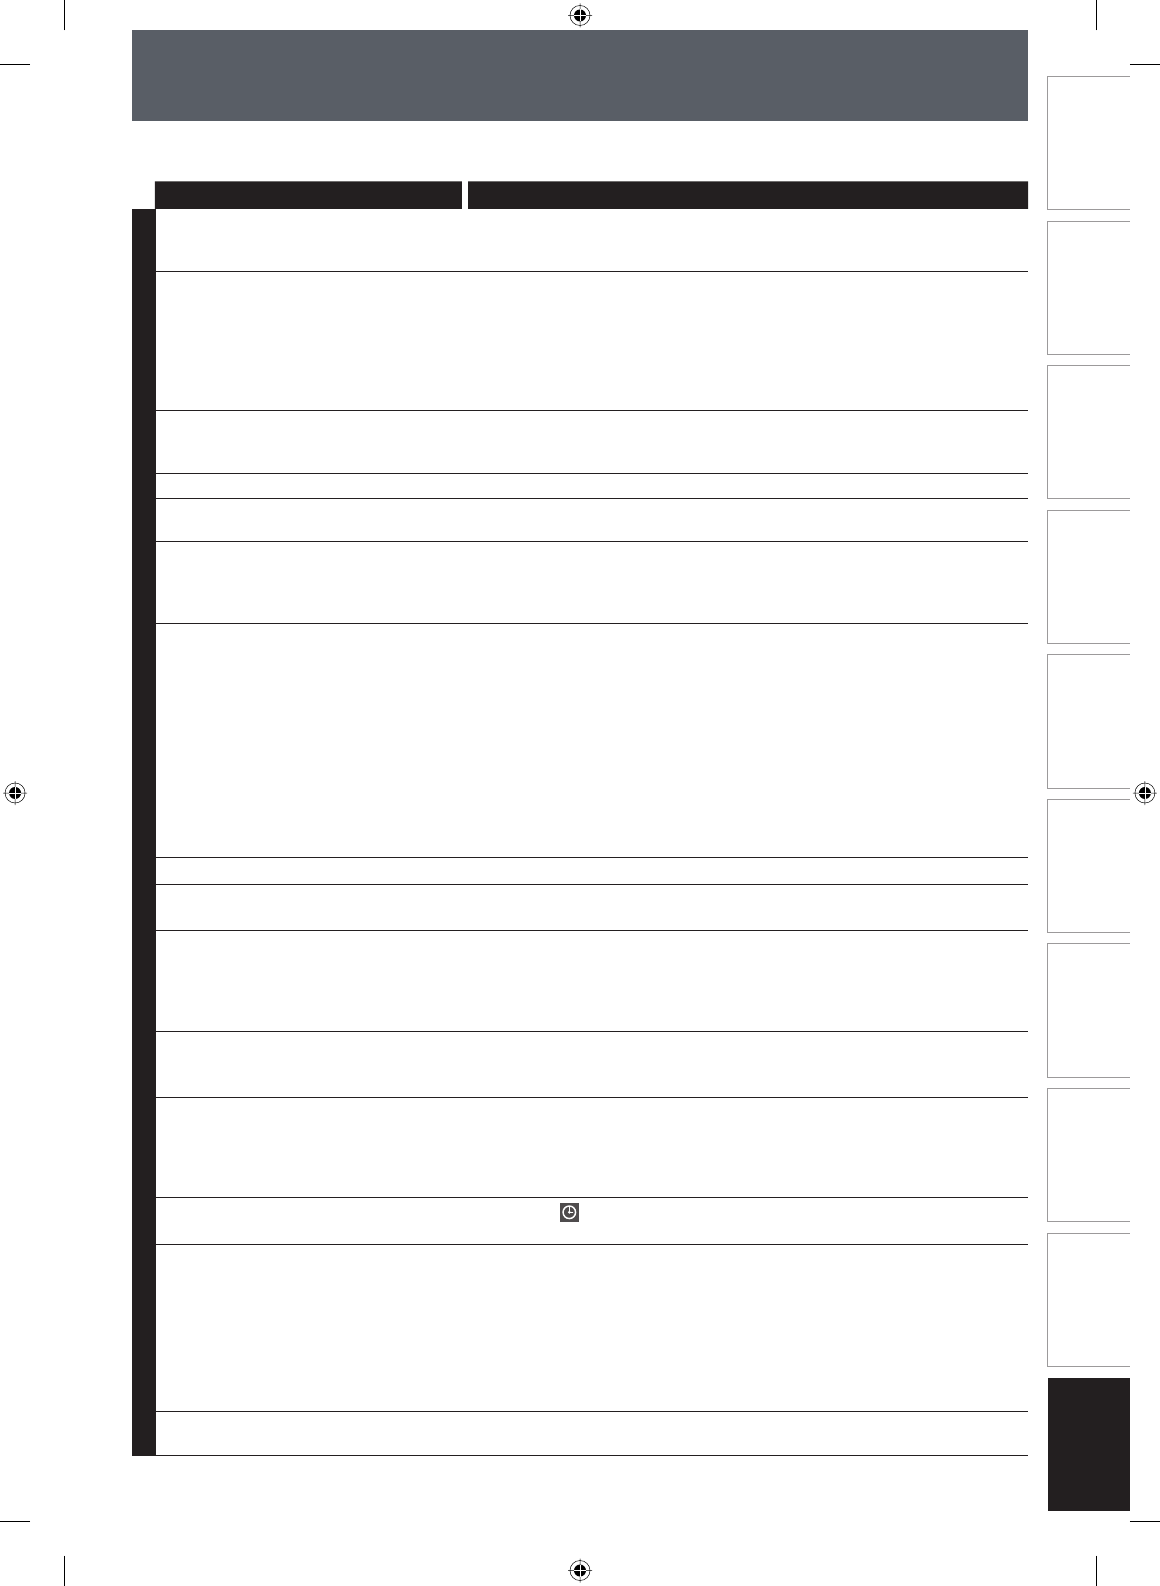
Timer recording is impossible.
• Make sure
appears on the front panel display of this unit. If not, press
[TIMER SET].
The remote control does not function.
• Batteries are weak.
• There are obstacles between the remote control and the unit.
• The remote control is far from the unit.
• There are no batteries in the remote control.
• Check if the unit is turned on.
• The remote control is not pointed at the infrared sensor window on the unit.
• Press [DVD] or [VCR], whichever you need. Then, try again.
• Press [TIMER SET] to cancel the timer standby mode.
The unit does not operate properly. • When static electricity, etc., causes the unit to operate abnormally,
unplug the unit and then plug it in again.
E9PKAUD_DVR620KU_EN.indd 103E9PKAUD_DVR620KU_EN.indd 103 3/25/2009 3:49:10 PM3/25/2009 3:49:10 PM