108
EMERGENCY AGENT OVERVIEW
The Emergency Agent software is a utility that streams video across a Local Area Network to a Client PC when an alarm is detected
on the DVR. The video that streams across can be stopped, played forwards and backwards, in slow motion or real speed.
The utility is loaded at startup and placed in the taskbar. It constantly monitors for a signal from the DVR. When an alarm signal is
detected the Emergency Agent Image Viewer window opens and starts playing the video from the camera associated to the alarm.
Configuring the DVR
To enable the Emergency Agent on the DVR follow these steps:
1. Enter Setup and confirm you are in the Camera Setup menu.
2. Select a camera and then associate sensor(s) to that camera using the Sensor Connection check boxes.
3. Click the Network Setup button and make sure that Disable Remote Control is cleared.
Note The Emergency Agent uses one port to transfer the data through (the Emergency Port). The port can be
adjusted inside the Network Setting menu if necessary. It is recommended that the default setting should be
used unless the port must be changed.
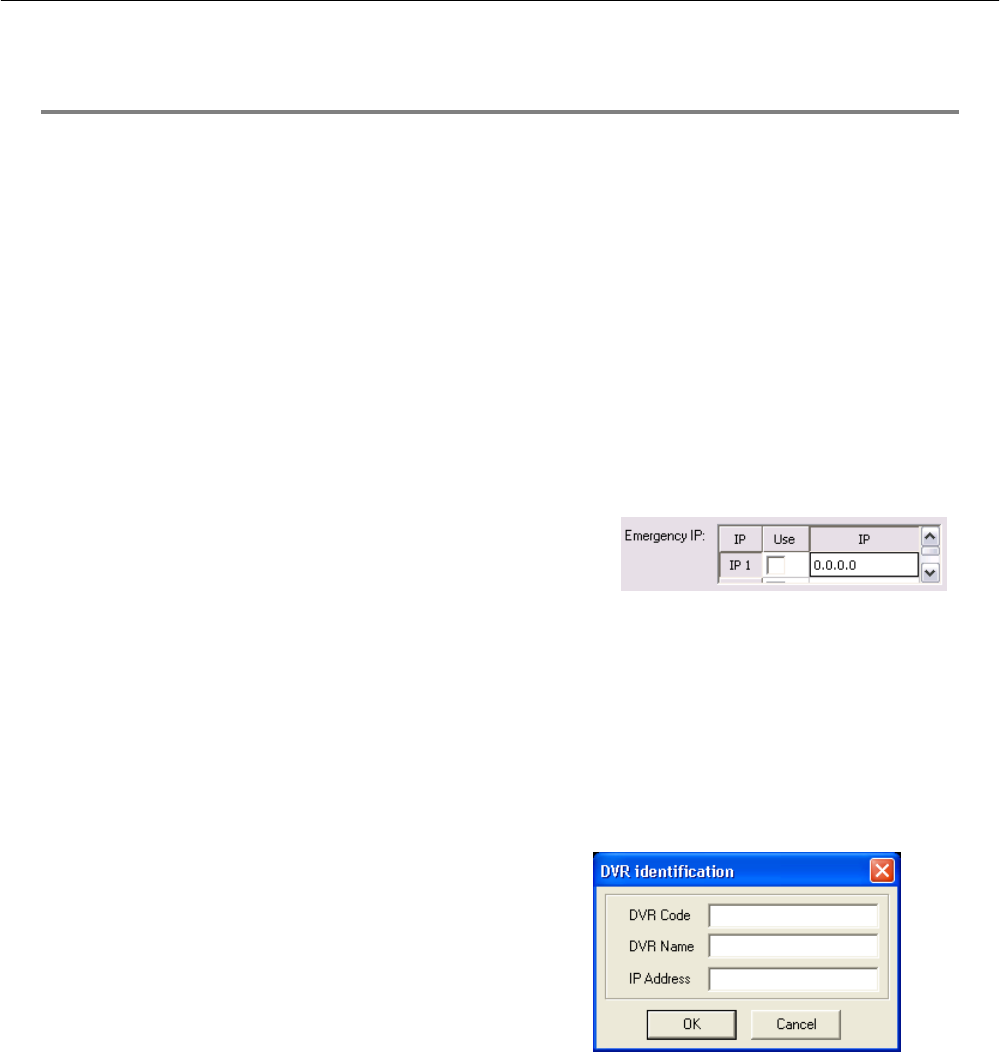
4. Click the Schedule Setup button. Enter the IP Address of the computer
running the Emergency agent software.
5. Click the box next to the IP Address to enable it.
6. Select the Sensor radio button.
7. Create a schedule for the appropriate sensor
8. Click Apply.
Configuring the Client PC
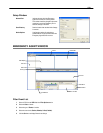
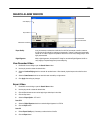
All configurations take place in the Emergency Agent window on the Client PC for descriptions and locations of the buttons and
features of the Emergency Agent window refer to the Emergency Agent window section later in this chapter.
1. Open the Emergency Agent window on the Client PC - Start >All Programs > Surveillix > Emergency Agent > Emergency Agent
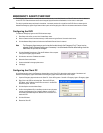
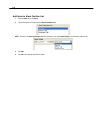
2. Right Click in the DVR list and select New. Enter the DVR Code,
DVR Name, and IP Address of the DVR to connect to in the Site Edit
window that opens. Click OK
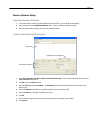
3. Click the Options menu and select Setup.
4. Confirm that the Network Port in the Setup window is set to the same
number as the Emergency Port in Network Settings on the DVR. If
the numbers are different adjust the Network Port on the client PC to
match the DVR.
5. Click the OK button
6. Restart the Client PC


