39
HLV66 (E/F) Web 213:276
Chapter 5: Using the TV’s features
Using the PC setting feature
You can view the image from a PC on the TV screen. The PC
must be connected to the TV’s PC IN terminals
(- Installation Guide).
You can use the PC Settings feature to adjust the picture’s
horizontal position/width, vertical position/height, clock
phase, and sampling clock.
If the edges of the picture are cut off, readjust the Horizontal
Position/Width and Vertical Position/Height. If the
picture is affected by interference, readjust the Clock Phase
and Sampling Clock.
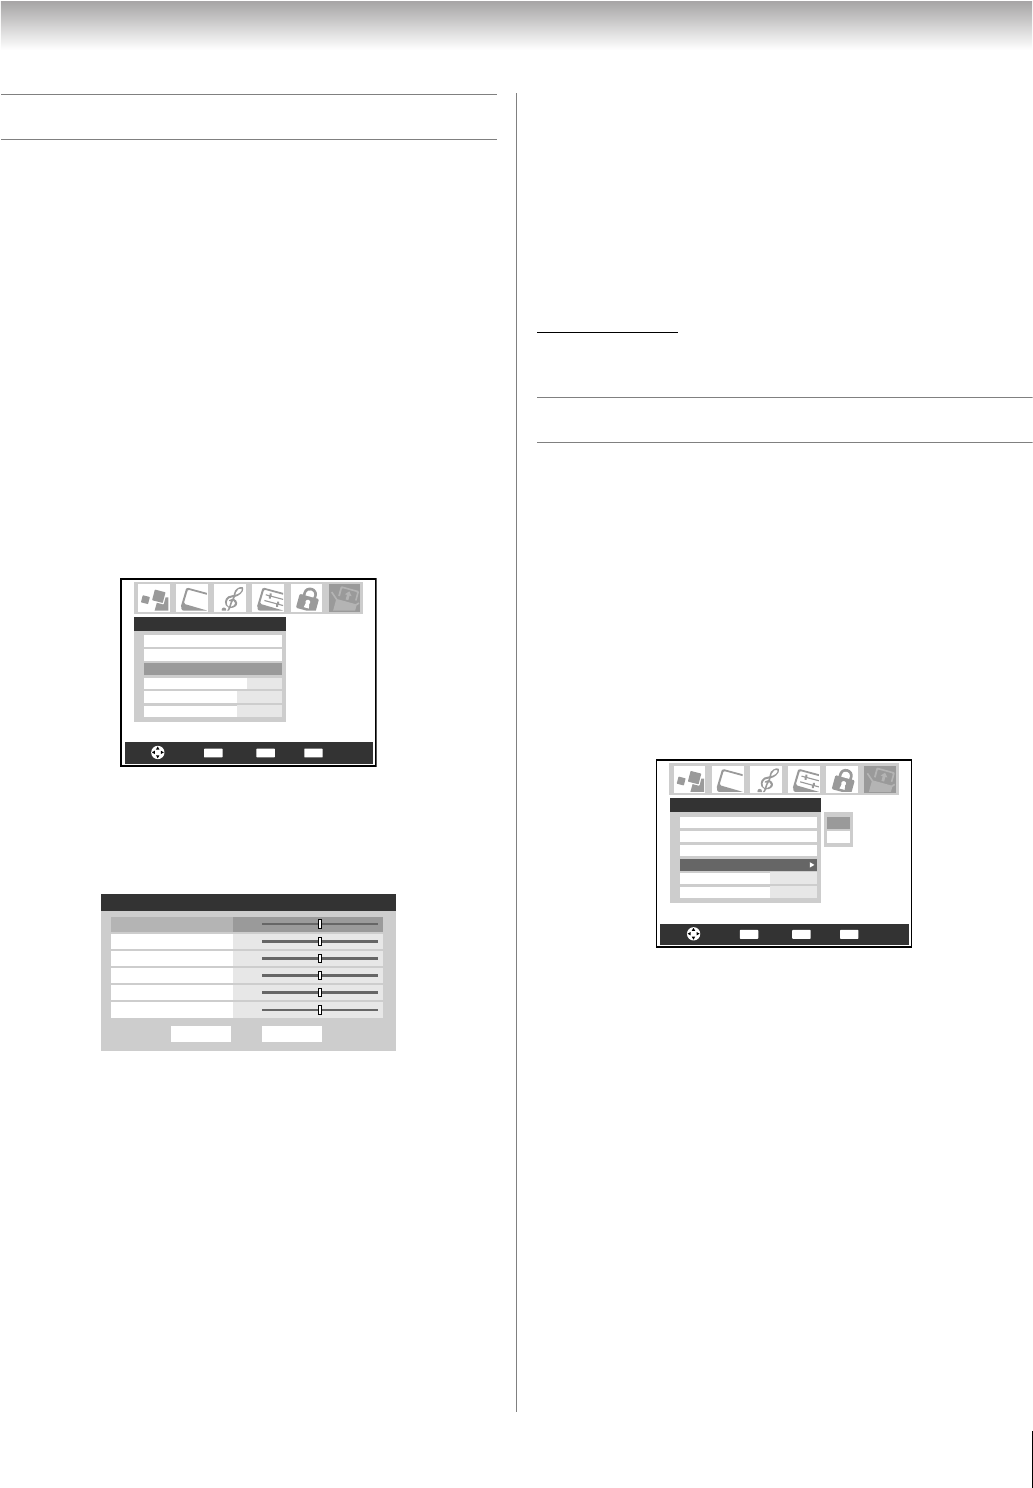
To adjust the PC settings:
1 Repeatedly press + to select PC input mode
(- “Selecting the video input source to view” page 23).
2 Press Y and open the Setup menu.
3 Highlight PC Settings and press T.
Note: If a PC is not connected, this feature will be grayed
out in the Setup menu.
4 Press B or b to highlight the item you want to adjust.
5 Press C or c to make the appropriate adjustments.
Note: The screen is disrupted momentarily when
adjusting the PC settings. This is not a sign of malfunction.
•
Horizontal Position:
Moves the picture left/right.
The adjustment range is within ±5 from center.*
• Vertical Position:
Moves the picture up/down.
The adjustment range is within ±5 from center.*
• Horizontal Width:
Adjusts the width of the picture.
The adjustment range is within ±5 from center.*
• Vertical Height:
Adjusts the height of the picture.
The adjustment range is within ±5 from center.*
• Clock Phase:
Helps to reduce noise and sharpen the picture.
The adjustment range is within ±2 from center.*
• Sampling Clock:
Helps to reduce noise and minimize periodic vertical stripes
on the screen.
The adjustment range is within ±15 from center.*
* The range of adjustment may vary slightly.
PC Audio
This function allows you to output the sound from your PC (if
connected) or mute the sound from your PC and output the
sound from your HDMI connection. (- Installation Guide)
To set the PC Audio:
1 Press Y and open the Setup menu.
2 Highlight PC Audio.
3 Press c and then press b to select No or Yes.
Yes: Outputs the sound from your PC.
No: Mutes the sound from your PC, and outputs the
sound from the HDMI connection.
Note: The PC Audio switch setting influences the HDMI
Audio setting. If it is set to No, the HDMI Audio setting
changes to Auto. If it is set to Yes, the HDMI Audio
setting is set to Digital and will be grayed out.
CH RTNENTER
EXIT
Navigate
Select
Back Exit
Installation
Sleep Timer
PC Settings
Setup
PC Audio
HDMI Audio
No
Auto
2 Sec
Slide Show Interval
Done
PC Settings
Horizontal Width 0
Vertical Position
Reset
Horizontal Position 0
0
0
0
0
Vertical Height
Clock Phase
Sampling Clock
CH RTNENTER
EXIT
Navigate
Select
Back Exit
Yes
No
Setup
Installation
Sleep Timer
PC Settings
PC Audio
Auto
HDMI Audio
No
2 Sec
Slide Show Interval
263237HLV66_EN.book Page 39 Thursday, June 22, 2006 1:32 PM


