


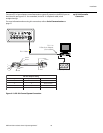
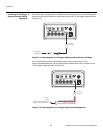
Installation
Vidikron Vision 50 Series Owner’s Operating Manual 33
PRE
L
IMINAR
Y
3.11
Installing and Adjusting
the CineWide Anamorphic
Lens
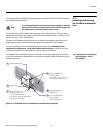
If you are installing a CineWide-equipped projector, proceed as follows to install and adjust
the CineWide anamorphic lens.
The standard Vision 50/CineWide uses a prismatic-style anamorphic lens. This type of lens
compresses the height of the image (as opposed to stretching the width) to achieve a 2.35:1
aspect ratio with a 1.78:1 display device.
The Vision 50/CineWide with AutoScope uses a cylindrical anamorphic lens with a much
larger aperture than the prismatic lens used with the standard Vision 50/CineWide.
If you are installing a Vision 50/CineWide with AutoScope, refer to Anamorphic Lens
Installation and Adjustment - Vision 50/CineWide with AutoScope on page 36. If you are
installing a standard Vision 50/CineWide, continue with the next section.
Anamorphic Lens Installation
and Adjustment - Vision
50/CineWide
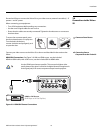
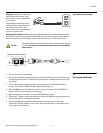
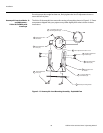
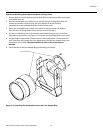
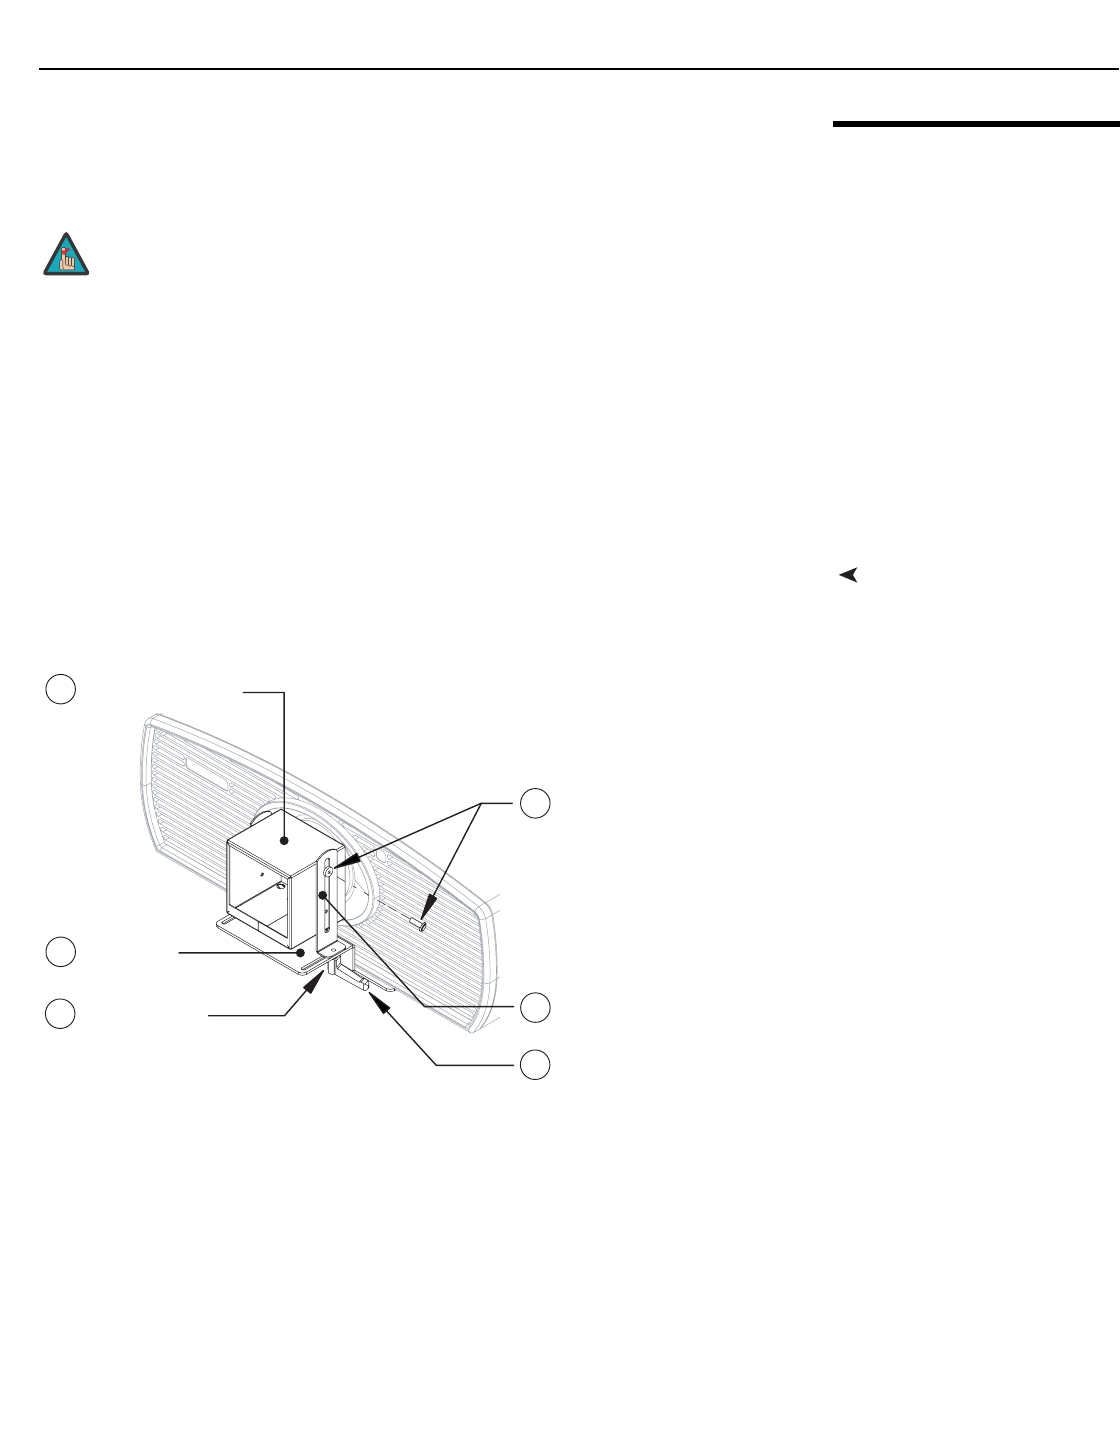
The standard Vision 50 Anamorphic lens mount kit consists of everything shown in Figure
3-16. Some components shipped with your projector may differ slightly from what is shown
in these instructions.
Figure 3-16. Standard Vision 50 Anamorphic Lens Mounting Assembly
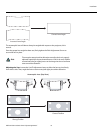
It is extremely important that the primary lens is properly adjusted
before you install the anamorphic lens. Ensure that the image from
the primary lens is perfectly centered on the screen.
Note
2 Base Plate
5 Vertical Mounting
Bracket (2x)
6 Pitch/Y-Adjustment
Screw, Phillips
Pan Head, 4-40 x 3/8” (2x)
and Fender Washer (2x)
4 Yaw/Z-Adjustment
Lever (2x) and
Fiber Washer (2x)
1 Anamorphic Lens
3 Screw, Phillips
M6x16mm (4x) and
1/4” Flat Washer (4x)
(not shown; secures Base Plate
to bottom of projector)