


Installation
40 Vidikron Vision Model 65/Model 75 Installation/Operation Manual
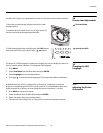
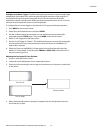
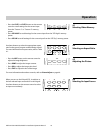
Focus: Finally, rotate the Focus Ring on the anamorphic lens
to fine-tune the optical focus.
Whitney (Prismatic)
Anamorphic Lens Installation
and Adjustment
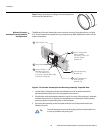
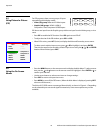
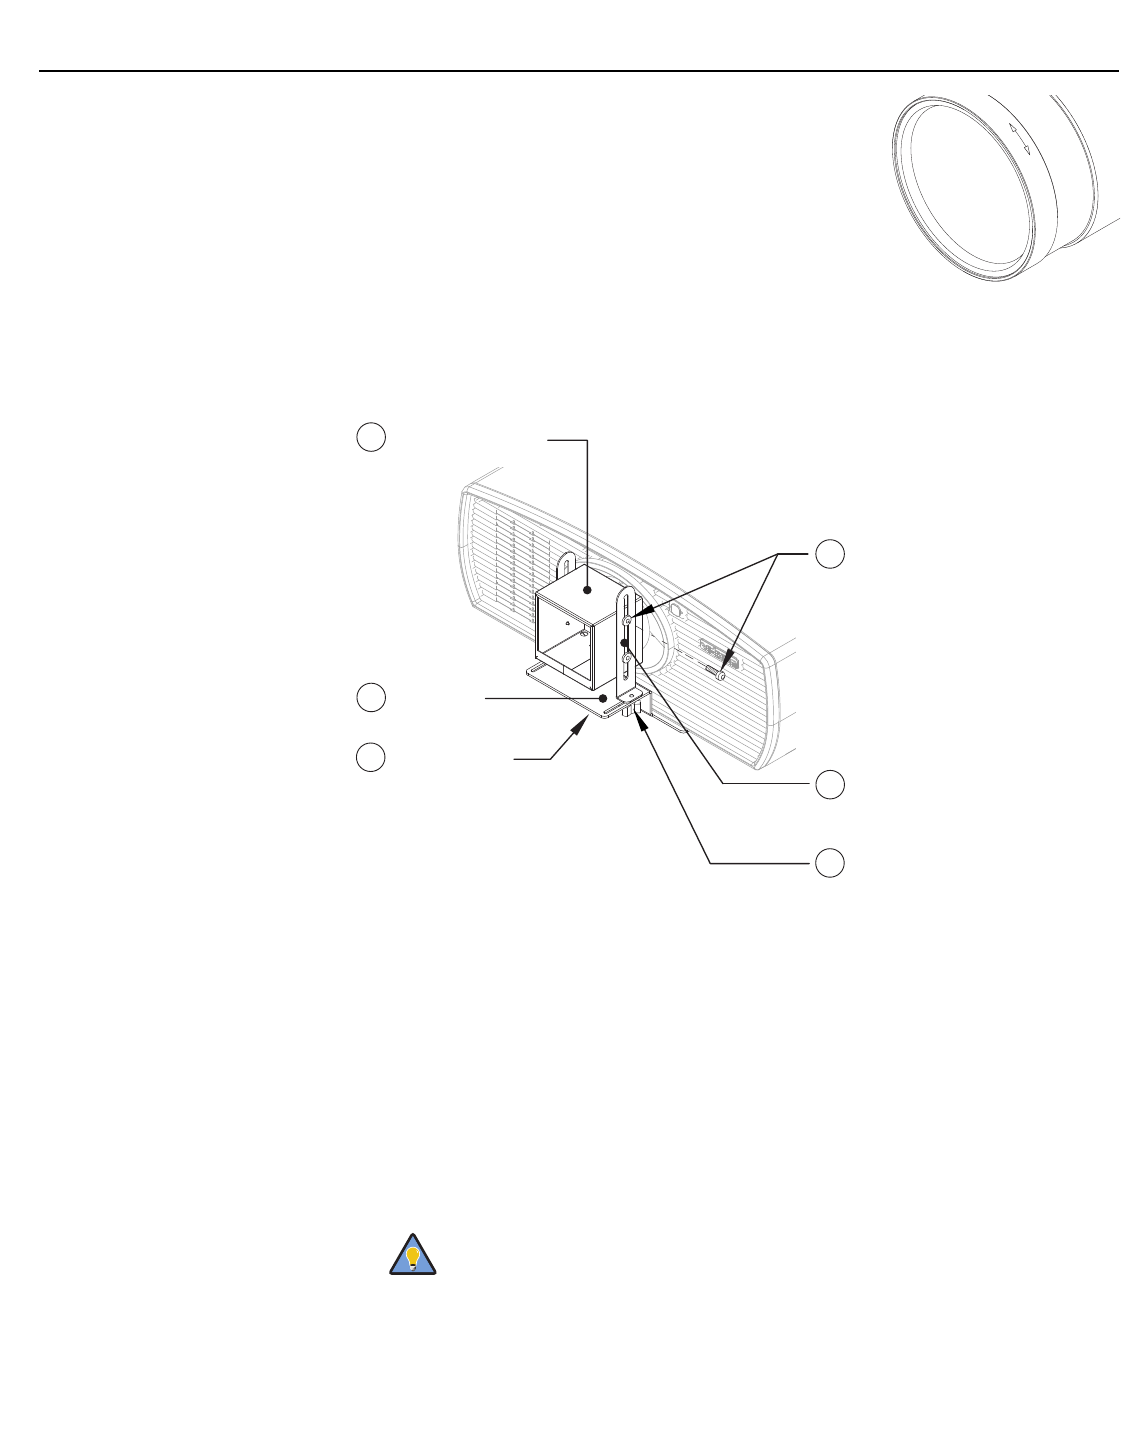
The Whitney (Prismatic) Anamorphic lens mount kit consists of everything shown in Figure
3-19. Some components shipped with your projector may differ slightly from what is shown
in these instructions.
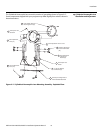
Figure 3-19. Prismatic Anamorphic Lens Mounting Assembly - Exploded View
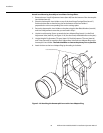
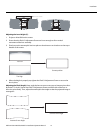
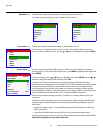
1. Use the Pitch/Y-Adjustment Screws and Washers (item #6) to attach the Vertical
Mounting Brackets (item #5) to the Anamorphic Lens (item
#1).
2. Place the lens with the brackets installed on top of (or under, if the projector is inverted)
the Base Plate (item #2), so that the two threaded posts at the bottom of the brackets
pass through the corresponding slots on the base plate.
3. Secure the lens assembly to the base plate with the Yaw/Z-Adjustment Knobs and
Washers (item #4).
F
O
C
U
S
➤
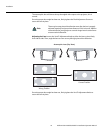
To avoid clipping the corners of the image, position the anamorphic lens
as close as possible to the primary lens.
2 Base Plate
5 Vertical Mounting
Bracket (2x)
6 Pitch/Y-Adjustment
Screw, Phillips
Pan Head, 4-40 x 3/8”
(4x) and Fender
Washer (4x)
4 Yaw/Z-Adjustment
Knob (2x) and
Washer (2x)
1 Anamorphic Lens
3 Screw, Phillips
M6x16mm (2x) and
1/4” Flat Washer (2x)
(not shown; secures Base Plate
to bottom of projector)
Tip