


VIZIO RP56 User Guide
040330 36
Teaching the Remote Control New Functions
The remote control can learn up to 25 additional functions from the component’s original remote control.
Example:
Your DVD player remote control has a scan function that you may use frequently. There is not a scan
button on the remote control. You can assign a button and use the DVD remote to teach the remote
control the scan function.
Make sure that you have already
programmed the remote control for
the component. See “Programming
the universal remote control” on
pager 34.
Make sure that area lighting is not
too bright or it will interfere with the
learning process.
1. Press and hold the SETUP button on the Universal Remote Control until the LED flashes twice.
2. Press 9 7 5. After this number sequence has been entered the LED will flash twice.
3. Press the component button that you want to teach (DVD) once.
4. Press the button to which you want to assign the new function. The LED flashes quickly while it
is waiting to receive the signal from the teaching remote.
5. Hold the teaching remote control approximately 1-inch (25mm) from the Universal Remote
Control making sure that the infrared ports are lined up, on the teaching remote press the button
that you want the Universal Remote Control to learn. The LED flashes twice.
6. Press the SETUP button to exit the learning mode.
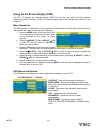
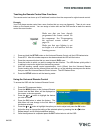
Using the Universal Remote Control
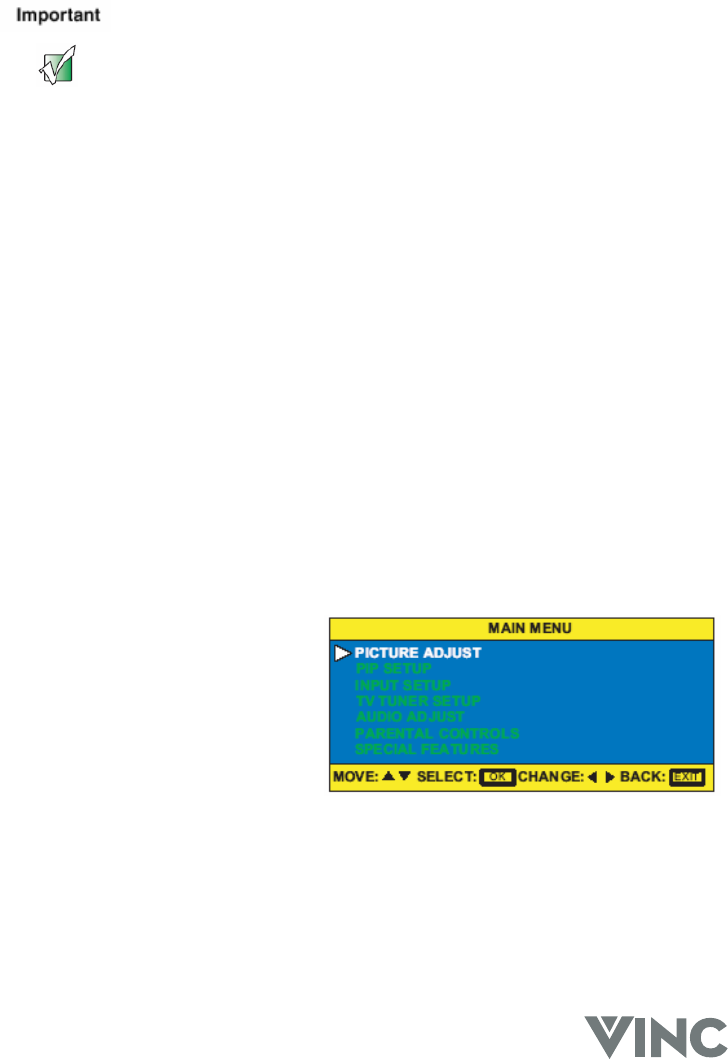
To access the OSD with the Universal Remote Control:
1. Press the TV component button.
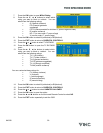
2. Press the MENU button on the Universal Remote
Control and the Main Menu will be displayed on
the screen, as shown opposite.
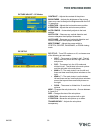
3. Press the T or S button to highlight the feature
you wish to select.
4. Press the OK button to select the feature. The
Main Menu will now change to the Sub Menu of
the feature selected.
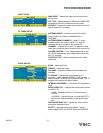
5. Press the T or S button to highlight the option you wish to adjust and press the OK button.
6. Adjust the level or change the setting of the selected option by pressing the ◄ or X button.
7. Repeat steps 5 and 6 to adjust additional options.
8. Once the adjustment is completed press the EXIT button twice to exit the OSD.