


User Manual
25
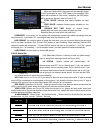
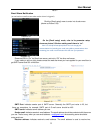
Web port: Same as the Server Port you setup in the DVR, it needs to be forwarded to the IP address of
the DVR, setting range is between 1024 and 65535, the default setting is 18600. Note: this port is in addition
to the ports used for standard remote access.
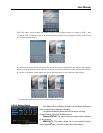
Channel: Select the channel from the DVR you want to monitor and click [OK] button (red box in Pic 7) to
display the screen in Pic 8 and start video connection.
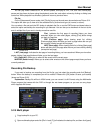
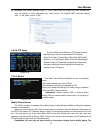
6. Main interface operation (Pic 8)
Click [Disconnect] button to stop displaying live image of the channel.
Click [Setting] button to modify the settings.
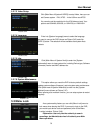
7. Video connection Display
Normal Mode:
You will find network connection status info under the video image:
Display on the left corner: Network transmission speed, Frame rate and Resolution.
Display on right corner: percentage of buffer display, Connection success,Connection fail, Play and Stop.
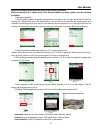
Function of Buttons under the video image from left to right: PTZ control (Left, Right, Up and
Down), area select (Zoom out and Zoom in), Focus (Add “+” and deduct “-”) and Iris (Add “+” and
deduct “-”) and Snap to capture screen image.
8. Display mode: You can convert normal display into full-screen display by clicking
the screen on the mobile phone (displayed as Pic 9)
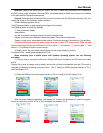
When accessing from a mobile phone with Symbian operating system, use the following
procedure:
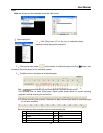
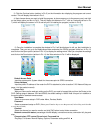
1. First you need to copy the file with suffix “QQeye.CAB” that is included on the CD disk to the mobile
phone.
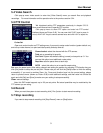
Copying file is save to storage card by default, and the file can also be transmitted from the CD through a
computer by Bluetooth technology to save to Inbox (Pic 1). Select the QQEye program (red box in Pic 1)
which will display Pic 2.
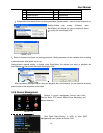
2. Select the QQEye icon in this window (red box in Pic 2) to install it, this will display Pic 3).
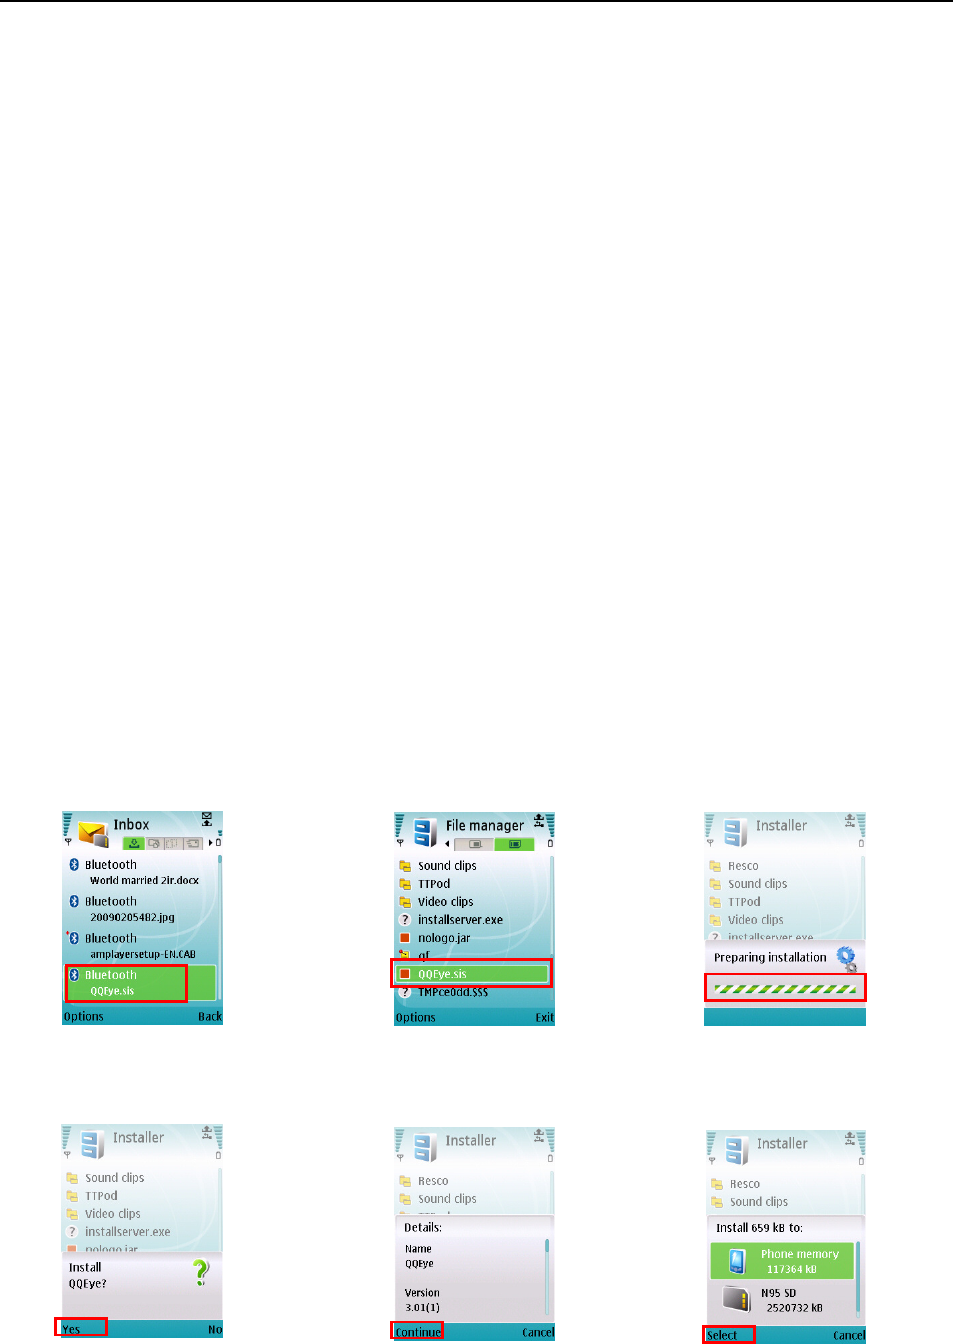
After the phone finishes preparation it will display Pic 4 asking for permission to install the program.
Select the Yes button (red box in Pic 4). This will display the window in Pic 5.
``
Pic 4
Pic 5
Pic 6
Pic 2
Pic 3
Pic 1