User Manual
33
Log in Net-viewer and show the interface as follows
6.3.1 Menu column (Section 1 on Picture 6-3)
6.3.2 PTZ Control (Numbers 2, 3, 4 on Picture 6-3)
6.3.3 Live Play Control (Numbers 6 through 10 on Picture 6-3)
6.3.1 Menu column
Menu column include [Live] menu, [Replay] menu and [Setup] menu and [Logout] menu.
6.3.1.1 Live
After Logging-in to system, system will enter into Live display (shown as Picture 6-3).
6.3.1.2 Replay
Play button: [Play]/[Pause]
Stop button: stop playing recording.
F.F. button: fast forward playback recording
Slow button: slow playback recording.
Next Frame: play frame by frame.
264 TO AVI button: convert file from H.264 format to AVI format
The native format of the backup files is H.264, you can convert H.264 format into more familiar AVI format
by clicking the key of 264 to AVI.
6.3.1.3. Setup
Click [Setup] menu to enter into its sub menu, including [Recording Mode] menu, [Alarm Mode] menu,
[PTZ Control] Menu, [Network Setting] menu, [System Setting] menu and [Host Info] menu.
Explanation: Only when DVR is on the status of live display, you could modify and save its parameters
remotely at this moment, the settings are available. The modification method to DVR via Net-viewer is the
same as local adjustment of DVR.
Record
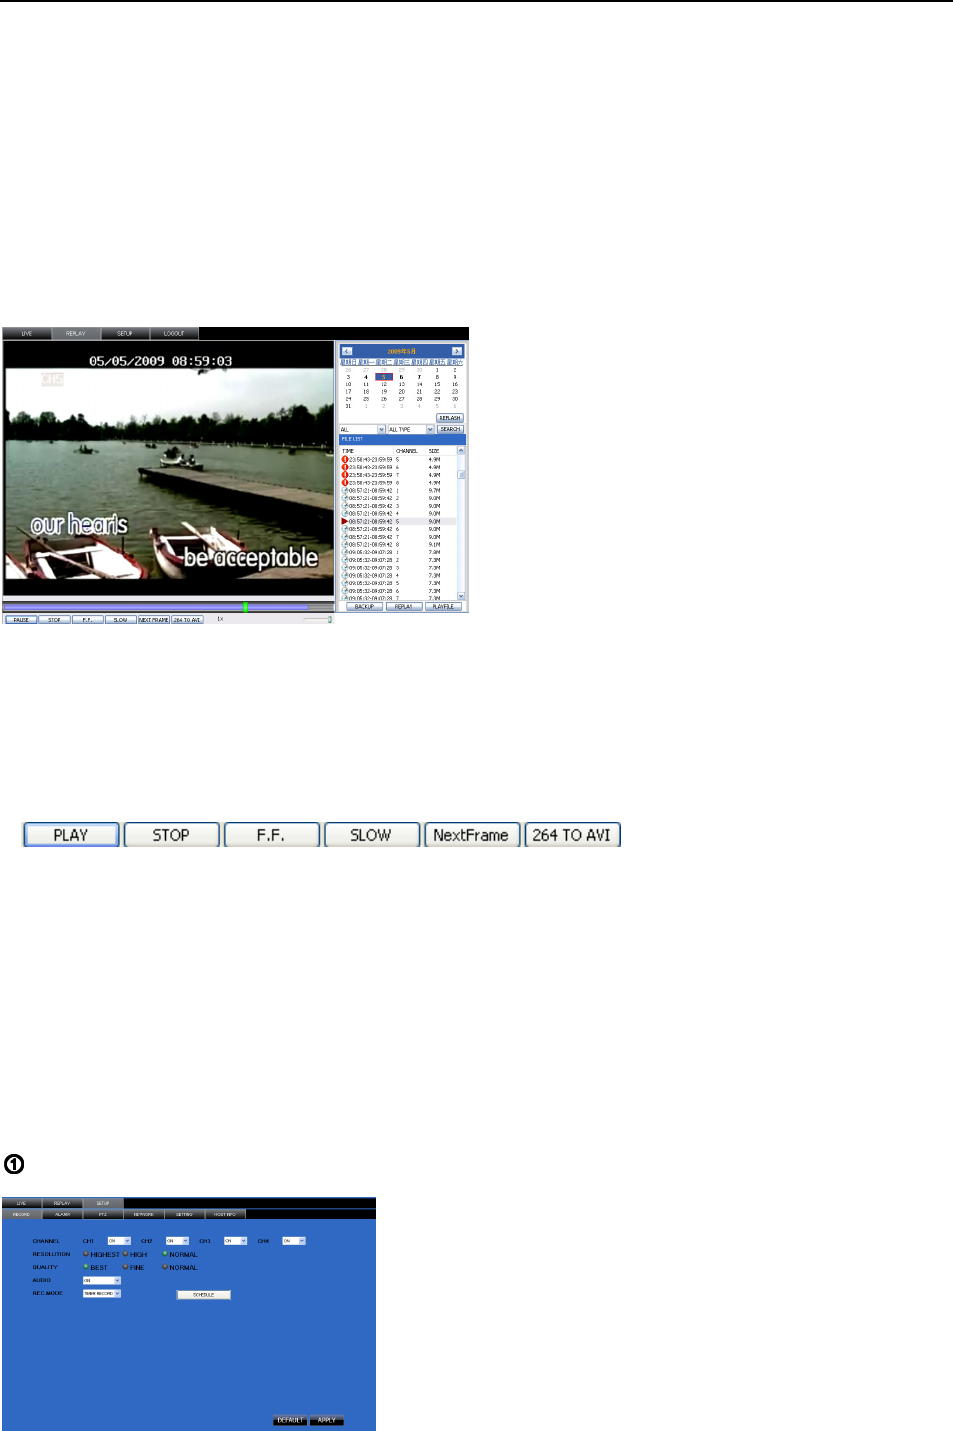
This option allows you to playback recordings
remotely.
First select the day, channel and type and
proceed searching and refreshing; second select
any event from search result list to playback.
Please note you can control playing speed by
sliding the playing-control bar on the bottom of
the interface (shown as Picture 6-4).
Picture 6-5
Enter into sub menu – [Recording Mode] menu, you can
select on/off for every channel, and adjust recording
parameters (resolution, quality, audio, REC mode and
Schedule) remotely via Net-viewer.
(Section 1 on Picture 6-3)
