


4
Installing the stand or wall-mount bracketDX-19L200A12
Installing the stand or
wall-mount bracket
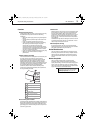
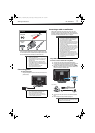
Installing the stand
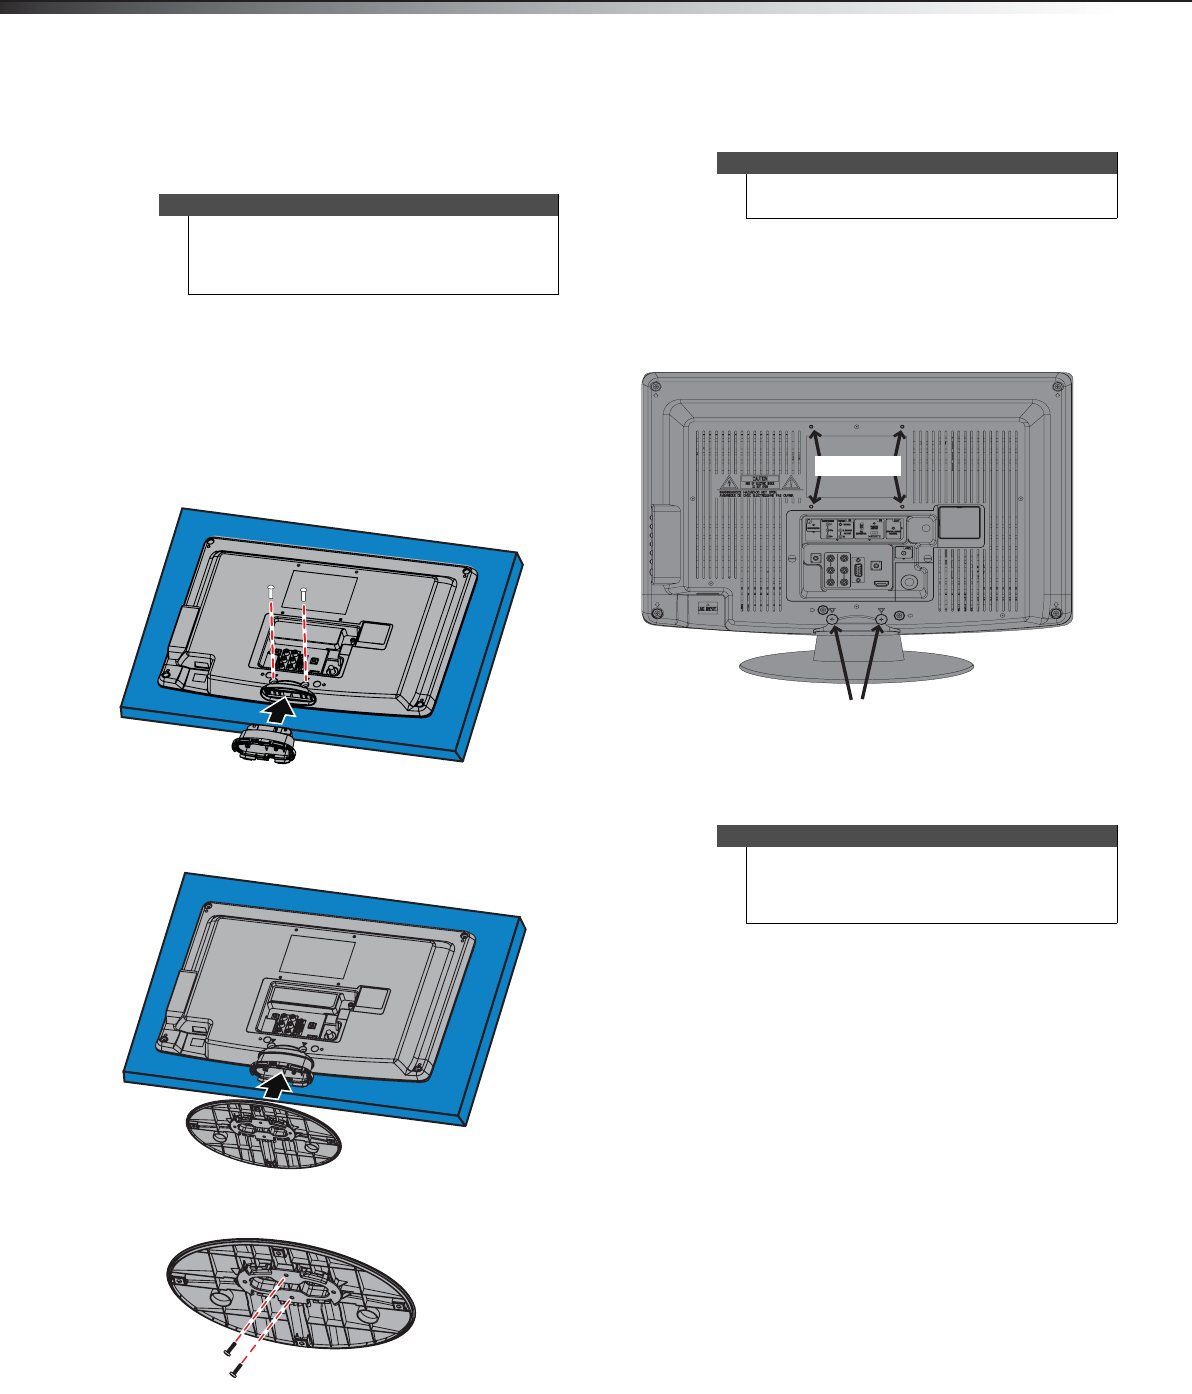
To install the stand:
1 Carefully place your TV screen face-down on a
cushioned, clean surface to protect the screen from
damages and scratches.
2 Align the stand column with the TV, then secure the
column to the TV with the two screws (M4 x 25mm)
provided.
3 Make sure the wide portion of the stand base faces
the front of your TV. Align the base with the stand
column, then secure the base to the column with the
two screws (M3 x 8mm) provided.
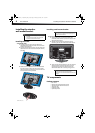
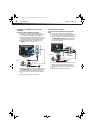
Installing a wall-mount bracket
To attach your TV to a wall-mount bracket:
1 Carefully place your TV screen face-down on a
cushioned, clean surface to protect the screen from
damages and scratches.
2 Remove the two screws that secure the stand
column to your TV, then remove the stand column.
3 Attach the wall-mount brackets to your TV using the
mounting holes on the back of your TV. See the
instructions that came with the wall-mount for
information about how to correctly hang your TV.
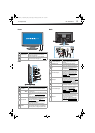
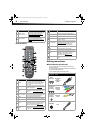
TV components
Package contents
•19” LCD TV
• Remote control and batteries (2 AAA)
• Stand and stand column with screws
•AC power cord
• Composite cable
•Quick Setup Guide
Notes
• If you plan to wall-mount your TV, do not install
the stand.
• Store the stand and stand screws in case you
decide to use the stand in the future.
Stand column
Stand
base
Two M4 x 8mm screws
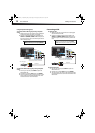
Warning
This apparatus is intended to be supported by a UL
Listed wall mount bracket.
Note
The length of the wall-mount screws vary depending
on the wall-mount you purchased. See the
instructions that came with the wall-mount for screw
lengths.
Bracket holes
Remove screws
DX-19L200A12_11-0606 MAN_ENG_V1.book Page 4 Thursday, November 3, 2011 10:06 AM