Adjusting the sound
15
DX-32L151A11/DX-37L130A11
4 Press or to highlight an option, then press or to adjust
the option. You can select:
• Color Temperature—Selects the color temperature. You
can select Warm (to enhance the reds), Cool (to enhance
the blues), or Normal.
• Zoom Mode— Selects the aspect ratio of the picture. You
can select:
• Auto (selects the correct aspect ratio automatically.
Available only when Auto Zoom is turned ON).
• Normal (selects the correct aspect ratio to match the
source image).
• Wide (shows a full-screen picture).
• Zoom (enlarges the picture but may crop the top and
bottom).
• Cinema (stretches the picture at the edges, but
maintains a good aspect ratio at the center of the
screen).
Notes:
• The above aspect ratios are all available only when Overscan is
turned ON when watching a digital program.
• You can also press ZOOM on the remote control to select the aspect
ratio of the picture.
• Noise Reduction—Selects the noise reduction mode to
reduce picture noise (snow). You can select Weak, Middle,
Strong, or Off.
• Overscan—Turn this On to adjust the picture’s
reproduction rate.
• Adaptive Contrast—Turn this On to optimize the picture
display for a more vivid image.
• DCR—Turn this On to activate the Dynamic Backlight
Control function. Depending on the signal, the TV
automatically adjusts the backlight level, which affects the
overall brilliance of the picture.
• Auto Zoom—In TV mode, setting Auto Zoom to On lets you
set the Zoom Mode to Auto.
5 Press MENU to return to the previous menu, or press EXIT to
close the menu.
Adjusting the computer image
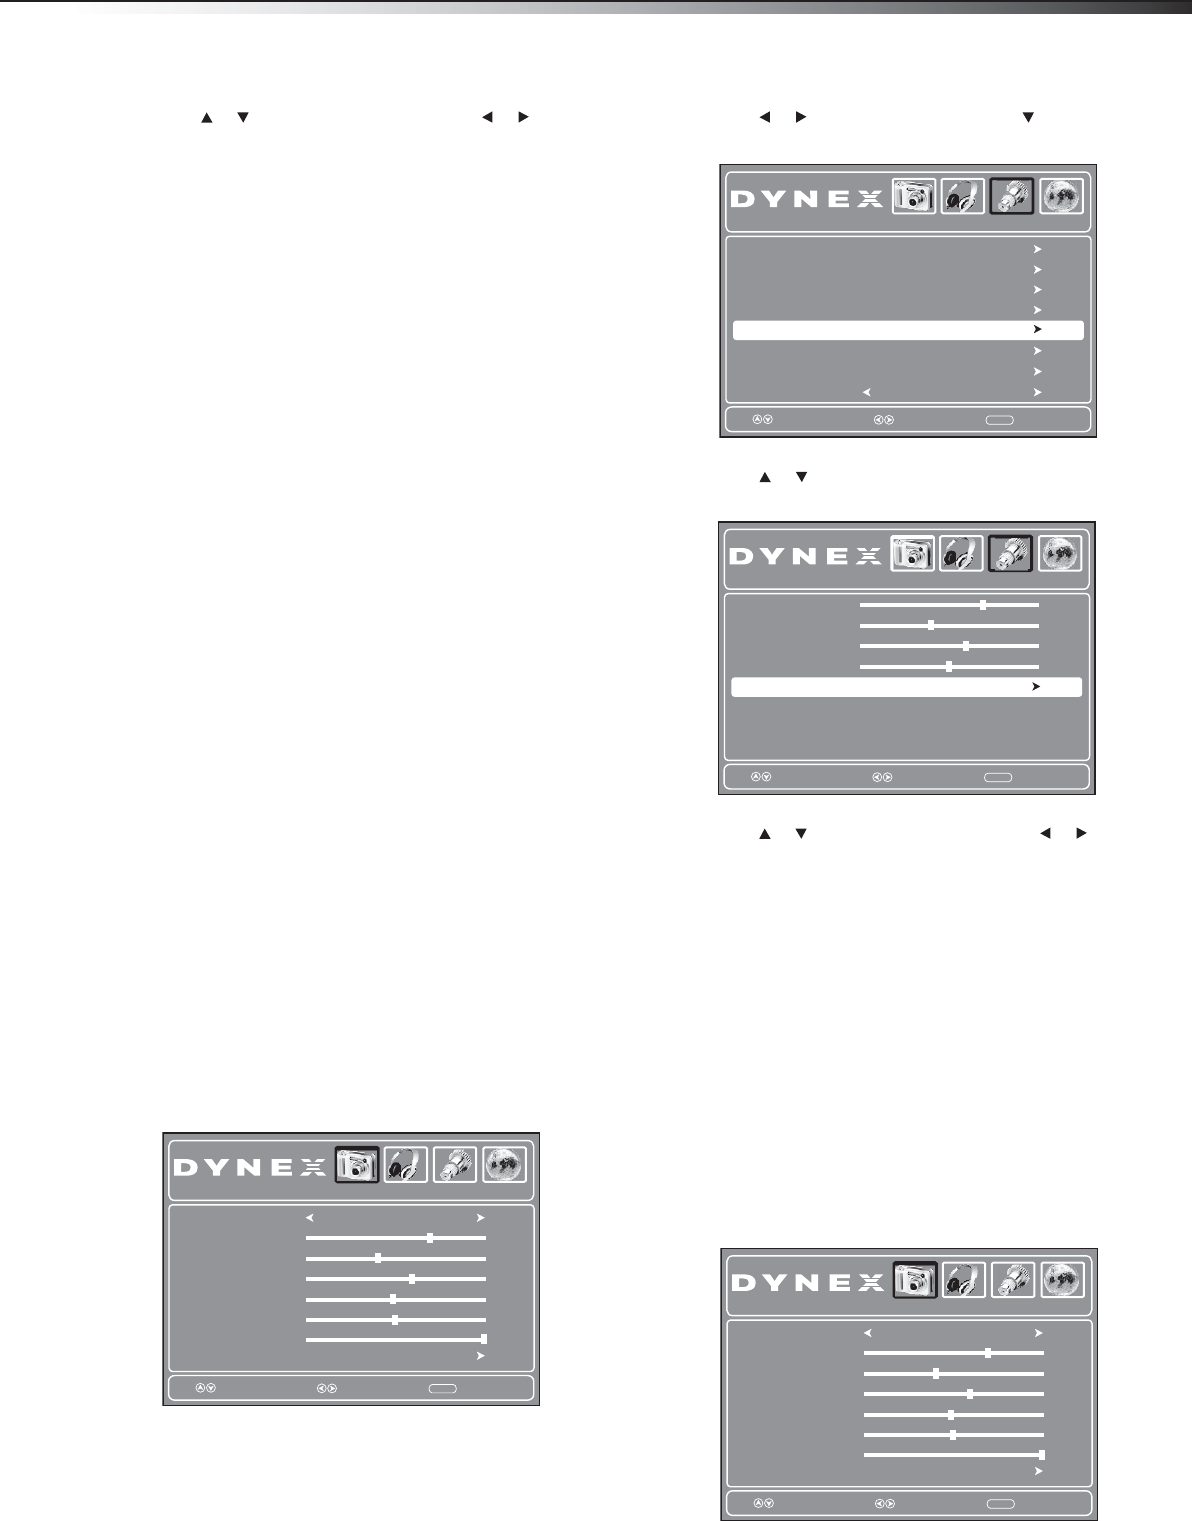
To adjust the computer image:
1 Make sure that your TV is in VGA mode. For more information, see
“Selecting the video input source” on page 12.
2 Press MENU. The on-screen menu opens.
3 Press or to highlight Setup, then press . The Setup menu
opens.
4 Press or to highlight VGA Settings, then press ENTER. The
VGA settings menu opens.
5 Press or to highlight an option, then press or to adjust
the option. You can adjust:
• H-Position—Moves the image right or left
• V-Position—Moves the image up or down
• Clock—Adjusts the sample frequency
• Phase—Adjusts the focus of stable images
• Auto—Automatically adjusts the image settings such as
position and phase
6 Press MENU to return to the previous menu, or press EXIT to
close the menu.
Adjusting the sound
Adjusting the sound
To adjust the sound:
1 Press MENU. The on-screen menu opens.
Picture
Select
Move
MENU
Exit
Picture Mode
Contrast
Brightness
Color
Tint
Advanced Video
Audio Setup Channel
Custom
70
40
60
0
Sharpness
50
Backlight
30
MENU
Exit
Time
Closed Caption
Menu Settings
Input Label
Restore Default
Audio Only
Audio Channel
Parental Controls
O
SetupPicture
Select
Move
VGA Settings
Move
MENU
Exit
V . Position
Clock
Phase
Audio Channel
H . Position
SetupPicture
Auto
70
40
60
50
Select
Picture
Select
Move
MENU
Exit
Picture Mode
Contrast
Brightness
Color
Tint
Advanced Video
Audio Setup Channel
Custom
70
40
60
0
Sharpness
50
Backlight
30
DX-32L151A11-37L130A11_10-0567.book Page 15 Tuesday, June 1, 2010 9:26 AM
