Using the TV
13
• To view text, select T1 or T2. If text is not available in your
viewing area, a black rectangle may appear on screen. If this
happens, set the Closed Caption feature to OFF.
• To turn the closed caption feature off, select OFF.
5 Press EXIT to return to the normal screen.
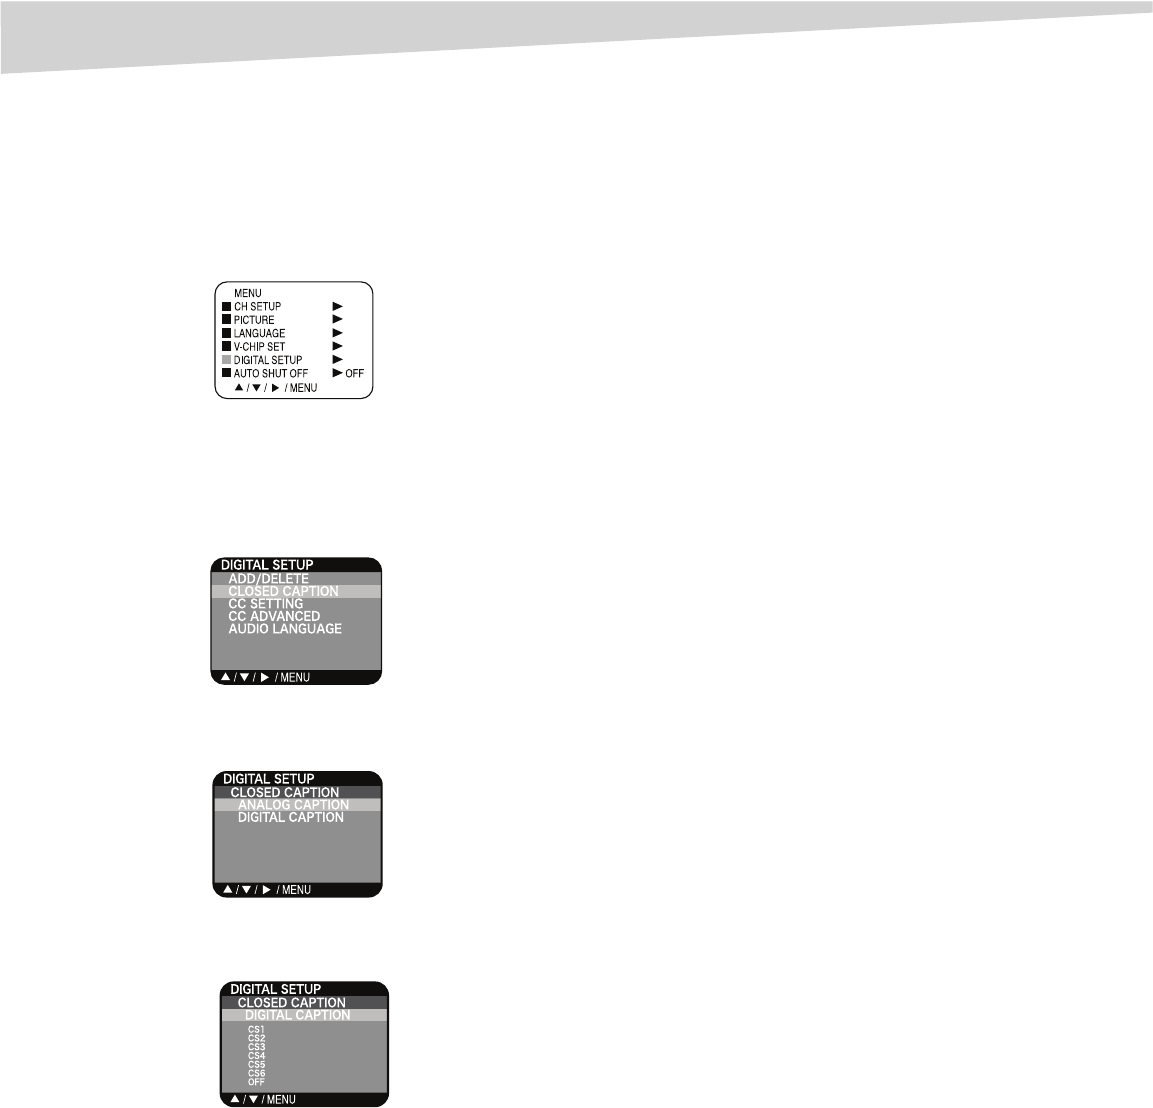
To turn on closed captions (digital mode):
1 Press TUNER to select the digital mode.
2 Press MENU/ENTER. The menu screen appears.
3 Press the CH + and CH - buttons to select DIGITAL SETUP, then
press the VOL + button. The DIGITAL SETUP menu screen
appears.
4 Press the CH + and CH - buttons to select CLOSED CAPTION, then
press the VOL + button.
5 Press the CH + and CH - buttons to select ANALOG CAPTION or
DIGITAL CAPTION, then press the VOL + button.
6 Press the CH + and CH - buttons to select the correct Closed
Caption mode, then press MENU/ENTER.
7 Press MENU/ENTER repeatedly until the menu screen is cleared.
Setting digital mode closed captioning
You can display closed captioning with the AUTO settings designated by
broadcasting stations or with custom settings. This feature is designed
for digital captions only.
To set closed captioning using the CC setting:
1 Press TUNER to select the digital mode.
2 Press MENU/ENTER. The menu screen appears.
3 Press the CH + and CH - buttons to select DIGITAL SETUP, then
press the VOL + button. The DIGITAL SETUP menu appears.
4 Press the CH + and CH - buttons to select CLC SETTING, then
press the VOL + button.
5 Press the CH + and CH - buttons to select the desired Closed
Caption setting, then press MENU/ENTER.
•Auto
•Small
•Large
•Custom
6 Press MENU/ENTER repeatedly until the menu screen is cleared.
Adjusting digital mode closed captioning
Closed captions are factory preset. However you can adjust them
individually. This feature is designed to customize digital captions only.
Note:
Do not set the closed caption TEXT COLOR and BACKGROUND COLOR the
same, or you will not be able to see the text.
To adjust closed captioning:
1 Press TUNER to select the digital mode.
2 Press MENU/ENTER. The menu screen appears.
3 Press the CH + and CH - buttons to select DIGITAL SETUP, then
press the VOL + button. The DIGITAL SETUP menu appears.
4 Press the CH + and CH - buttons to select CLC SETTING, then
press the VOL + button.
5 Press the CH + and CH - buttons to select the desired setting, then
press MENU/ENTER.
You can select from among the following items and parameters.
• TEXT SIZE: SMALL, STANDARD, LARGE
• TEXT TYPE: STYLE1, STYLE2
• TEXT COLOR: BLACK, WHITE, RED, GREEN, BLUE, YELLOW,
MAGENTA, CYAN
• TEXT EDGE: NONE, RAISED, DEPRESSED, OUTLINE, LEFT
SHADOW, RIGHT SHADOW
• BACKGROUND COLOR: BLACK, WHITE, RED, GREEN, BLUE,
YELLOW, MAGENTA, CYAN
6 Press MENU/ENTER repeatedly until the menu screen is cleared.
Selecting the audio language
When two or more audio languages are included in a digital signal, you
can select one of the audio languages.
To select the audio language:
1 Press TUNER to select the Digital mode.
2 Press MENU/ENTER. The menu screen appears.
3 Press the CH + and CH - buttons until the indicator next to
DIGITAL SETUP flashes, then press the VOL + button. The
DIGITAL SETUP menu screen appears.
4 Press the CH + and CH - buttons to select AUDIO LANGUAGE,
then press the VOL + button. The AUDIO LANGUAGE menu
appears.
5 Press the CH + and CH - buttons or the number buttons 0 through
7 to select the desired language, then press MENU/ENTER.
6 Press MENU/ENTER repeatedly until the menu screen is cleared.
Using the auto shut-off feature
When the auto shut-off feature is on and a station being viewed stops
broadcasting, the television will shut off automatically 15 minutes after
broadcasting stops.
To use the auto shut-off feature:
1 Press MENU/ENTER. The menu screen appears.
2 Press the CH + and CH - buttons until the indicator next to AUTO
SHUT OFF flashes. then press the VOL + button.
3 Press the CH + and CH - buttons to select ON or OFF.
4 Press EXIT to return to the normal screen.


