


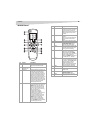
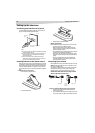

Features
5
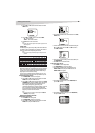
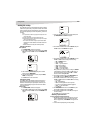
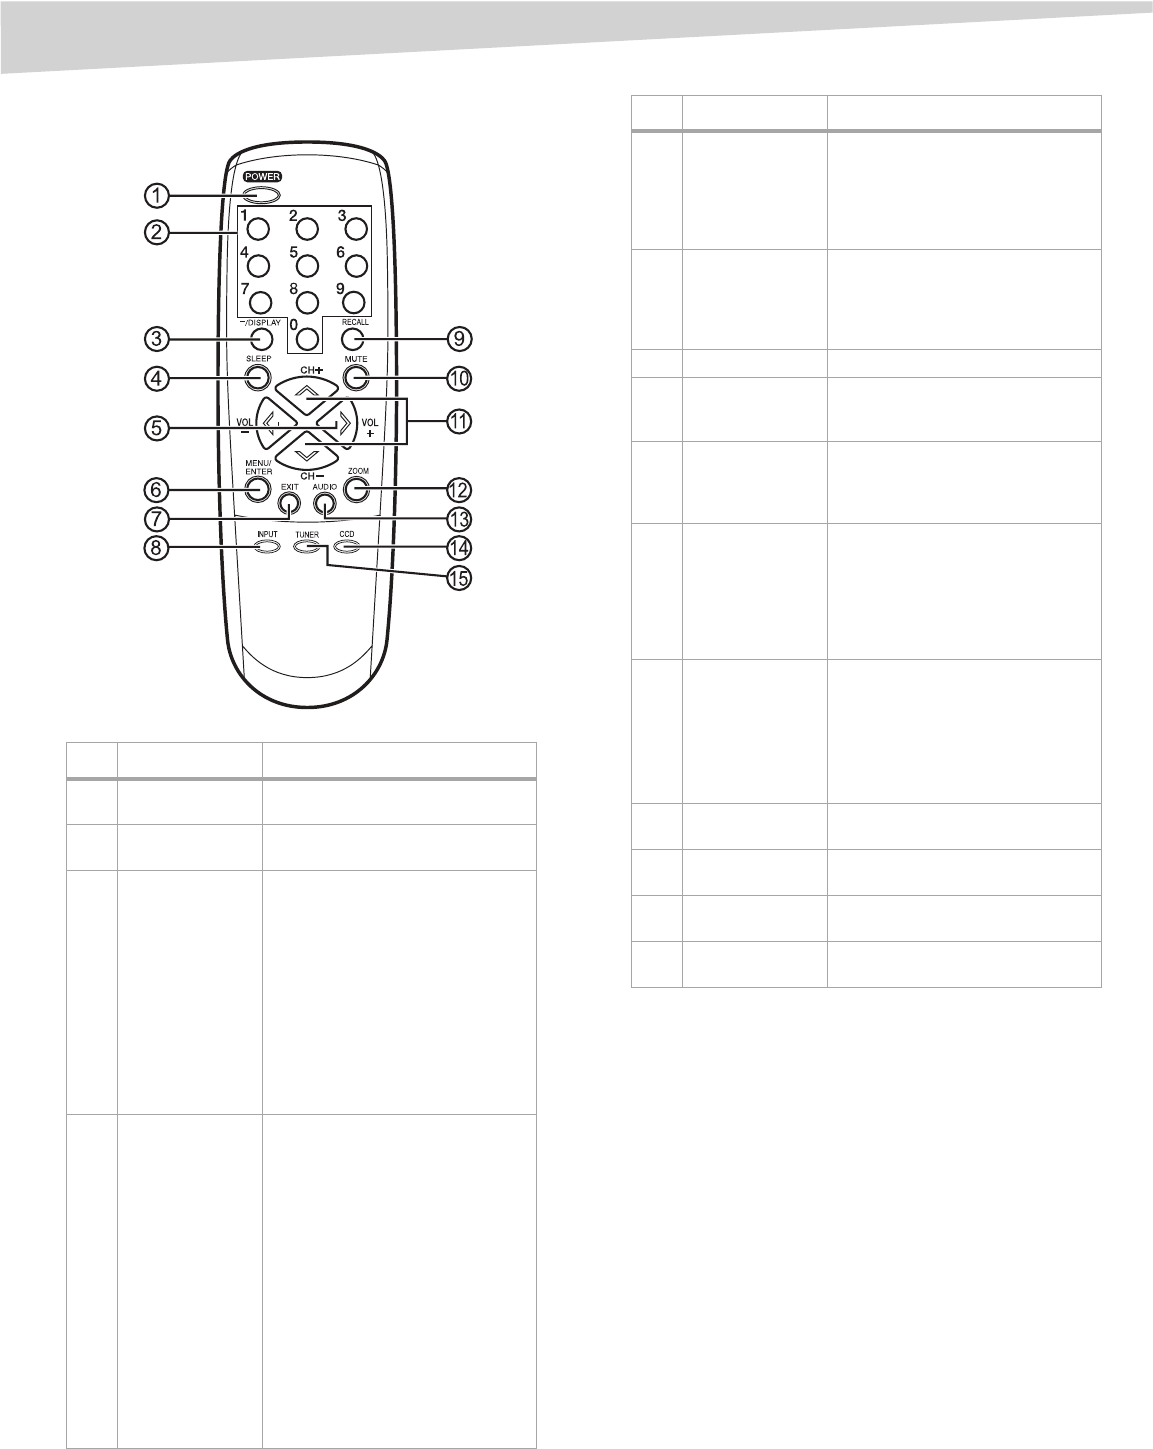
Remote control
No. Button Description
1 POWER Press to turn the television on. Press
again to turn the television off.
2Direct channel
selection (0-9)
Use to directly go to any channel.
3 -/DISPLAY When the television is receiving an
analog signal, press this button to
display the current information
on-screen. When the television is
receiving a digital signal, press this
button once to display the digital
information on-screen. Press this
button a second time to display the
analog information on-screen. To
remove the display from the screen,
press this button again. This button
is also the - button used when
selecting digital channels.
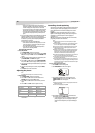
4 SLEEP To set the television to turn off after
a preset amount of time, press the
SLEEP button. The clock counts
down ten minutes each time the
button is pressed in the order of
120, 110, 100...20, 10, 0 (minutes).
After the sleep time is
programmed, the display
disappears then reappears
momentarily every ten minutes to
remind you the sleep timer
function is operating. To confirm
the sleep time setting, press the
SLEEP button once and the
remaining time is momentarily
displayed. To cancel sleep time,
press the SLEEP button repeatedly
until the display turns to 0.
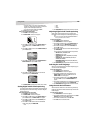
No. Button Description
5VOL + / - Press the + button to increase the
volume level. Press the - button to
decrease the volume level. Use
these buttons to select the desired
setting during the menu screen
operation.
6 MENU/ENTER Press to display the menu screen
function.
Press to enter or select operations
during operation of the menu
screen.
7 EXIT Press to remove the menu screen.
8 INPUT Press this button to display the
SOURCE SELECTION menu to
select the video input source.
9 RECALL Press this button to go back to the
previously viewed channel. Press
this button again to return to the
channel you were watching.
10 MUTE To turn off the sound, press this
button once. The television is
silenced and the symbol MUTE
appears on the screen. The muting
feature can be turned off by
pressing the MUTE button again or
one of the VOL + or - buttons.
11 CH + / -
Press the CH + (up)
button to change
to a higher numbered channel set
into memory. Press
the CH - (down)
button to change to a lower
numbered channel set into
memory. Use to select the desired
setting during menu operation.
12 ZOOM Press this button to change the
picture size.
13 AUDIO Press this button to select the
desired sound.
14 CCD Press this button to display the
CLOSED CAPTION menu.
15 TUNER Press this button to select the
analog/digital mode.