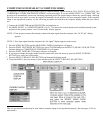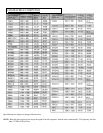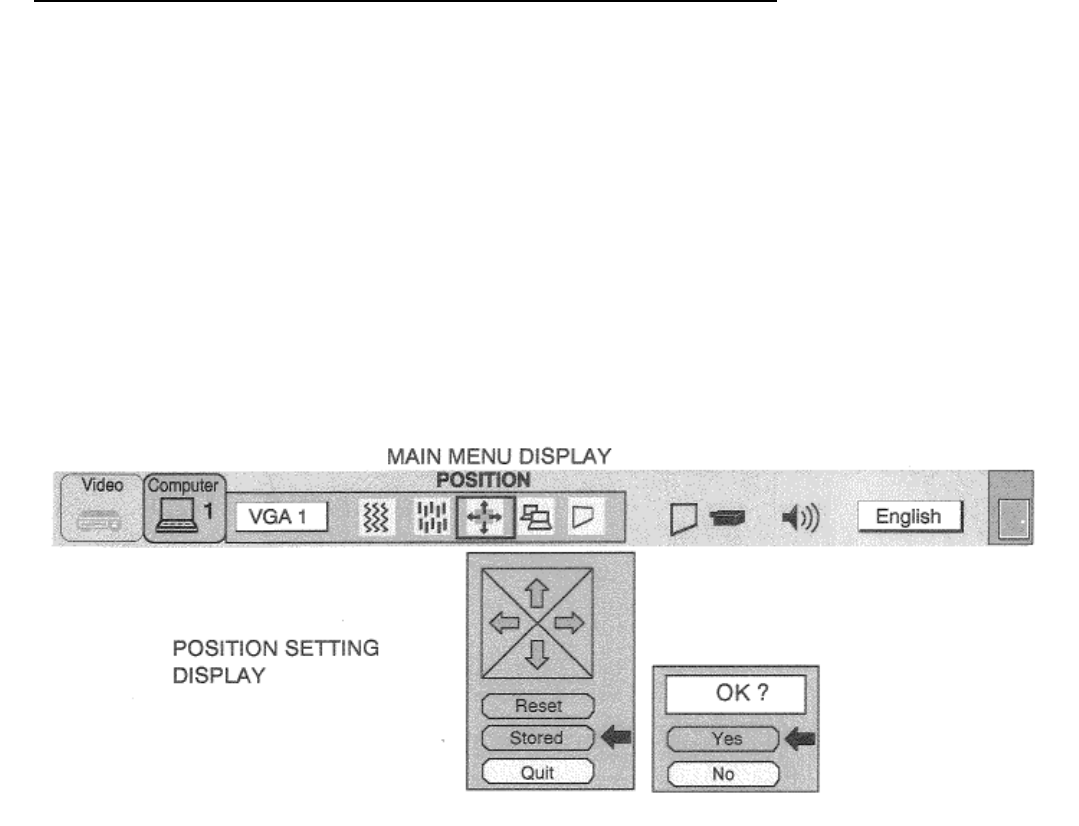
PICTURE POSITION ADJUSTMENT (COMPUTER MODE)
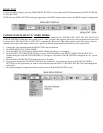
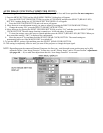
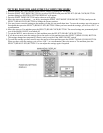
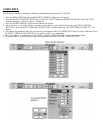
1. Press the MENU BUTTON and the MAIN MENU DISPLAY dialog box will appear.
2. Press the POINT LEFT/RIGHT BUTTON(s) to select POSITION and press the SELECT (REAR CLICK) BUTTON.
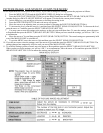
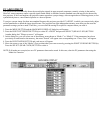
Another dialog box POSITION SETTING DISPLAY will appear.
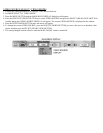
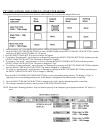
3. Press the POINT DOWN BUTTON and a red arrow will appear.
4. Move the arrow to a direction (, , t or 4 ) by pressing the POINT LEFT/RIGHT/UP/DOWN BUTTON(s) and press the
SELECT (REAR CLICK) BUTTON to change the picture position.
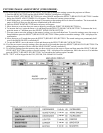
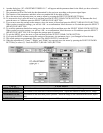
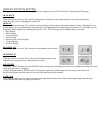
5. You may want to store the settings to the memory so that you can recall them later. To store the settings, move the arrow to
Stored and then press the SELECT (REAR CLICK) BUTTON. When you have stored the settings, you will see “OK ?“ as
a confirmation.
6. Move the arrow to Yes and then press the SELECT (REAR CLICK) BUTTON. The stored settings are permanently held
even if the MAIN ON/OFF is switched off.
7. To quit the MENU, move the arrow to Quit and then press the SELECT (REAR CLICK) BUTTON.
8. If you do not want to store the settings, move the arrow to Quit and then press the SELECT (REAR CLICK) BUTTON.
The settings changed are temporarily effective until you turn off the MAIN ON/OFF switch.
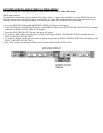
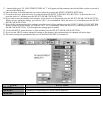
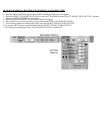
9. To recall the settings you have stored, move the arrow to Reset and then press the SELECT (REAR CLICK) BUTTON.
When you have reset the settings, you will see “OK ?“ as a confirmation. Move the arrow to Yes and then press the
SELECT (REAR CLICK) BUTTON. You can adjust the settings again if required.


