


Setting Up the Projector 17
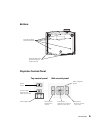
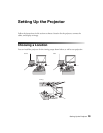
Installing the Projector
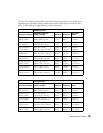
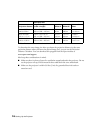
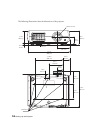
To install the projector, you first need to determine the location, based on the size of your
screen (maximum diagonal image size). Use the table on page 15 as a guide to positioning the
projector.
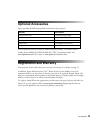
To suspend the projector from a ceiling, you will need the optional projector mount designed
for the projector. See page 11 for ordering information. Follow the instructions included with
the mount to install the projector.
Warning: When installing or adjusting the ceiling mount, do not use adhesives to prevent the
screws from loosening and do not use any type of oil or lubricant. These may cause the projector
casing to crack and the projector may fall, causing serious injury and serious damage to the
projector.
If you install the projector on the ceiling, you will need to invert the picture so that it appears
right side up. Follow these steps:
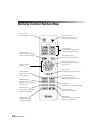
1. Press the
Menu button on the remote control.
2. Open the
Settings menu, then select Projection.
3. Select
Front/Ceiling.
4. Press the
Menu button when done.
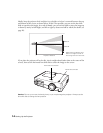
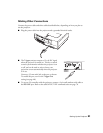
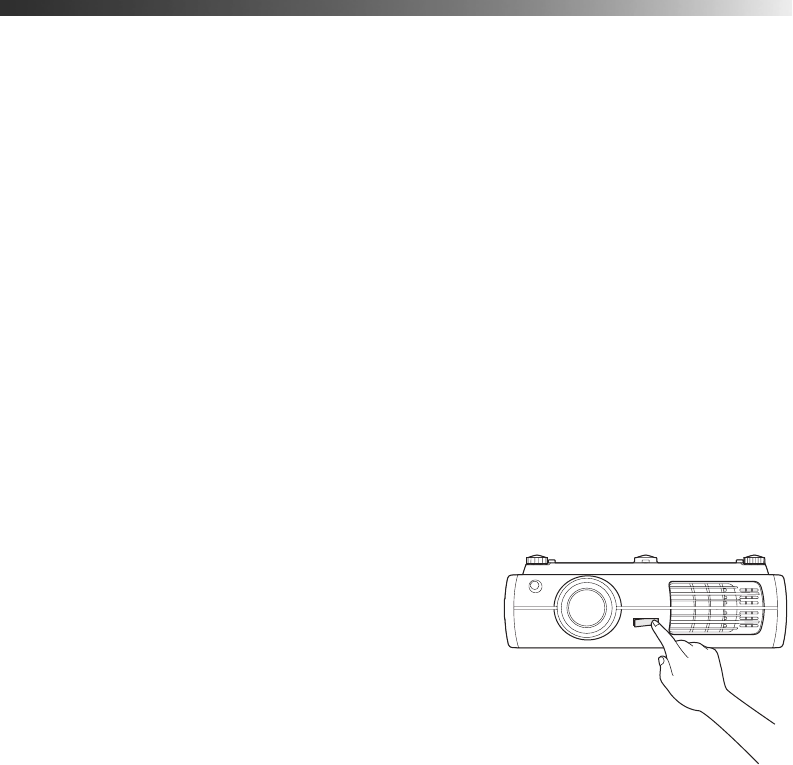
Note that you can rotate the Epson logo plate
180 degrees when suspending the projector from a
ceiling.
If you are planning to use an AV controller with the
projector, refer to the table of ESC/VP21 command
codes on page 70.