


HRTL-One Digital Video Recorder User Guide
Rev 1.00 5 Document 900.0259
10/04
P
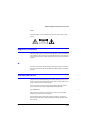
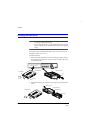
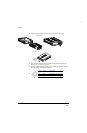
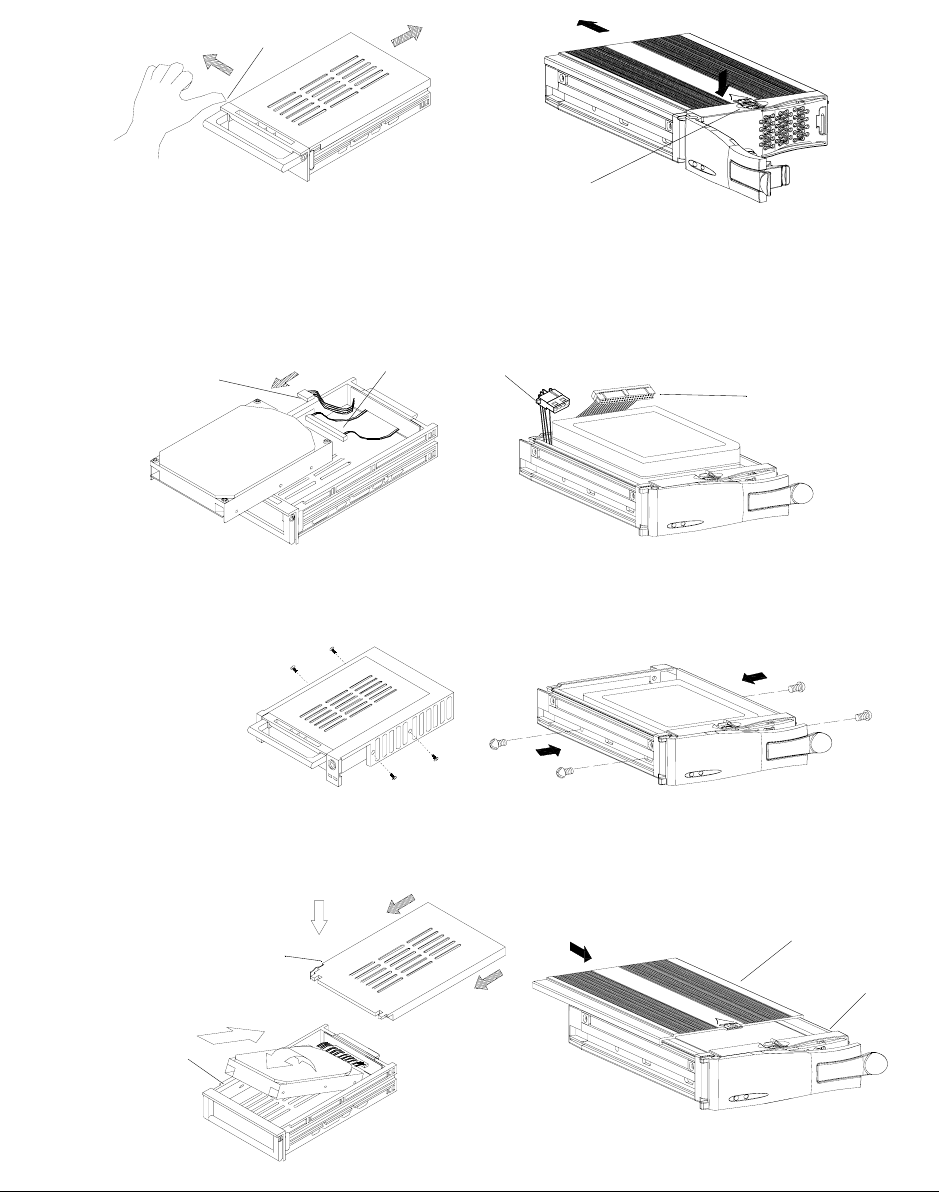
3. Push the black release latch on top of the carrier body (original carrier) or push the
side release latch with the word OPEN printed beside it (new carrier) to slide the
top cover backwards until it is completely removed.
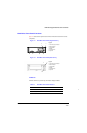
4. Ensure that the hard drive is configured as Master. Refer to the documentation
supplied with the hard drive for the jumper settings.
5. Plug the PC power cable and IDE ribbon cable into the hard drive cartridge.
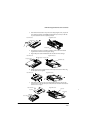
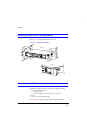
6. Position the hard drive cartridge into the carrier body. Secure the hard drive using
the four #6-32 screws supplied.
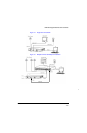
7. Slide the top cover back on the carrier body by sliding it forward. The silver tab
(original carrier) or the side latch (new carrier) clicks over the black release latch to
secure the cover in place.
Release latch
New HD Carrier
Original HD Carrier
Release latch
PC power cable
IDE ribbon cable
IDE ribbon cable
PC power cable
New HD Carrier
Original HD Carrier
New HD Carrier
Original HD Carrier
Top cover
Carrier body
New HD Carrier
Original HD Carrier
Top cover
Carrier body