16
NS-WBRDVD Connected Blu-Ray Disc Player
www.insigniaproducts.com
5 Press one or more times to select the rating
level you want to block. That rating and all
higher ratings will be blocked. You can select:
• 1[Kid Safe]—Suitable for all children.
• 2[G]—General audiences.
• 3[PG]—Parental guidance suggested.
• 4[PG-13]—Not suitable for anyone under 13.
• 5[PGR]—Parental guidance recommended.
• 6[R]—Not suitable for anyone under 17 unless
supervised by a parent or adult guardian.
• 7[NC-17]—Not suitable for anyone under 17.
• 8[Adult]—All DVDs can be played.
6 Press , press or to select Parental Control,
then press ENTER. Press or to select On.
7 Press to go to the previous menu.
Setting automatic disc playback mode
To set automatic disc playback mode:
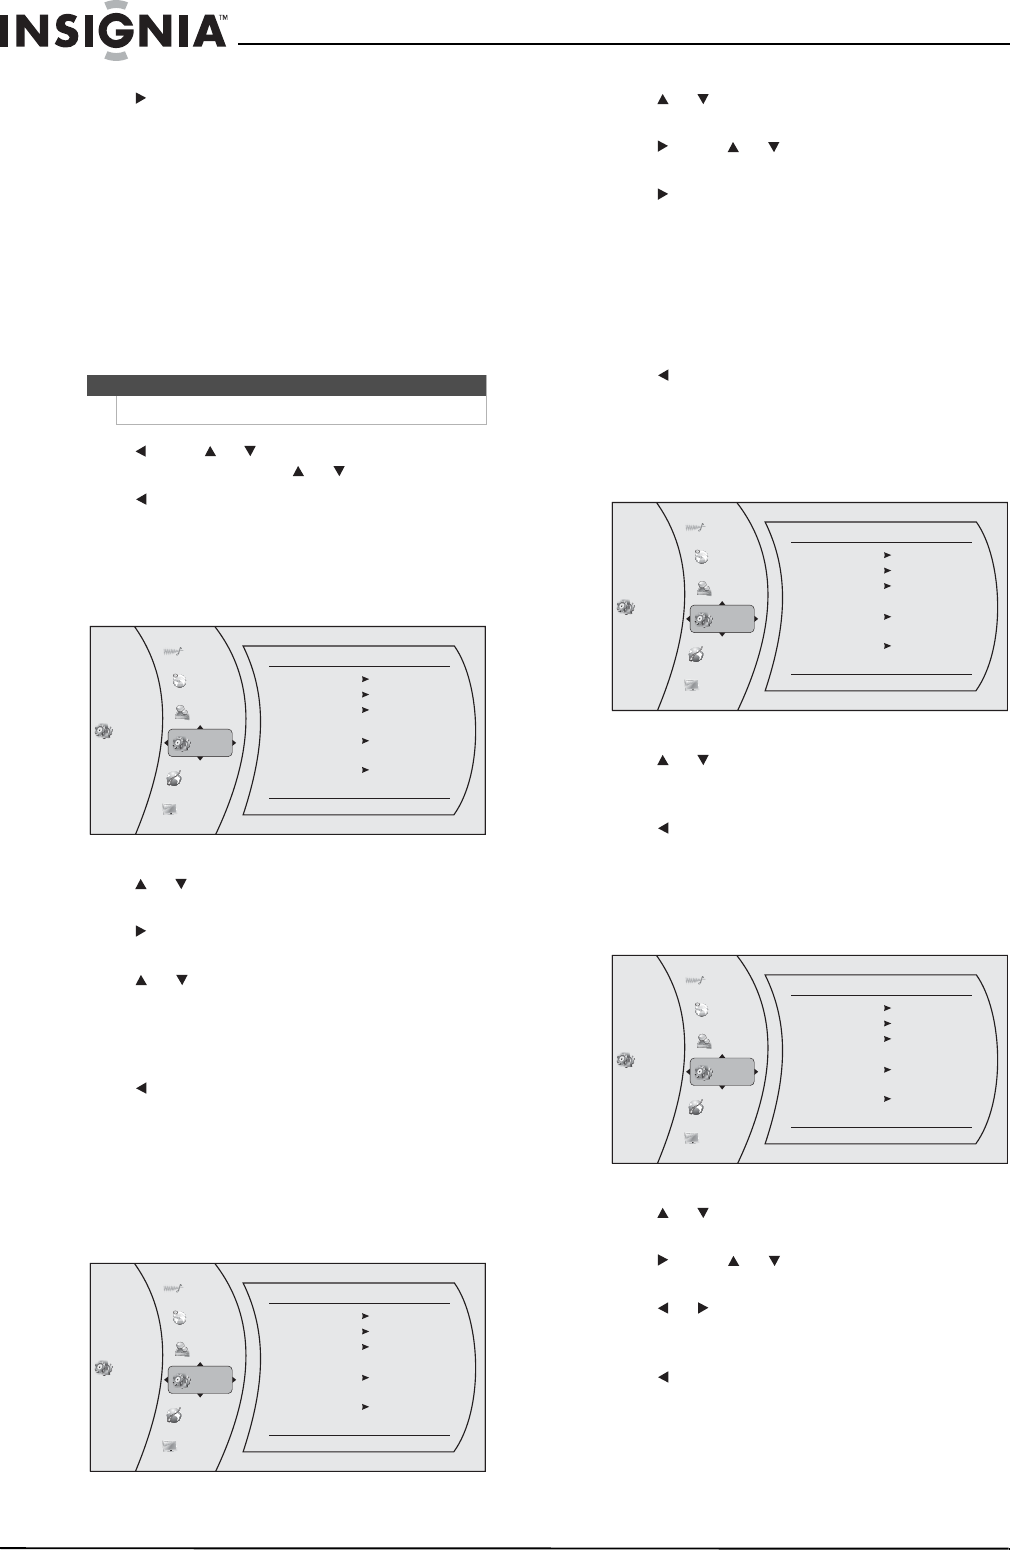
1 Press ENTER. The Settings menu opens.
2 Press or to select System. The System menu
opens.
3 Press to select Optical Disc Autoplay, then
press ENTER.
4 Press or to On or Off. When On is selected
and you insert a Blu-ray Disc, files play back
automatically. When Off is selected and you
insert a Blu-ray Disc, the disc you can select are
displayed on the Settings menu.
5 Press to go to the previous menu.
Setting the BD-Live Internet access level
You can set the BD-Live Internet access level to
control access to BD-Live.
To set the BD-Live Internet access level:
1 Press ENTER. The Settings menu opens.
2 Press or to select System. The System menu
opens.
3 Press , press or to select BD-Live Internet
Access, then press ENTER.
4 Press one or more times to select the access
level you want. You can select:
• Limit Access—Allows Internet access with
valid “BD-Live” network access approval.
• Always Allow Access—Always allows BD-Live
Internet access.
• Prohibit Access—Never allows BD-Live
Internet access.
5 Press to go to the previous menu.
Viewing available BD-Live storage space
To view available BD-Live storage space:
1 Press ENTER. The Settings menu opens.
2 Press or to select System. The System menu
opens. The available storage space is displayed
next to BD-Live Storage.
3 Press to go to the previous menu.
Erasing BD-Live storage
To erase BD-Live storage:
1 Press ENTER. The Settings menu opens.
2 Press or to select System. The System menu
opens.
3 Press , press or to select Erase BD-Live
Storage, then press ENTER.
4 Press or to select OK, then press ENTER. All
bookmarks and BD-live content saved in
memory are deleted.
5 Press to go to the previous menu.
Note
These ratings are for DVDs only.
Set
tings
Sy
stem
Optical Dis
c Auto Play
BD- Live Inte
rnet Access
BD- Live Sto
rage
Era
se Blu-ray Storage
Scr
een Saver Duration
Reset Settings
Update Via Network
On
Alw
ays
Allo
w
USB (1.9GB Free)
5 Minut
es
Required Storage:84 MB
Lan
guage
Au
dio
Par
ental
Sys
tem
Ne
twork
Dis
play
Set
tings
Sy
stem
Optical Dis
c Auto Play
BD- Live Inte
rnet Access
BD- Live Sto
rage
Era
se Blu-ray Storage
Scr
een Saver Duration
Reset Settings
Update Via Network
On
Alw
ays
Allo
w
USB (1.9GB Free)
5 Minut
es
Required Storage:84 MB
Lan
guage
Au
dio
Par
ental
Sys
tem
Ne
twork
Dis
play
Set
tings
Sy
stem
Optical Dis
c Auto Play
BD- Live Inte
rnet Access
BD- Live Sto
rage
Era
se Blu-ray Storage
Scr
een Saver Duration
Reset Settings
Update Via Network
On
Alw
ays
Allo
w
USB (1.9GB Free)
5 Minut
es
Required Storage:84 MB
Lan
guage
Au
dio
Par
ental
Sys
tem
Ne
twork
Dis
play
Set
tings
Sy
stem
Optical Dis
c Auto Play
BD- Live Inte
rnet Access
BD- Live Sto
rage
Era
se Blu-ray Storage
Scr
een Saver Duration
Reset Settings
Update Via Network
On
Alw
ays
Allo
w
USB (1.9GB Free)
5 Minut
es
Required Storage:84 MB
Lan
guage
Au
dio
Par
ental
Sys
tem
Ne
twork
Dis
play


