


These quick setup pages will provide you, in three easy steps, with the basic information you
need to begin using your new television right away.
If you have questions, or for more detailed information on any of these steps, please consult
other sections of this manual.
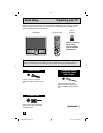
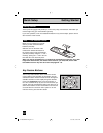
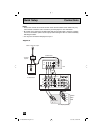
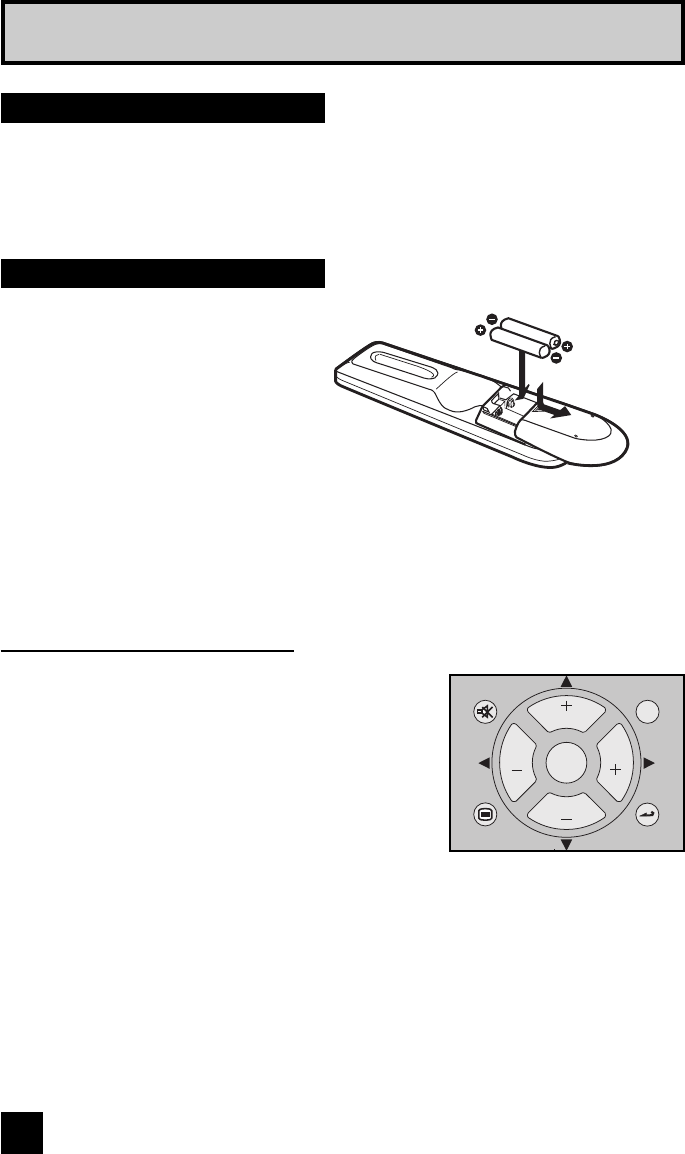
Before you can operate your remote
control, you first need to install the
batteries (included).
Slide the cover on the back of the
remote down towards the bottom of
the remote control. Insert two batteries
(included) carefully noting the “+” and “–”
markings, placing the “–” end in the unit
first. Slide the cover back into place.
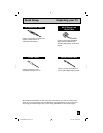
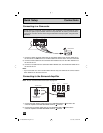
When you change the batteries, try to complete the task within three minutes. If you take
longer than three minutes, the remote control codes for your VCR, DVD, and/or cable
box/satellite receiver may have to be reset. See pages 26 - 29.
Quick Setup Getting Started
Getting Started
Step 1 – The Remote Control
12
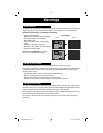
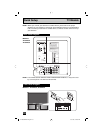
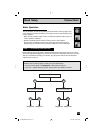
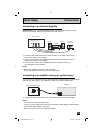
Key Feature Buttons
The four key feature buttons at the center of the remote
can be used for basic operation of the television. The top
and bottom buttons will scan forward and back through the
available channels. To move rapidly through the channels
using JVC’s Hyperscan feature, press and hold CH+ or
CH –. The channels will zip by at a rate of five channels per
second. The right and left buttons will turn the volume up or
down. These buttons are also marked with four arrows and
are used with JVC’s onscreen menu system. To use the
onscreen menus, press the M
ENU button.
MUTING
MENU
BACK
EPG
CC
CH
CH
VOL VOL
OK
AV-56\65WP941 English 12 10/17/03, 1:02:51 PM