


Quick Setup Plug-In Menu
25
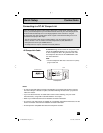
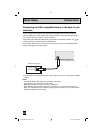
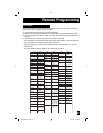
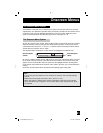
In auto tuner setup, the TV automatically scans through all available channels, memorizing the
active ones and skipping over blank ones or channels with weak signals. This means when you
scan (using the C
HANNEL +/– buttons) you will receive only clear, active channels. There are
two tuner modes to choose from, ANALOG or DIGITAL.
è
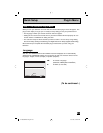
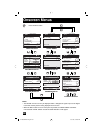
To choose CABLE or AIR (or SKIP when
you skip Analog Auto Tuner Setup)
π†
To ATSC
è
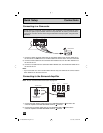
To choose CABLE or AIR (or SKIP when
you skip Digital Auto Tuner Setup)
†
To START
After Analog Auto Tuner Setup is finished, Digital Auto
Tuner Setup starts.
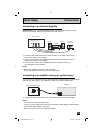
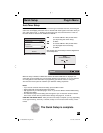
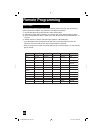
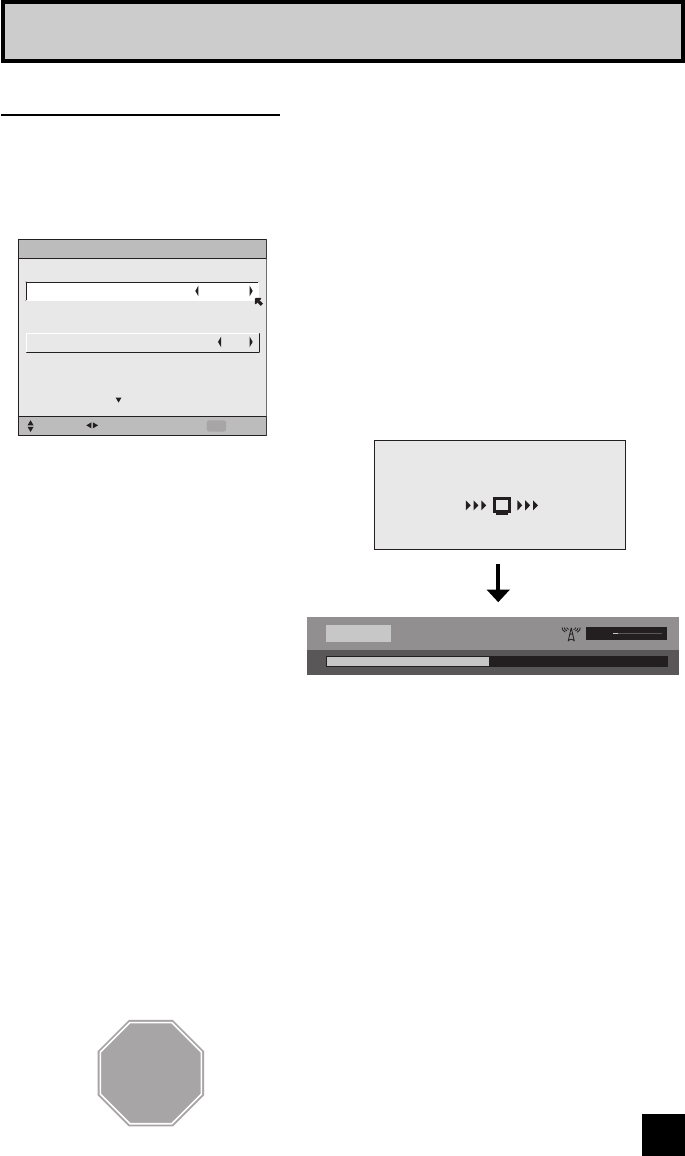
Auto Tuner Setup
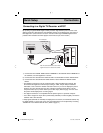
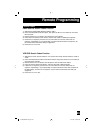
The Quick Setup is complete
When the setup is finished, THANK YOU!! SETUP IS NOW COMPLETE is displayed. Your
quick setup is now complete. You can now begin watching your television, or you can continue
on in this guide for more information on programming your remote control, or using the
JVC onscreen menu system to customize your television viewing experience.
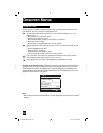
Notes:
• If you want to cancel the Auto Tuner Setup, press the M
ENU button.
• Noise muting will not work during Auto Tuner Setup.
• Skip appears only for interactive plug-in menu. If you choose SKIP, it finished without doing
the Auto Tuner Setup.
• The interactive plug-in menu setting does not appear if your TV has been turned on before.
In this case, use the menu to perform these settings. See pages 43, 57 and 33.
Cable Box and Satellite Users: After your auto tuner setup is complete, you may, (depending
on the type of hookup), have only 1 channel, usually 3 or 4 in the auto tuner memory. This is
normal.
AUTO TUNER SETUP
START
SELECT OPERATE EXIT
MENU
IN ANALOG
IN DIGITAL
AIRTUNER MODE
CABLETUNER MODE
STOP
48
NOW
PROGRAMMING !
10
( D62 )
AV-56\65WP941 English 25 10/17/03, 1:02:54 PM