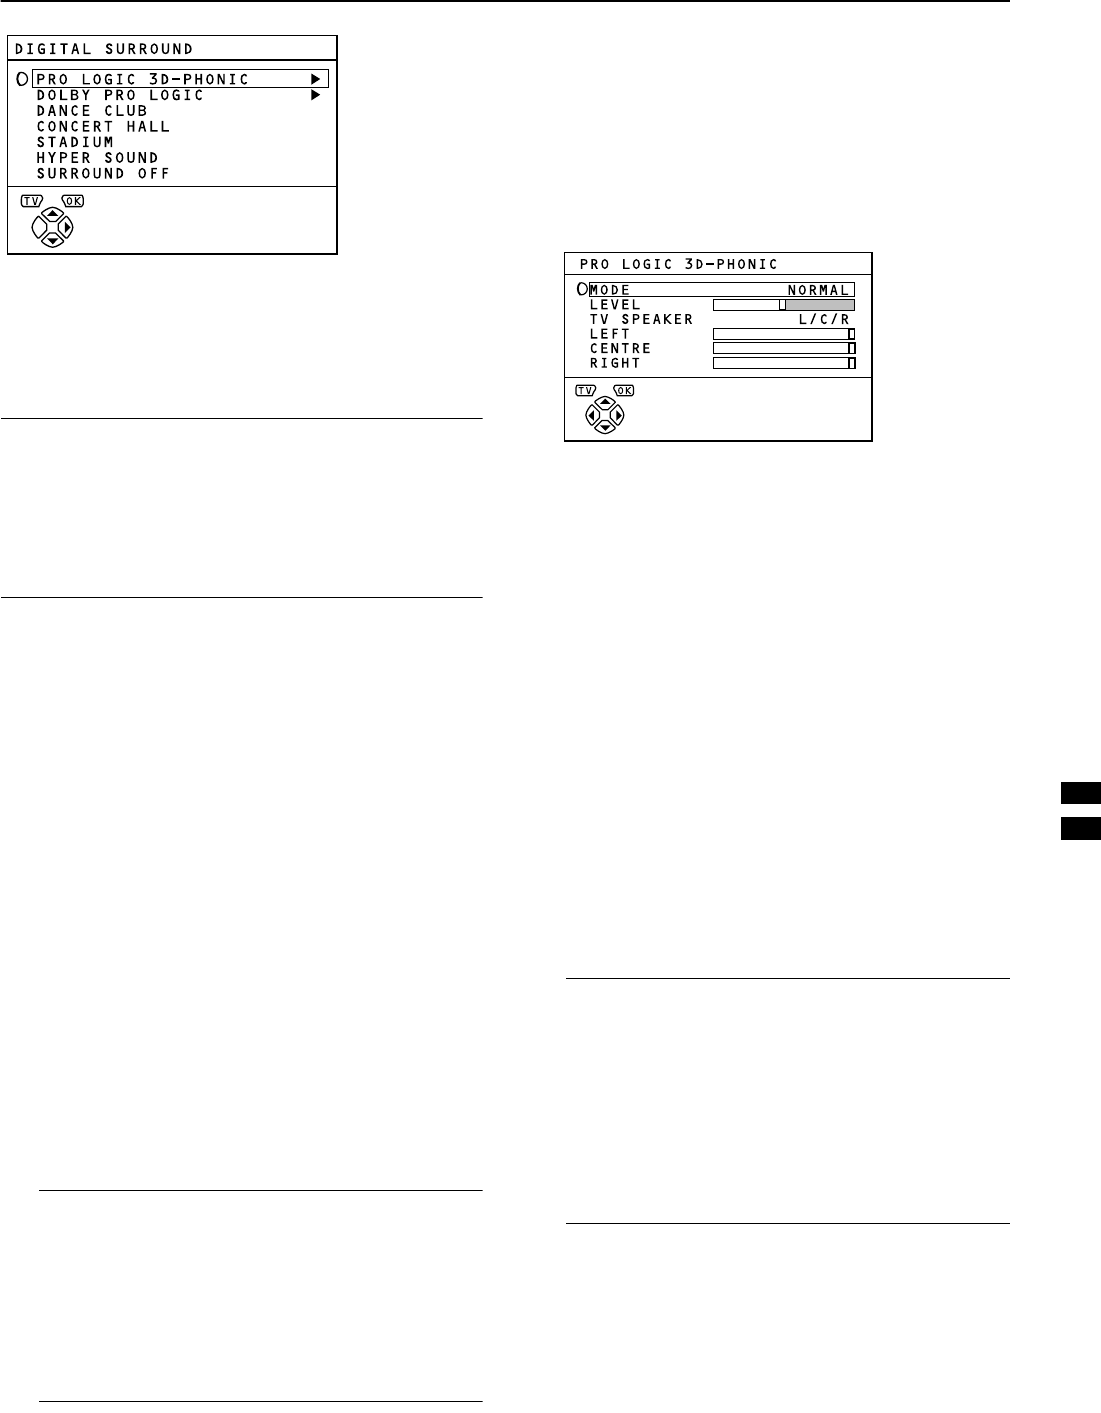
To display DIGITAL SURROUND:
1 Press the
button to display MENU
(main menu).
2 Press the ∞
∞∞
∞/5
55
5 button to choose DIGITAL
SURROUND. Then press the
button.
Note:
• Connecting the headphones to the TV automatically
changes to the HEADPHONE SURROUND function cor-
responding to the current DIGITAL SURROUND function.
However, the PRO LOGIC 3D-PHONIC function and
DOLBY PRO LOGIC function are changed over to the 3D
HEADPHONE function so that the headphones cannot
play back the Dolby Pro Logic Surround sound properly.
■
■■
■
&
&&
&
'
''
'
(
((
(
The PRO LOGIC 3D-PHONIC function lets you enjoy the at-
mosphere of Dolby Pro Logic surround sound without addi-
tional surround speakers.
With the PRO LOGIC 3D-PHONIC function, you can use the
rear surround-channel signal of the Dolby Surround encoded
programme to create the surround sound image as if sur-
round speakers were located at your right and left.
Use the PRO LOGIC 3D-PHONIC func-
tion
1
Press
buttons to choose PRO LOGIC
3D-PHONIC.
To cancel the PRO LOGIC 3D-PHONIC function:
Press the
buttons to choose SURROUND OFF.
2
Press the
button to complete the set-
tings.
The menu disappears.
Note:
• The PRO LOGIC 3D-PHONIC function does not work
properly except for the Dolby Surround encoded
programmes.
• The 3D lamp lights while the PRO LOGIC 3D-PHON-
IC function is operating.
• You can turn on or off the PRO LOGIC 3D-PHONIC
function by a single press. For details, see “
4
3D
Button” on page 12.
Change the setting of the PRO LOGIC
3D-PHONIC function
1.
Press the
buttons to choose
PRO LOGIC 3D-PHONIC. Then press the
button.
The Sub-menu of the PRO LOGIC 3D-PHONIC function
appears.
2.
Press the
buttons to choose an item.
Then press the
buttons to change the
setting.
MODE:
The PRO LOGIC 3D-PHONIC function has three
modes; NORMAL, CINEMA/SPORT, and MUSIC. You
can choose and set a mode as you like.
LEVEL:
You can control the effect level of the PRO LOGIC 3D-
PHONIC function as you like.
LEFT/CENTRE/RIGHT:
You can adjust the sound level of each speaker sepa-
rately. LEFT/RIGHT denotes left and right of the Front
speakers and CENTRE denotes the Centre speaker.
3.
Press the
button to complete the set-
ting.
The menu disappears.
Note:
• To change the TV speaker setting, you should con-
nect an audio system to the TV. For details, see
“Connecting Speakers/Amplifier” on page 37.
• When an audio system is not connected to your TV,
please be sure to leave the TV SPEAKER setting to
L/C/R. If it is neglected, a normal sound will not
come out from the TV speakers. If the TV SPEAKER
is not set to L/C/R, press the
buttons to choose
TV SPEAKER and press the
buttons to choose
L/C/R again.
WFR1EK_E2.fm Page 21 Wednesday, February 16, 2000 2:36 PM
