47
9
3
6
8
2
5
7
1
4
0
+
–
0
0
0
0
0
0
0
0
0
0
0
0
0
0
0
0
0
0
0
0
0
0
0
0
0
0
0
0
0
0
0
0
0
0
0
0
0
0
0
0
0
0
RETURN TO FUNCTION
SET SCREEN
8
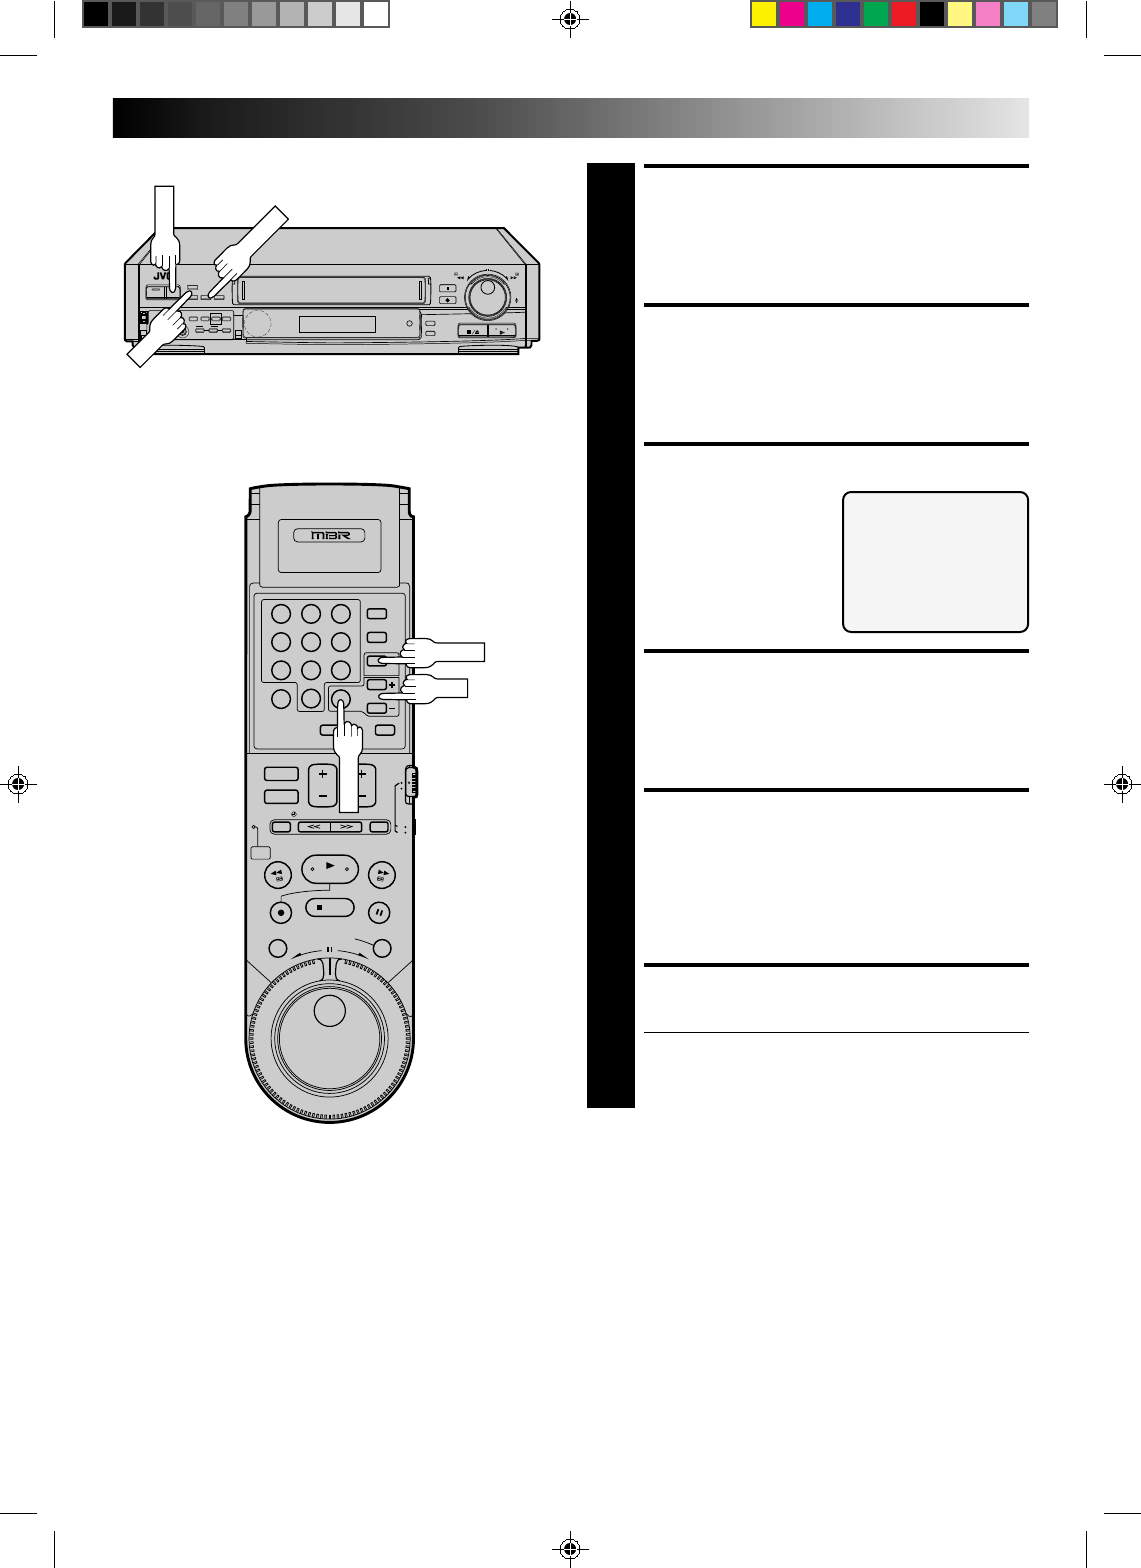
Press MENU.
ACCESS TAPE DUB MODE
SCREEN
9
Press SET +/– to place the arrow next to “TAPE DUB
MODE”, then press SELECT.
SELECT MODE
10
Place the arrow next to
"ON" by pressing SET +/–.
RETURN TO NORMAL
SCREEN
11
Press MENU as many times as necessary.
START PLAYER
12
Set the camcorder to its play mode.
NOTE:
If the camcorder is equipped with a superimpose/OSD
disable feature then set its superimpose or display
feature to OFF before pressing play.
START RECORDER
13
Set your VCR to its record mode.
● If you are using a Master Edit Control-equipped JVC
camcorder, it can put the recorder automatically into
Record mode. (Refer to camcorder's instruction
manual.)
NOTES:
●
Connections made to the front panel VIDEO and AUDIO
inputs automatically override any rear panel VIDEO/AUDIO
or S-VHS input connections. If you wish to edit with another
machine connected to the rear input connectors, make sure
that there is nothing connected to the front connectors.
●
It is not possible to set both "TAPE DUB MODE" and "DYNAMIC
CONTRAST" to ON.
TAPE DUB MODE
=ON
OFF
PRESS (SET+/–) FOR CHOICE
PRESS (MENU) TO END
MENU
SET
