24
HDD RECORDING/PLAYBACK (cont.)
To stop recording
Press
7
(
CLEAR
) once so that the confirmation message
appears on the TV. Then press
7
(
CLEAR
) again.
• The lamp next to the
(record) button goes off.
NOTES
•In the middle of a recording, you can start playing back the
same programme (just currently being recorded) from the
beginning or pause the picture shown on the TV at a particular
scene. (Recording continues although you start playback or
pause the TV screen picture). See “Live Memory: Playback
(Pause)” on pages 21 and “Live Memory: Playback (Replay) on
page 22.
•It is impossible to pause an actual recording while recording a
programme other than from “L-1,” “L-2 (or SAT),” and “F-1”
(see pages 83 to 85).
To record NICAM bilingual programmes
Set “AUDIO REC” to “NICAM” to record NICAM
bilingual programmes (see page 67).
Watching another programme while recording
1. Press TV/VIDEO on the remote control so that the
VIDEO lamp (inside the front panel) goes off.
2. Select another programme position on the TV.
Changing the recording speed
You can also check the current recording time and
remaining time in the HDD.
Each time you press
REMAIN/REC MODE
, the recording
speed changes as follows:
• First time you press the button, the remaining time in
the HDD and the current recording speed alternate in
the display window.
* When “LIVE MEMORY” is set to “OFF” (see page 67).
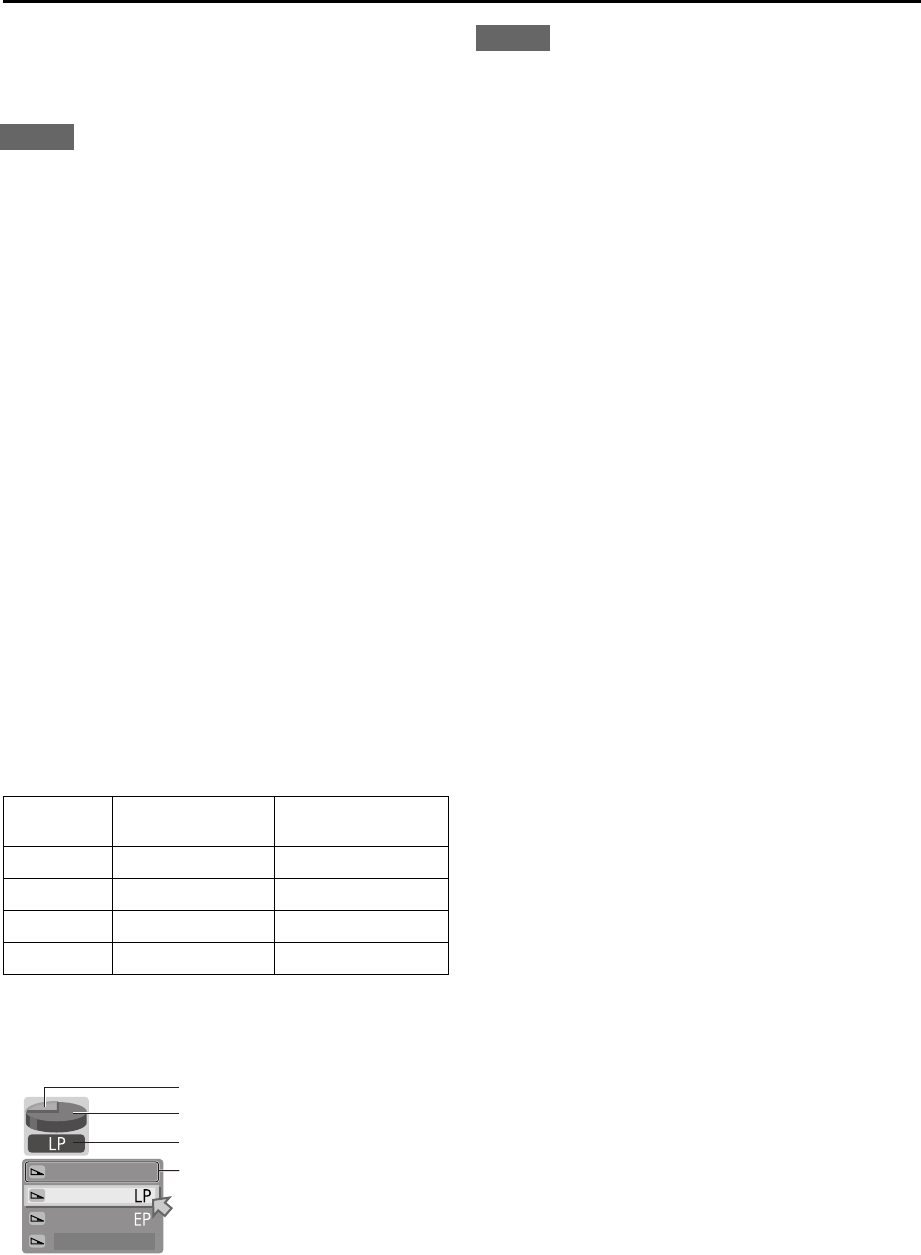
• When “O.S.D.” is set to “ON” (see page 67), the
following screen also appears on the TV screen.
NOTES
•The capacity of the HDD is 80 Gbytes.
•MPEG2 format is used for the HDD recording format—the
same one used for DVD Video discs.
•“bps” is used to represent how much data can be recorded per
second. The larger this value is, the better the picture quality
is, but the more capacity is required for recording.
Select “SP” for programmes where quick movement occurs,
such as sports programmes, and “SEP” for talk shows, etc.
where relativity less movement.
Instant Timer Recording (ITR)
This easy method lets you record for from 30 minutes to
6 hours (selectable in 30-minute increments), and turns
off the power after recording is finished.
On the unit only
Press
¶¶
¶¶
(record) repeatedly while recording.
Each time you press the button, recording time increases
in 30-minute intervals.
• The lamp next to the
(record) button starts flashing,
and recording time appears in the display window (it
counts down as recording goes on).
• ITR recording time also appears on the TV for a while
when “O.S.D.” is set to “ON” (see page 67).
To stop ITR,
press
7
(
CLEAR
) twice.
Recording
speed
Recording quality
(approx.)
Total recording time
(approx.)*
SP 6.4 Mbps 20 hours
LP 4.5 Mbps 28 hours
EP 3.2 Mbps 56 hours
SEP 2.2 Mbps 80 hours
SEP
60:00
40:00
20:00
14:00
SP
Used area
Remaining area
Current recording speed
Remaining time based on each
recording speed.
