


38
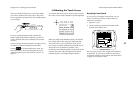
Remote Setup
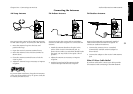
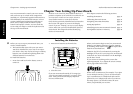
Chapter Two : Setting Up PowerTouch Audio-Video Receiver KRF-X9992D
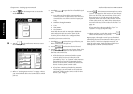
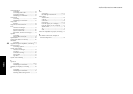
3. Touch
on the Setup menu to access the
Preference menu.
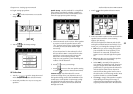
4. Touch on the Preference menu to access
the IR Setup menu.
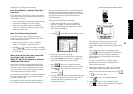
5. Refer to “Noting Your Devices” on page␣ 3 where
you noted which device was connected to which
jack set.
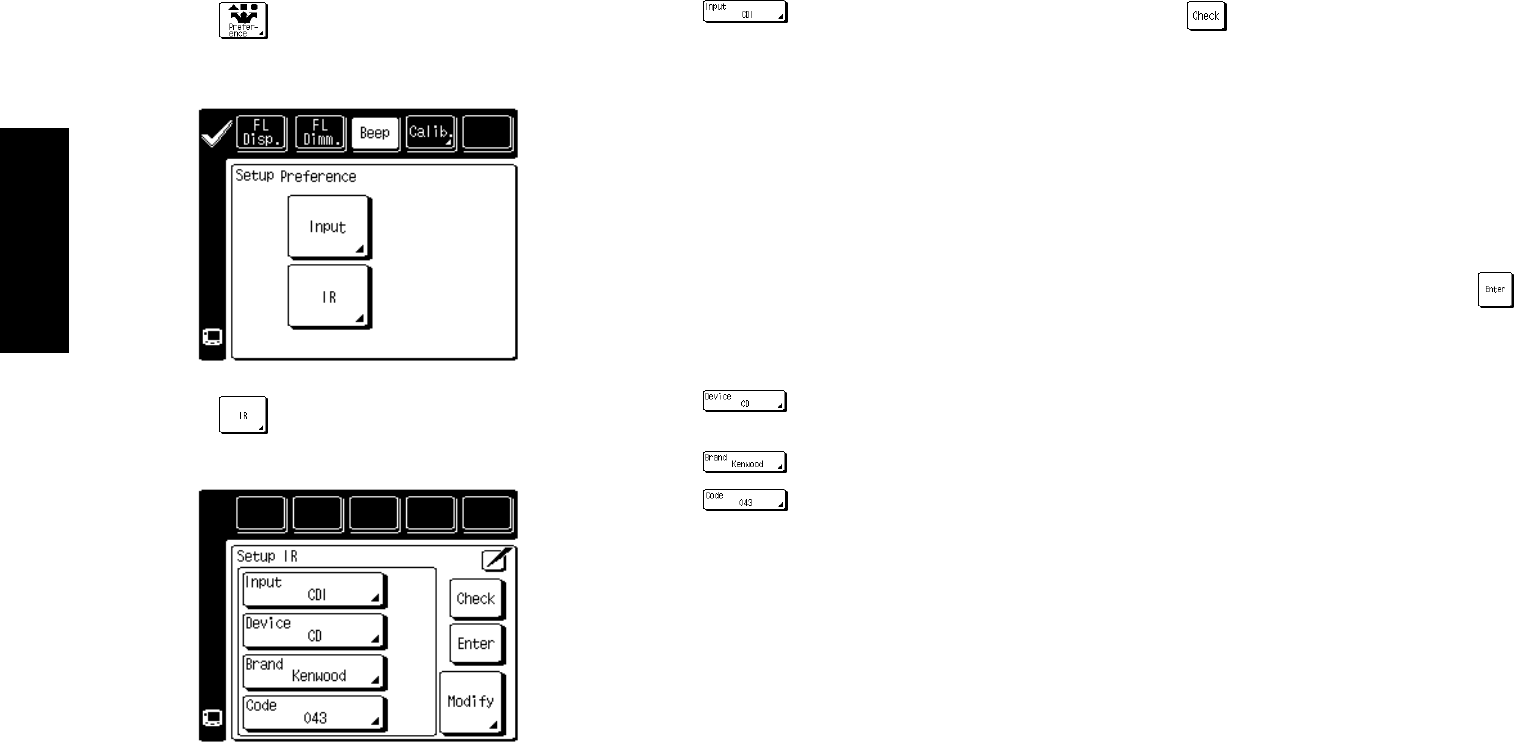
6. Touch
to open the list of available jack
sets:
• TV1 and TV2 (these allow PowerTouch to
control your TV or cable tuner, even if it isn’t
connected to one of the receiver’s input jack
sets).
• VIDEO1 through VIDEO4
• CD1
• MD/TAPE1
• CD2/TAPE2
Note that Phono and AV AUX (the additional
camcorder/VCR jack set on the front of the
receiver) do not need to be configured here.
Touch the jack name on the list.
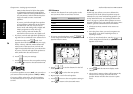
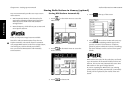
7. Touch
to select the type of device you
have connected to the jack set.
8. Touch
to select the device’s brand.
9. Touch
. You can now choose from a list
of all the codes available for the device. Touch
the first code on the list.
• If the devices are connected with a system
control cable, be sure to select the code
preceded by “Sys-” or “System”. This instructs
PowerTouch to send all commands for the
device to the receiver, which will control the
device via the system control cable.
• If you have a Kenwood Dual-Play 200-Disc
CD Changer, you will need to set both CD1
and CD2/ TAPE2 to the correct code for this
device (“Sys- Mega”).
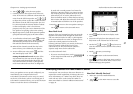
10.Touch
. This instructs PowerTouch to send a
“power” test signal to the receiver. If your device
turns on, the code you entered was correct. If it
does not turn on, try the next code in the list.
Continue until one of the codes works. If none
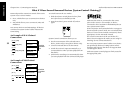
of the codes work, see “What if my device does
not work with any of the codes on the list?” on
page␣ 39.
If you enter the code preceded by “Sys-” or
“System” on step 9, skip this step.
11. When you have a code that works, touch
.
Check off that device on your list.
Repeat steps 5 through 11 until you are finished
identifying devices to PowerTouch. When you are
done, turn to “How Do I Operate Devices?” on
page␣ 26 in the Users’ Guide and note which icon
corresponds to which connected device.