


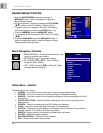
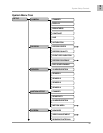
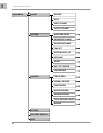
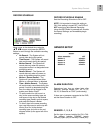


System Setup Controls
25
ENG
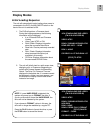
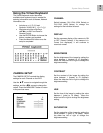
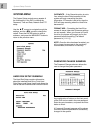
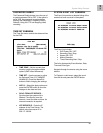
RECORD SCHEDULE
Move cursor to the desired time using the
▲▼◄► arrows, and press the ENTER
Button to scroll through the available recording
settings:
• No Record – The System will not
record video during this period.
• Time Record – The System will record
data continuously during this period.
• Motion Record – The System will
record data only when the camera
recognizes motion in a designated area
during this period.
• Sensor Record – The System will
record data only when an sensor or
alarm is signaled during this period.
• Motion + Sensor Record – The
System will record data when either
Motion or a Sensor/Alarm is detected.
• Time + Motion Record – The System
will continuously record data during this
period. If motion is detected during this
time, the video will be flagged in the
system as a Motion Event.
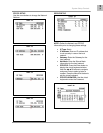
• To set the entire line (all hours in a
day) to the same recording type, set
one square in the day to the desired
recording type. Remain on that square,
and press the Record
• Button.
• To set all days to the same recording
type, use the mouse to set the top left
corner (Sun 0hr) to the desired
recording type, and click on the red
diagonal arrow (to the upper left of the
square).
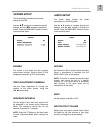
RECORD SCHEDULE ENABLE
Sets the Recording Schedule to ON or OFF.
NOTE: It is important to leave this setting to
ON. If this setting is turned OFF, the DVR will
NOT record any data (Manual Recording
(when the REC Button is pressed) will override
the Record Settings, and immediately begin
recording.)
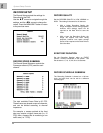
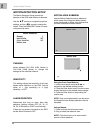
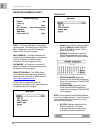
SENSOR SETUP
ALARM DURATION
Determines how long an alarm lasts after
detection. Settings include: OFF, 05, 10, 15,
20, 25, 30 Seconds or CONT (continuously).
If there are no sensors connected to the DVR,
set the Alarm Duration to OFF.
SENSOR - 1, 2, 3, 4
Set the type of sensor installed for CH1~CH4.
The settings include: DISABLE (none),
Normally Open (NO) or Normally Closed (NC).