


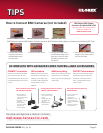
QLR0440 SERIES QSG_EN_R3
Page 2
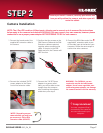
Camera Installation
STEP 2
Before you install a camera, carefully plan where and
how you will position the camera, and where you will
route the cables.
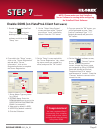
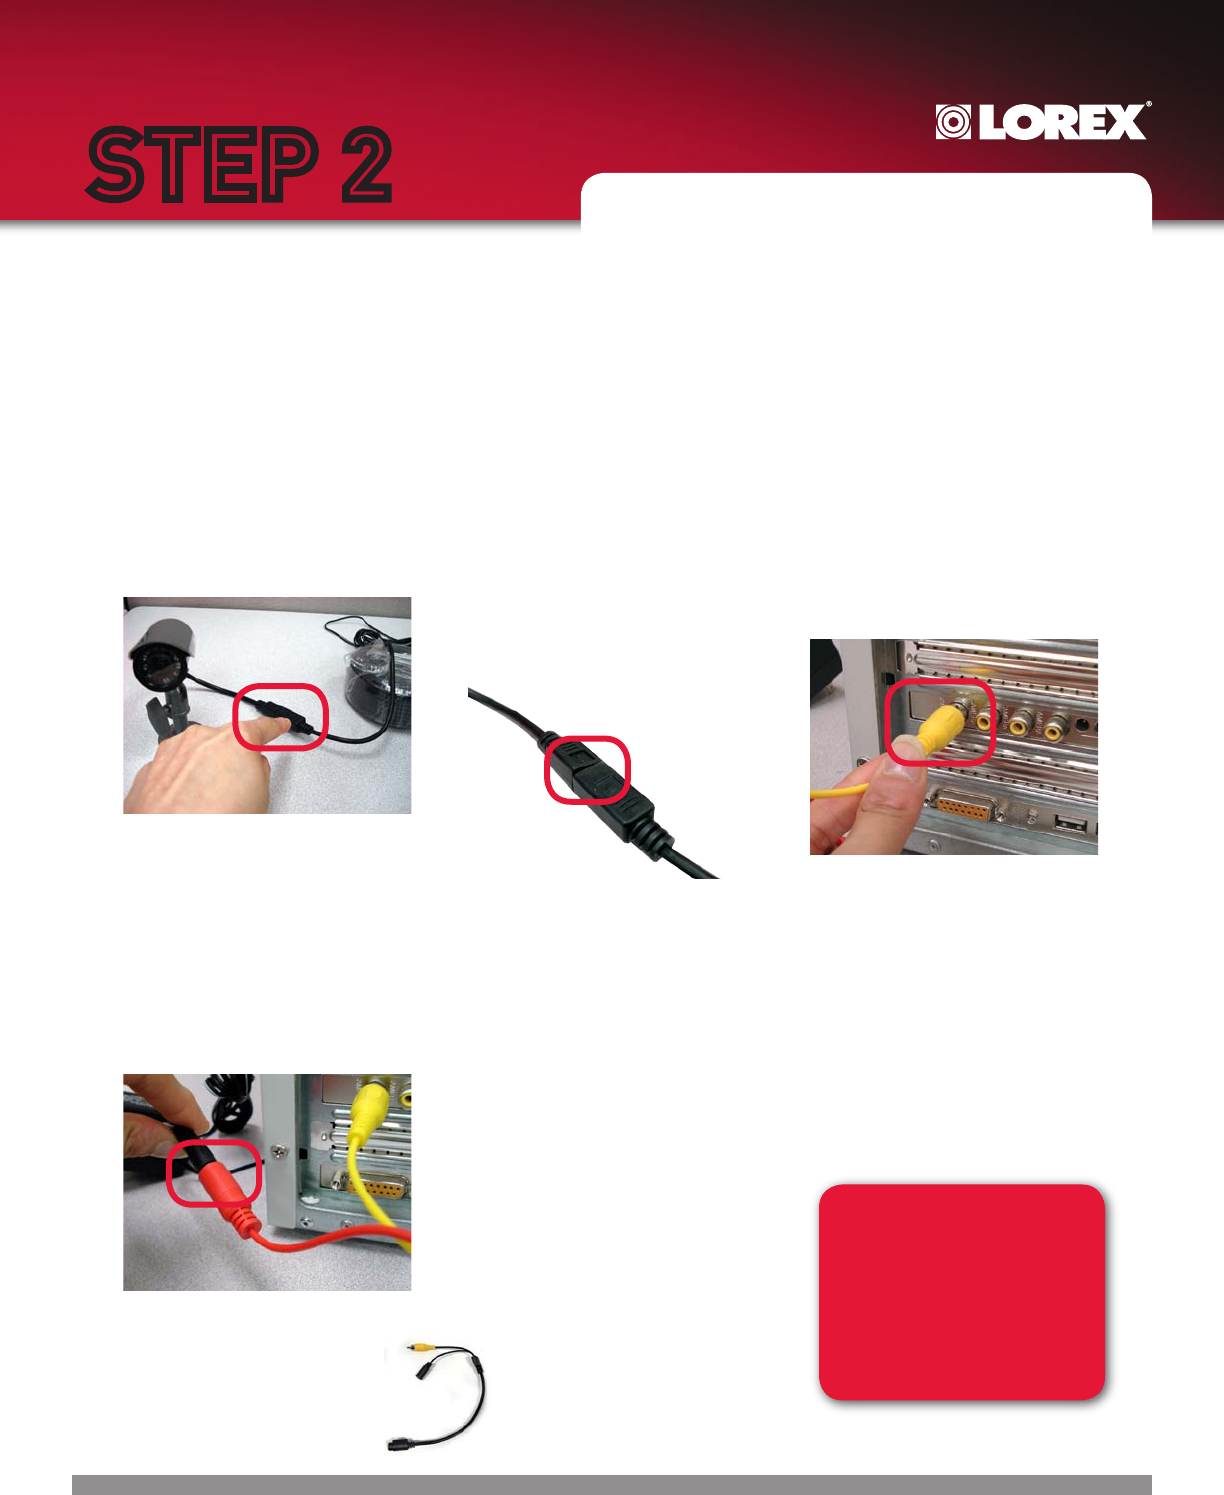
1. Connect the female end of the
supplied 60’ extension cable to
the camera.
2. Confirm that the arrows on the
DIN Camera Cable and the DIN
Extension cable are pointed
together when connecting the
cable. If the pins in the DIN
Cable are bent, the Camera will
NOT function.
4. Connect the included 12V DC
power adaptor to the Power
end of the extension cable.
5. Connect the 12V DC Power
adaptor to a power outlet.
Note, you will be able to view
images from the cameras
after installing the software
and drivers, see step 3.
NOTE: The 4 Port PCI card has 4 Video inputs, allowing you to connect up to 4 cameras (the instructions
below apply to the cameras included with QLR0444). You may connect your own cameras, however please
make sure to use a proper power adaptor NOT EXCEEDING 12V DC for each camera.
WARNING - For QLR0444, you are
required to use the included power
adaptor. Use of a non-regulated, non-
conforming power adaptor can damage
the cameras and will void the warranty.
3. Connect the RCA Video end of the
supplied 60’ extension cable to one
of the video input at the back of your
computer. Follow the same steps to
connect the other cameras.
Congratulations!
You have completed Step 2
successfully. Your cameras
are now connected to your
computer.
*
*NOTE: Depending on your
camera bundle you may have
an accessory 4 PIN to RCA
Convertor cable (ACC425).