


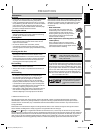

1
Connections
Follow to the back side of this sheet.
H2160MW9
HDD & DVD PLAYER / RECORDER
WITH DIGITAL TUNER
The number inside the globe refers to region of the world.
This unit can playback DVD that are labeled for ALL regions or for Region 1.
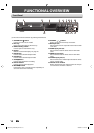
Playable Discs
Region Codes
MediaPlayable les
CD-DA
MP3
JPEG
CD-RW/-R
CD-R
CD-RW
DVD-video
DVD+RW
DVD+R
DVD-RW
(Finalized video mode discs only)
DVD-R
(Finalized video mode discs only)
CD-DA (audio CD)
video CD
LogosPlayable discs LogosPlayable discs
is a trademark of DVD Format/Logo Licensing Corporation.
•
Following discs are recommended for good recording quality and
are proven to be compatible with this unit. However, depending
on the media condition the unit may not read the disc properly.
Verbatim DVD+R 8x, DVD+RW 4x, DVD-R 8x, DVD-RW 2x
JVC DVD-RW 4x
Maxell DVD+R 4x/8x/16x, DVD-R 8x/16x
SONY DVD+R 4x/8x/16x, DVD+RW 4x
TDK DVD+R 4x/8x/16x
Performance of any other discs are not guaranteed.
• You can play back DVD+RW on most DVD players without
finalizing. However, if you have added or deleted chapters, or made chapters hidden, you must perform “Make
Edits Compatible” before being able to see those effects on other units. (Refer to page 96 in the owner's manual.)
To play back discs other than DVD+RW on other DVD players, you will need to finalize.
Recordable Discs
Unrecordable Discs
Logo
Attributes
8cm/12cm, single-sided,
single layer disc
Approx. max. recording time
(SLP mode):
360 minutes (4.7GB) (for 12cm)
108 minutes (1.4GB) (for 8cm)
DVD+RW DVD+R
DVD-RW
DVD-R
• DVD-RW recorded in the mode other than +VR is not recordable on this unit
unless you erase all contents in the disc. (Refer to page 95 in the owner's manual.)
• DVD-R recorded in the mode other than +VR is not recordable on this unit.
This unit is compatible to play back the following discs / files.
This unit can record to DVD+RW, DVD+R, DVD-RW and DVD-R. DVD+R/DVD-R can only
be recorded to once. DVD+RW/DVD-RW can be recorded to and erased many times.
DVD-RW/-R will be recorded in the DVD+VR mode automatically in this unit.
Printed in China
1VMN25596 / E2M01UD_QG ★★★★★
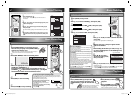
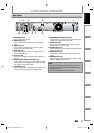
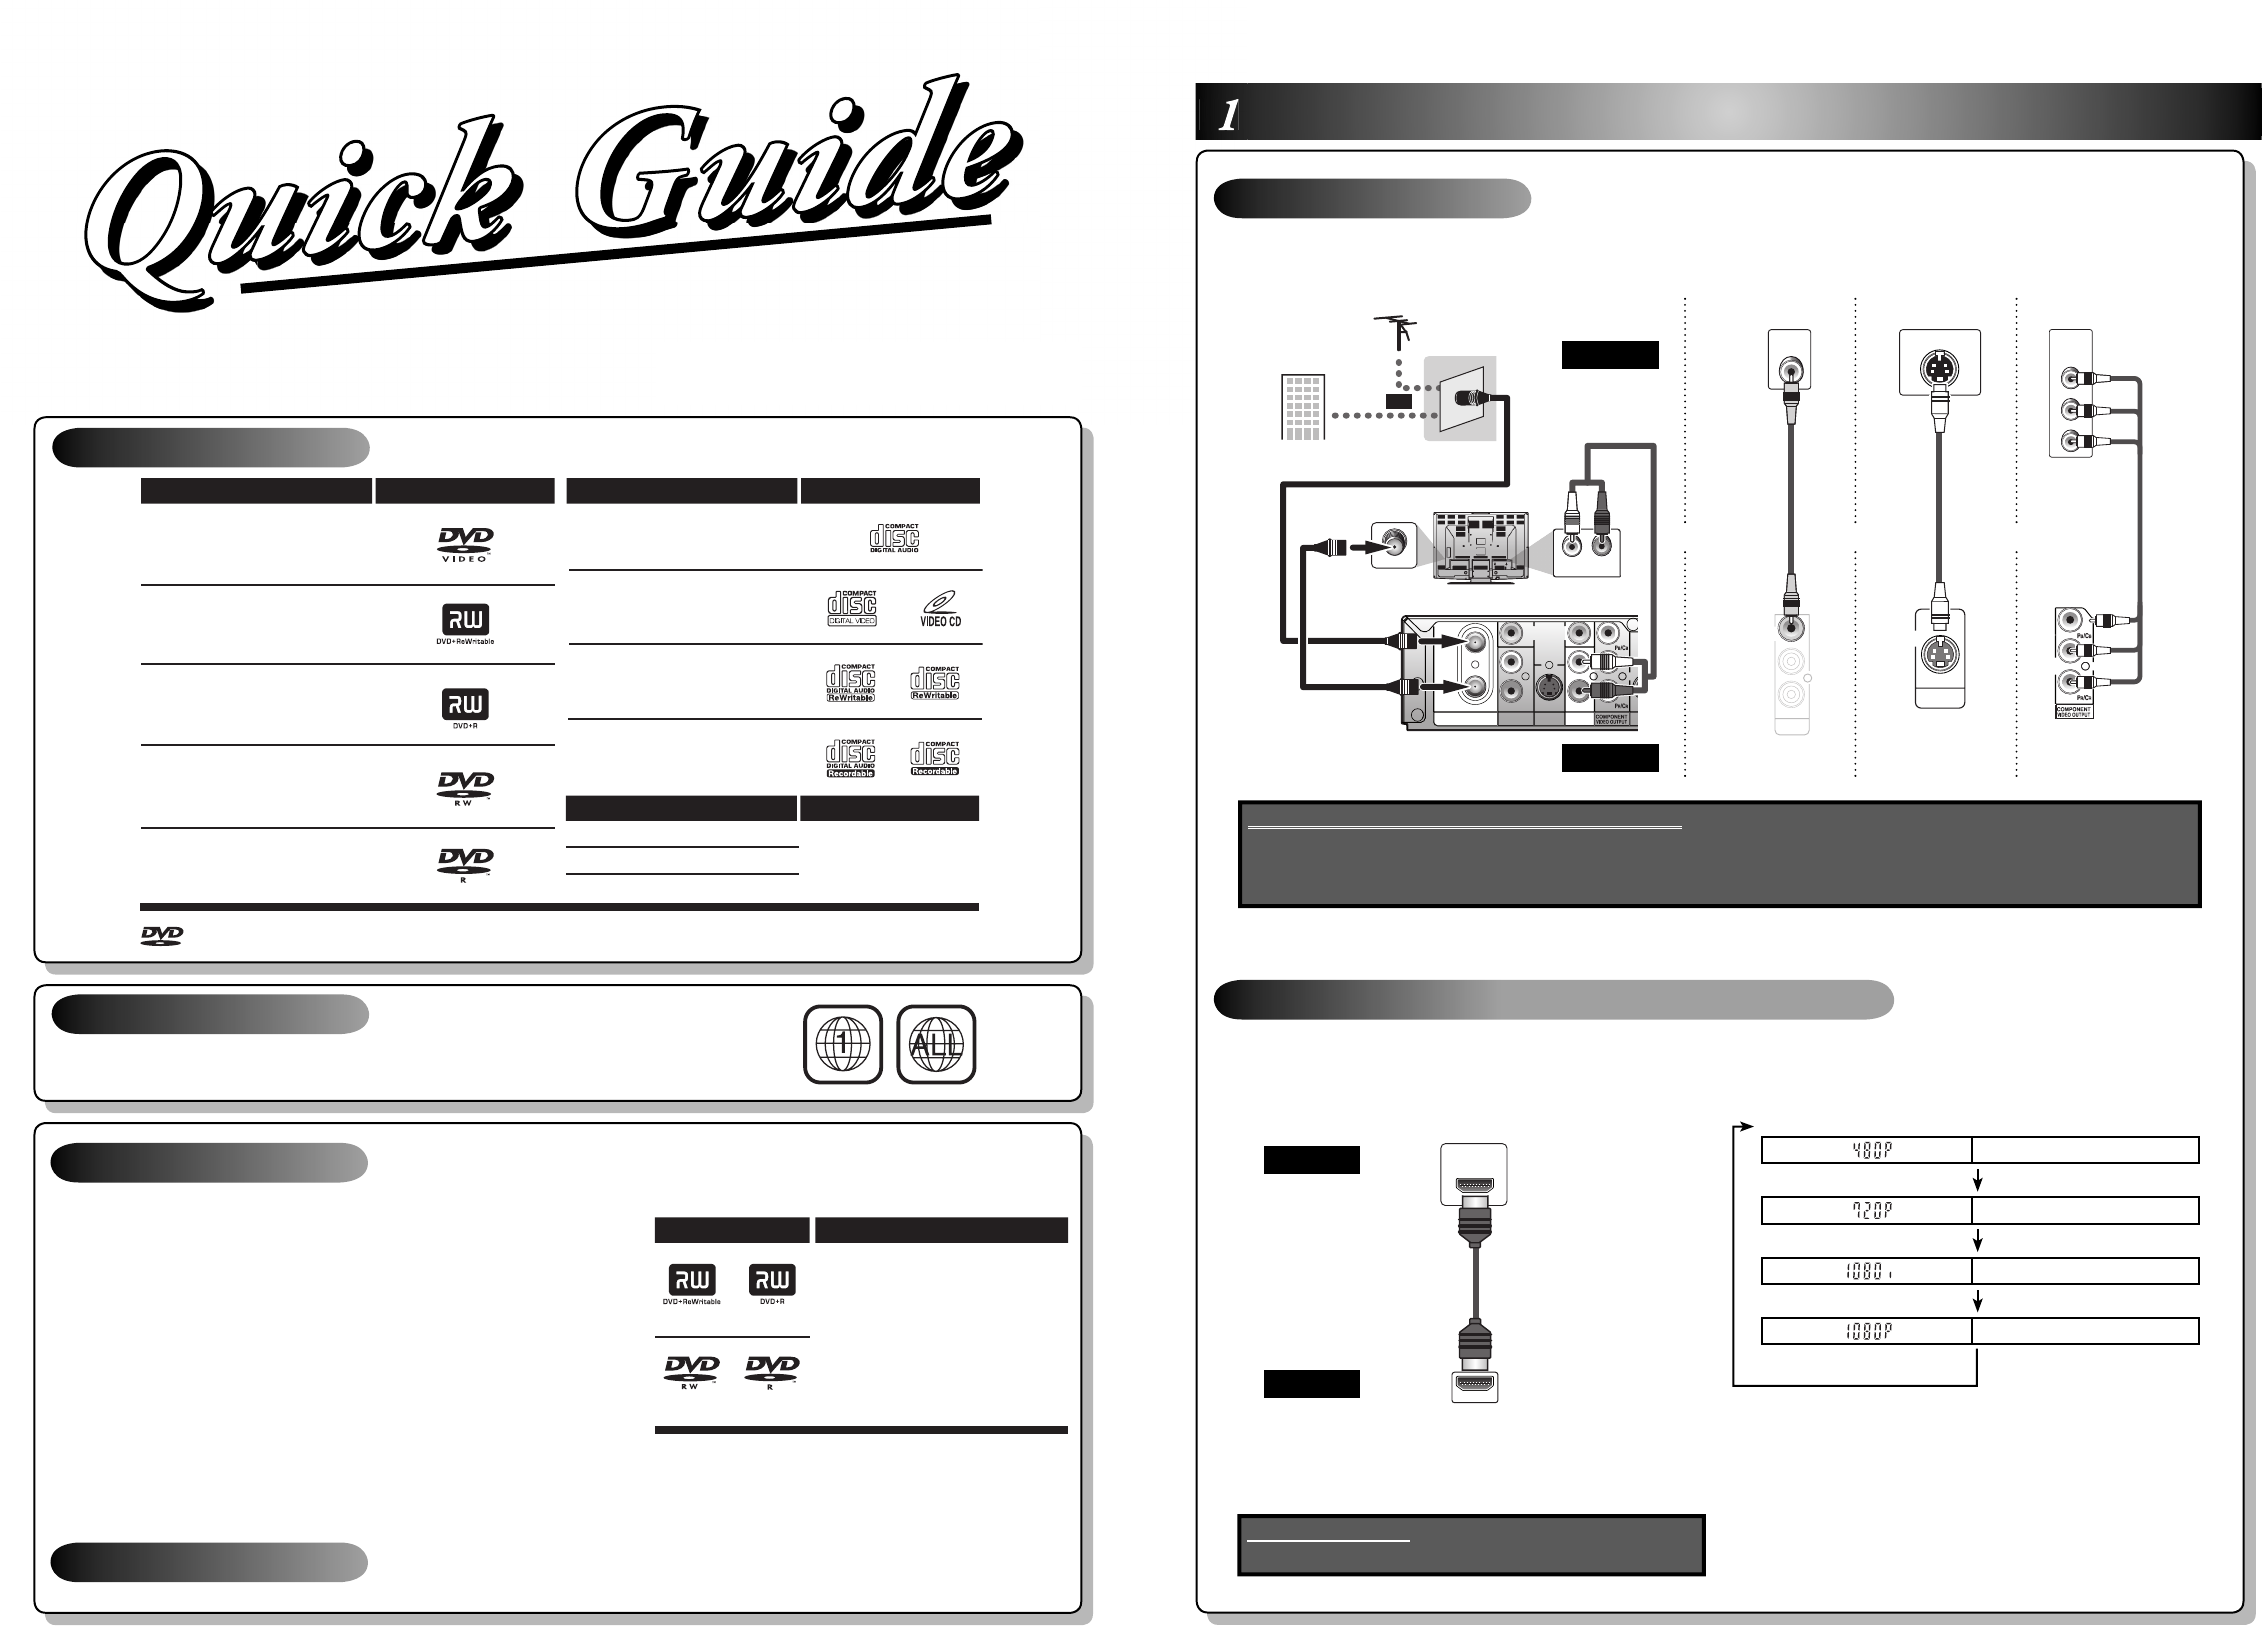
1) Disconnect the power cord of your TV from the AC outlet.
2) Make the basic connection as illustrated below.
3) Plug in the power cords of the devices to the AC outlet.
Basic Connection
IN
IN
OUT
VIDEO
IN
AUDIO IN
(
L1
)
S
-
S-VIDEO
AUDIO OUT
L
R
VIDEO
OUT
Y
ANTENNA
R
L
rear of this unit
ANT. IN
VHF / UHF
antenna
RF coaxial cable
RF coaxial cable
or
cable TV
company
rear of your TV
RCA audio cable
AUDIO IN
L R
S-VIDEO IN
OUT
S-VIDEO
COMPONENT
VIDEO IN
Y
PB/CB
PR/CR
Y
TV
this unit
standard picture
VIDEO OUT
L
R
VIDEO
OUT
AUDIO OUT
VIDEO
IN
Supplied cables used in this connection are as follows:
• RCA audio cable (L/R) x 1
• RCA video cable x 1
Please purchase the rest of the necessary cables at your local store.
ororand
(Green)(Green)
(Blue)(Blue)
(Red)(Red)
(Green)(Green)
(Blue)(Blue)
(Red)(Red)
good picture better picture
S-VIDEO OUT
COMPONENT
VIDEO OUTPUT
RCA video
cable
S-video
cable
component
video cable
A simple 1-cable connection with a device having an HDMI
(high-definition multimedia interface) connector allows digital
transfer of both digital video signals and multi-channel audio
signals.
HDMI IN
HDMI OUT
TV
this unit
Cables not included.
Please purchase the necessary cables at your local store.
When connecting with an HDMI cable, the audio signal will be
output as the digital audio signal simultaneously, so you do
not need the analog audio connection described on page 20.
HDMI Mode and Actual Output Signals
Press [HDMI] to select the HDMI output mode. The output
mode changes as follows every time [HDMI] is pressed.
Front Panel Display Video Output Signal
480 Progressive
Press [HDMI]
720 Progressive
Press [HDMI]
1080 interlaced
Press [HDMI]
1080 Progressive
Press [HDMI]
• The HDMI mode that is not supported by display device
will be skipped.
HDMI cable
Connection to a TV with an HDMI™ Compatible Port
E2M01UD_H2160MW9_QG.indd 1E2M01UD_H2160MW9_QG.indd 1 2008/04/15 19:21:262008/04/15 19:21:26