


37
CHAP. 6 Network Setup
4. SUBNET MASK : 255.255.255.240 (example)
a. Along with your static IP addresses you should have received your subnet mask
from your Internet provider. Please use that subnet mask when configuring the DVR.
If you did not receive this information contact your service provider.
5. GATEWAY : 24.106.1.193(example)
a. Along with your static IP addresses you should have received your gateway or
default gateway from your Internet provider. Please use that gateway when
configuring the DVR. If you did not receive this information contact your service
provider.
6. Please DO NOT configure MAC ADDRESS or DHCP SETUP.
7. Your DVR is now ready for access.
Accessing the DVR using the Remote Software for CASE D
LOCALLY :
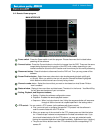
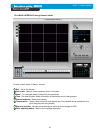
To access the DVR locally, open the remote viewing software and click on the “Settings”
button. As far as TCP/IP connectivity is concerned only 4 entries need to be made.
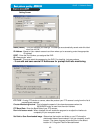
For CASE D, you have received a static IP from your Internet provider. That static IP address
is what you must enter into the software for connectivity to take place (this should be the same
IP address configured in the DVR). Contact your provider if you have misplaced the forms
stating your static IP address. As in the above example I would input the :
1. Public IP address of 24.106.1.195
2. Port : 50000(this has to match what is configured in the DVR)
3. User ID : (always leave the default “ admin “)
4. Password : this must match what is configured in the DVR
a) 4,8,16 channel default : Blank (NO PASSWORD)
REMOTELY :
To access the DVR remotely, just follow the same instructions for local access.
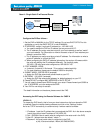
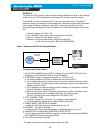
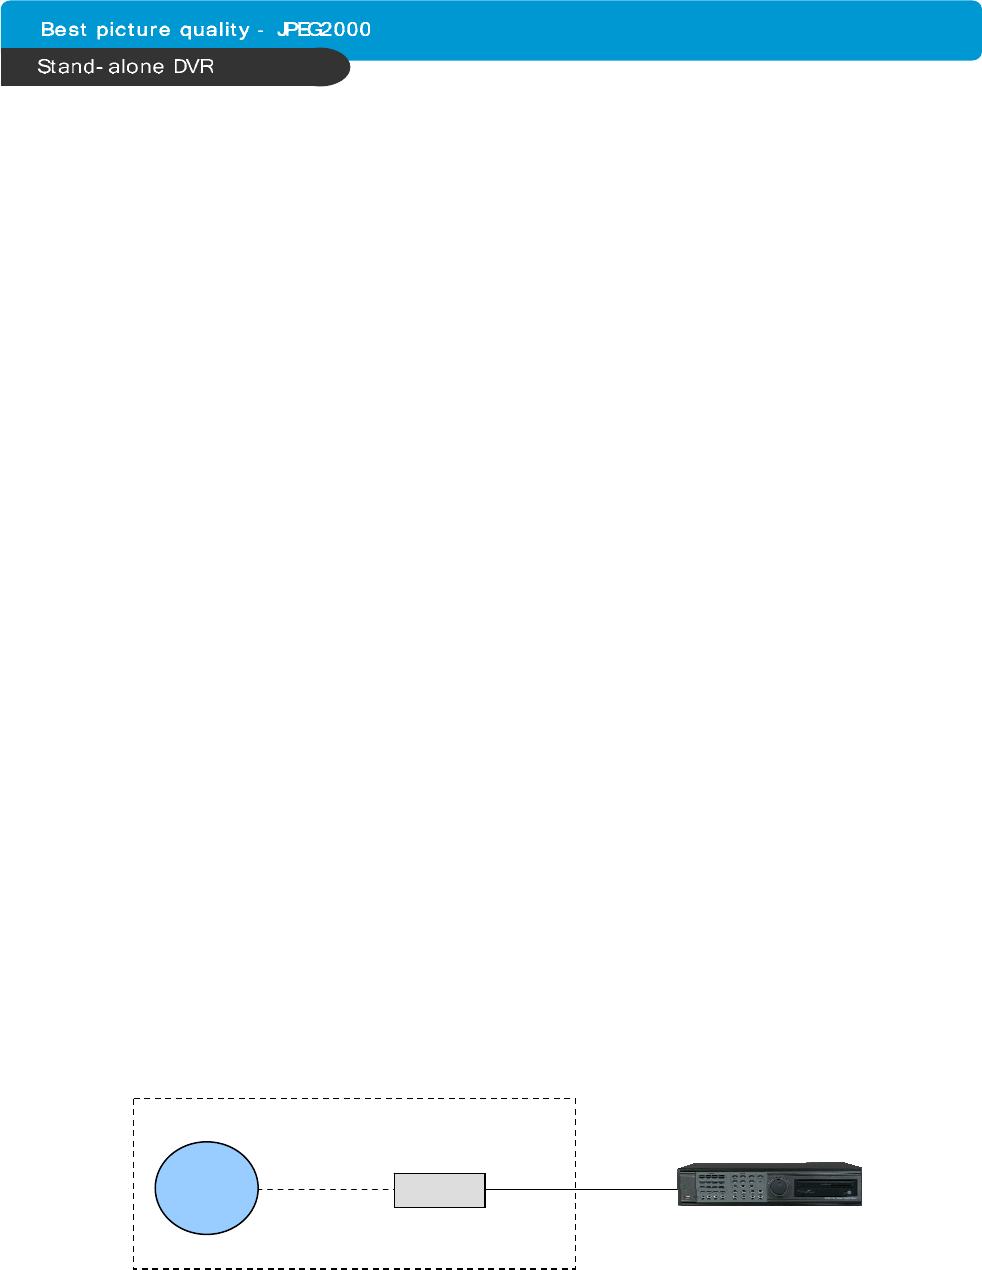
Case E : Dynamic IP Directly Connect to the DVR with High Speed Cable
Internet
(ISP)
Modem
DVR
CATV