6. NetCommand Control of an A/V Receiver 59
In the U.S. call 1(877) 675-2224 for assistance.
Setting Up A/V Receiver Control, continued
Case 2: Automatic A/V Receiver Switching
to a Surround Sound Device
Note: Use this setup to send digital surround sound
from a source device directly to your external sound
system. For non-surround sound source devices,
Mitsubishi recommends using the setup for Case 1,
in which audio is sent through the TV.
A device can send digital surround sound such as Dolby
Digital or DTS directly to the A/V receiver. The device might
be a DVD player, cable box, or satellite receiver, and could
have HDMI output. A DVD player is used in this example.
Your setup may include additional devices with digital
surround sound connected directly to the A/V receiver.
These devices might be a DVD player plus a cable box
or satellite receiver. Inputs already connected to the TV
will appear listed in the setup screen.
TV
audio + video
Incoming
Coaxial
Cable
A/V Receiver
DVD audio
input
DVD Player with
Digital Surround Sound
video
video
digital surround sound
digital surround sound
video
analog audio
DVD Player
with
Digital
Surround
Sound
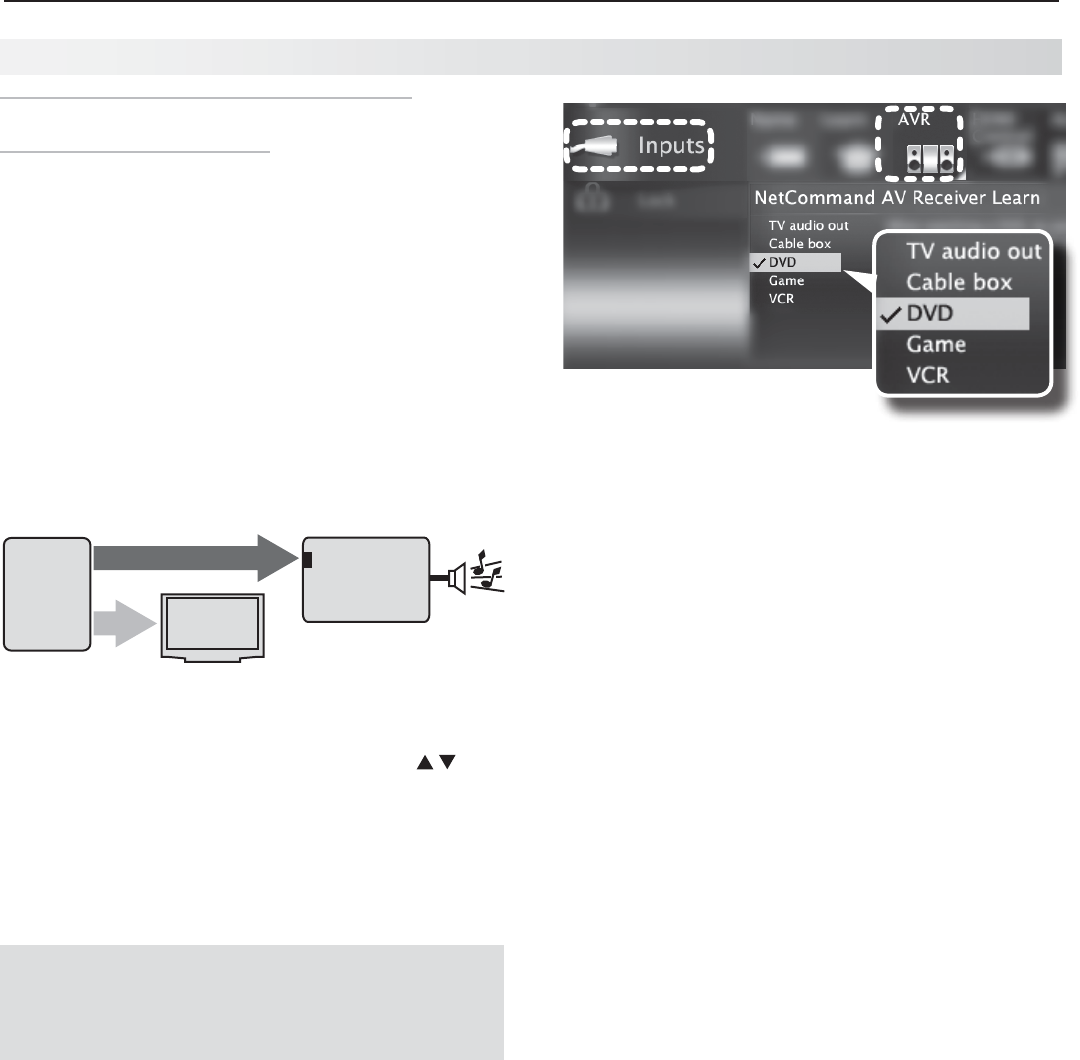
Case 2: A/V receiver audio from a device providing
surround sound directly to the A/V receiver
In the
1.
Inputs > AVR > NEXT menu, press
to highlight the name of the A/V receiver input to
control. In this example, it is the DVD input.
Press
2.
ENTER
on the TV’s remote control.
Case 2: NetCommand setup for
controlling A/V receiver switching
to the A/V receiver’s DVD input. The list contains
connected inputs with names assigned during Auto
Input Sensing.
While the text
3.
DVD is flashing, press and hold the
DVD INPUT
key on the A/V receiver’s remote control.
When a check appears next to
4.
DVD, release the
DVD INPUT
key.
If the text stops flashing before the check mark •
appears, repeat this step.
To erase the IR code just “learned,” press •
CANCEL
while the name is highlighted.
If finished, highlight
5.
EXIT and press
ENTER
or
continue to set up additional A/V receiver audio
sources.
Combining Setup Types
Your setup can include devices connected
using the Case 1 method plus other devices
connected using the Case 2 method.
