


4. TV Operation and Features 35
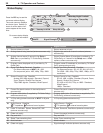
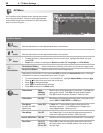
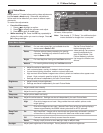
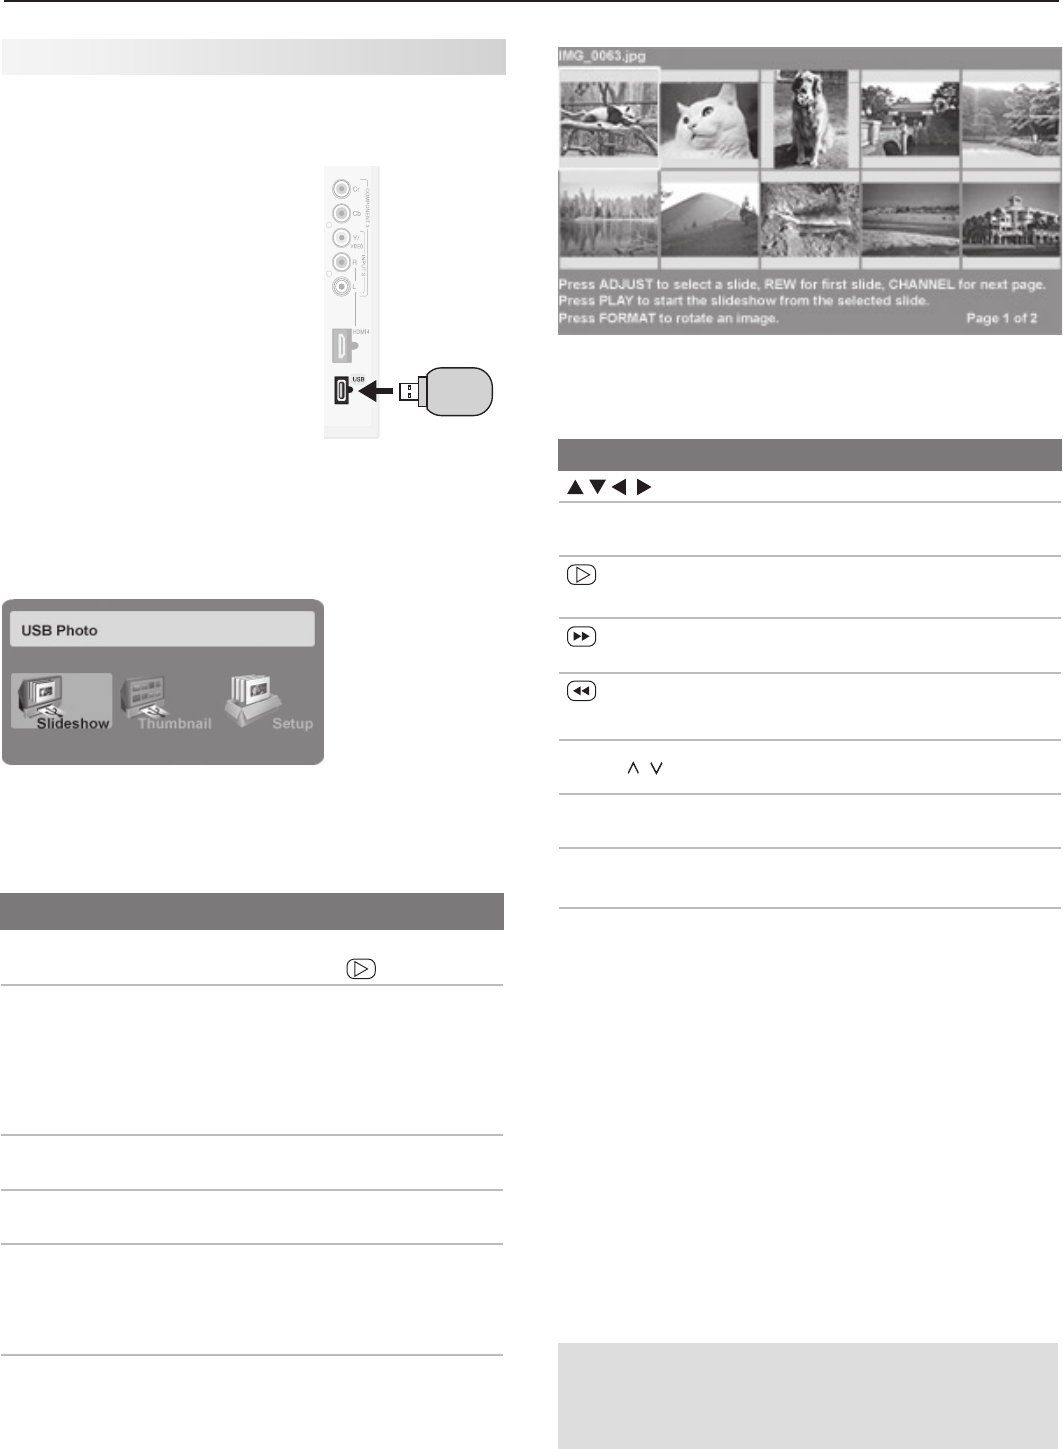
JPEG Thumbnail Menu
Use these keys while viewing JPEG thumbnail images:
Keys for the JPEG Thumbnail Menu
Move the highlight from image to image.
F
ORMA
T Rotate the thumbnail clockwise in 90˚
increments
or
ENTER
Play the slide show starting with the high-
lighted thumbnail.
Highlight the last thumbnail on the current
page.
Highlight the first thumbnail on the current
page.
CH/PAGE
/
Display the next or previous page of
thumbnails.
EXIT
Close the Thumbnail menu and display
the USB Photo menu.
MENU
Close the Thumbnail menu and display
the Main menu.
INPUT
Close the Thumbnail menu and display
the Input Selection menu.
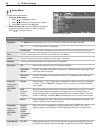
Notes on Viewing JPEG Files
• The TV ignores all commands while reading files.
Wait
for the completion message before continuing.
• Large files or high-capacity storage devices may take a
long time to display. The screen will be blank while files
are read.
• Use only one source device at a time.
IMPORTANT
Stop playback or change to a different TV input
before disconnecting from the USB photo port.
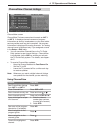
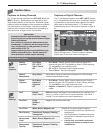
USB Photo Menu Options
Start slide show. With the Slideshow icon high-
lighted, press or
ENTER
.
Activate menu options.
Highlight an icon and press
ENTER
to:
• start the slide show
• display picture thumbnails
• open the Media Setup
submenu.
Display or close the
Main menu.
Press
MENU.
Display status for the
file source.
Press
INFO.
Select a different con-
nected device
1. Press
INPUT
.
2. Highlight the icon for a dif-
ferent device.
3. Press
ENTER
.
Clear status display
or menu to show the
USB Photo menu
Press
EXIT
.
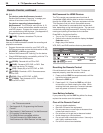
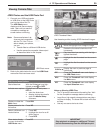
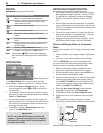
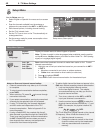
Viewing Camera Files
JPEG Photos and the USB Photo Port
1. Connect your USB card reader
or USB drive to the USB Photo
port on the side of the TV.
The USB Photo menu
displays while files are being
read. Wait until you see the
completion message on
screen before continuing.
Note:
Some manufacturers’ de-
vices may be incompatible
with the TV. If the TV is un-
able to display your photos,
you can:
• Transfer
files to a different USB device.
• Use the camera’s composite video output
as described later in this chapter.
USB Photo menu
2. Refer to the table below for use of the
USB Photo
menu after files have been read.