


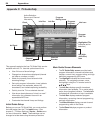
58 6. NetCommand
Before You Begin
1. Connect your A/V devices to the TV and connect
your A/V receiver to the audio outputs on the TV
and the DVD player. See chapter 3, “TV Connec-
tions,” for suggestions.
2. Open the Inputs > AVR menu.
Note: The terms Input 1–Input 4 used in the AVR
screen are temporary placeholder names. They
refer to the A/V receiver inputs for which the TV
can learn IR codes.
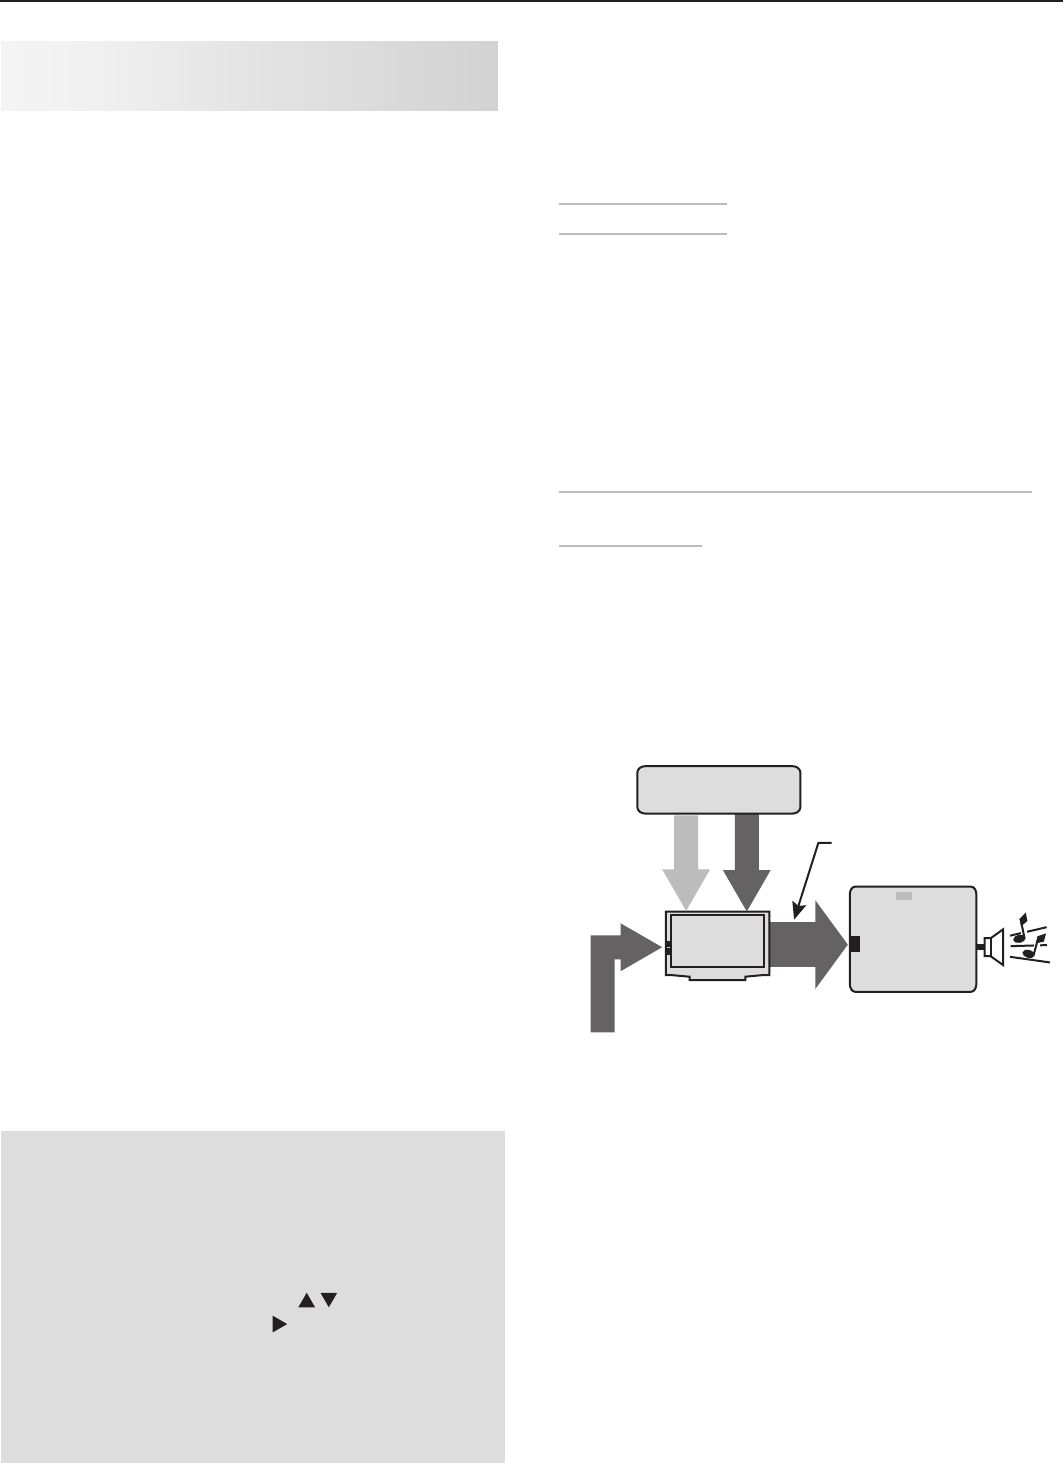
Setup 1: Automatic A/V Receiver Switching to Its
TV Audio Input
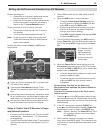
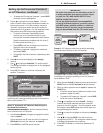
Most devices are set up like the VCR in this example, in
which analog audio from the device is sent through the
TV.
Use this setup for:
• Sources providing only analog stereo output, such
as a VCR.
• Audio from
ANT 1
and
ANT 2
57
"/5
"/5
BVEJPWJEFP
*ODPNJOH
$PBYJBM$BCMF
UP"/5"/5
"73FDFJWFS
%7%BVEJP
JOQVU
57BVEJPJOQVU
57BVEJP
PVU
BVEJPPVUQVUGSPN
57EJHJUBMPSBOBMPH
BOBMPHBVEJP
WJEFP
WJEFP
BOBMPHBVEJP
BOBMPHBVEJP
7$3XJUI
"OBMPH"VEJP0VUQVU
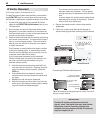
Setup 1: A/V receiver audio from the TV’s digital or
analog audio output (
DIGITAL AUDIO OUT
or
AVR AUDIO
OUTPUT
)
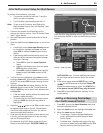
1. Under Learn/Name, navigate to highlight the area
next to Input 1.
In this example, the IR code for the A/V receiver’s
TV Audio
input will be “learned” as Input 1.
2. Press
ENTER
on the TV’s remote control.
3. While the text Input1 is flashing, press and hold the
TV INPUT
key on the A/V receiver’s remote control.
4. When a check appears next to Input 1, release the
TV INPUT
key.
• If the text stops flashing before the check mark
appears, repeat this step.
Setup to Control Automatic Switching of
A/V Receiver Audio Inputs
Two different setups are described here:
Setup 1: Automatic A/V Receiver Switching to TV
Audio Input
Setup 2: Automatic A/V Receiver Switching for a
device sending audio directly to the A/V receiver
• Audio Available from TV only: Use Setup 1.
Audio from
ANT 1
and
ANT 2
must be sent to the
A/V receiver from the TV’s DIGITAL AUDIO OUT or
analog
AVR AUDIO OUTPUT
.
Use Setup 1 to make the A/V receiver switch to
its designated TV audio input when viewing these
sources.
• HDMI, Digital Stereo Audio Only: Use Setup 1
Digital stereo audio from an HDMI connection
is available both in digital format (from the TV’s
DIGITAL AUDIO OUT) jack and in analog format
(from the TV’s
AVR AUDIO OUTPUT
jack).
• Analog Stereo Audio: Use Setup 1.
Audio from sources with only analog stereo output
(such as a VCR) can be sent either directly to the
A/V receiver or through to the TV and then on to the
A/V receiver.
Mitsubishi recommends you send audio through
the TV as shown in the example. Setup 1 causes
the A/V receiver to switch to its input designated for
TV audio.
If you have a digital A/V receiver, the TV makes the
audio available by converting analog audio to a
digital output.
• Digital Surround Sound: Use Setup 2.
A device can send digital surround sound such as
Dolby Digital or DTS directly to the A/V receiver,
bypassing the TV entirely. The device might be
a DVD player, cable box, or satellite receiver, and
Setting Up NetCommand Control of
an A/V Receiver, continued
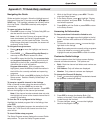
IMPORTANT
To hear audio sent from the TV to the A/V
receiver, you must have:
•
physically connected the TV to the A/V
receiver
•
selected the A/V receiver as the audio
source. Press
AUDIO
, then
to show the
Speakers option,
then
to select the A/V
Receiver.
• “
learned” the IR codes for the A/V receiver
inputs
• chosen the correct input in the
NetCommand A/V Receiver Learn screen
could have HDMI output. A DVD player is used in
this example.
Your setup may include additional devices with
digital surround sound connected directly to the
A/V receiver. These devices might be a DVD player
plus a cable box or satellite receiver.