I-10
I-7
I-16
I-13
I-10
Plug the power cord into the outlet correctly.
Press the power switch.
Connect the signal cable correctly.
Release the power saving function. (Operate
the mouse or keyboard. For additional details
please read the operation manual of the
hardware that is used.)
Adjust the contrast, brightness and backlight
correctly.
Press the power switch one more time.
Use an on-screen function to perform the
desired settings.
Read the computer operation manual and
change the display mode to obtain the
specified mode.
When the 1024 × 768 mode is set, perform
the adjustment so the stripe patterns are not
conspicuous.
Change the desktop pattern in modes other
than 1024 × 768.
If the same screen is displayed on the
LCD display panel for a long period of time, a
phenomenon called “burn-in” may occur
where slight traces of the burned-in screen
pattern can still be observed when other
screen patterns are displayed.
Do not operate the display for approximately
one day and do not turn the power on.
Perform the necessary adjustments until the
characters displayed on the screen do not
flicker.
Lower the vertical frequency of the image
signal to set the video clock frequency to a
level below the standard level (80 MHz).
Set the Standard mode.
Check the video signal level from the computer
and adjust it in the correct direction.
Adjust the brightness, backlight and contrast.
(Refer to the computer operation manual of
the computer that is used for further details.)
Set the Standard mode.
Press the MENU key to check the Self-Test
screen.
Is either one of the numeric values for fH or
fV displayed in red?
The input signal frequency exceeds the range
of the security range of this unit.
Read the operation manual of the computer
and change the display mode.
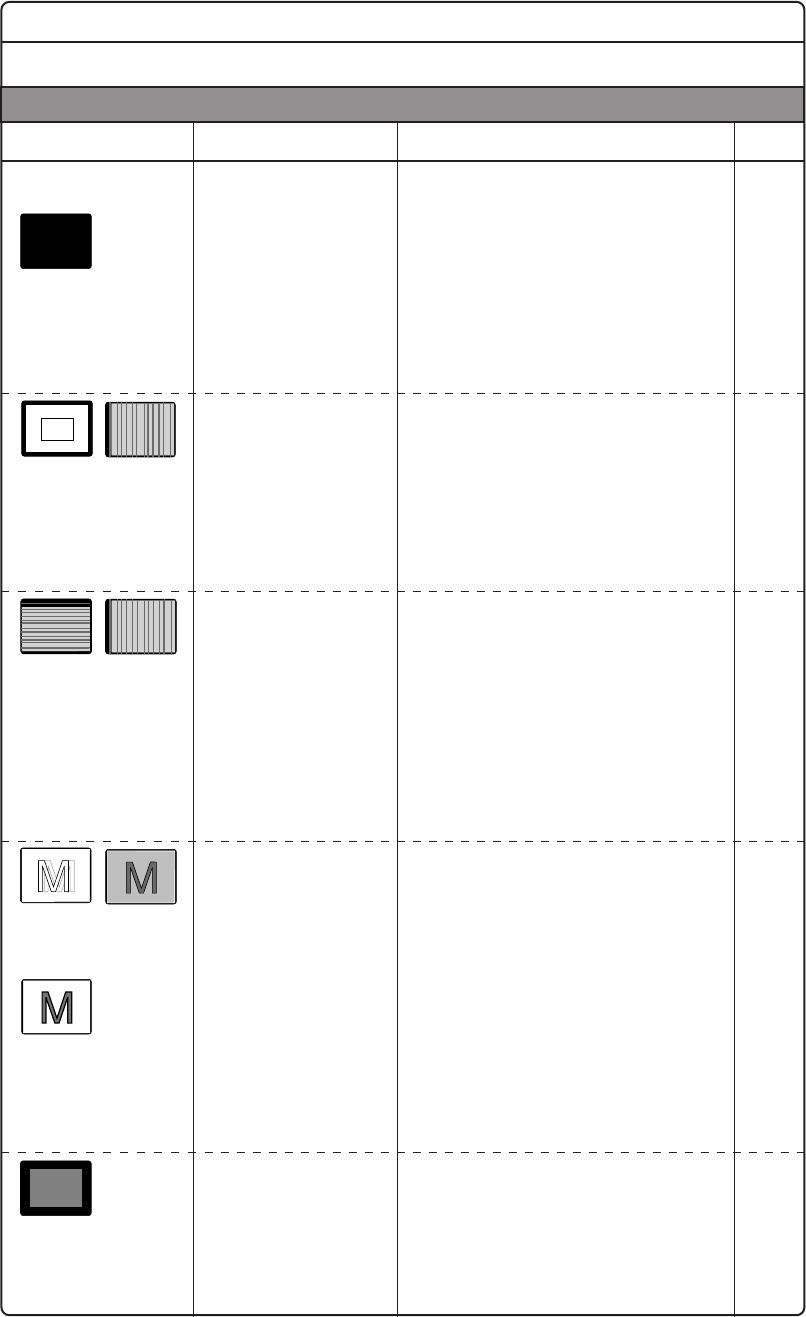
The pilot LED does not
light.
There is no image.
The pilot LED does not
go off.
The image is too large or
too small. It is displaced
from the correct position.
Part of the screen is
missing.
The color of part of the
screen is changed.
There are vertical or
horizontal stripes in the
screen.
There is an after-image in
the screen.
Characters cannot be
seen clearly even after an
adjustment is performed.
The image is too dark.
The image scrolls
continuously.
Power cord / plug
Power switch
Signal cable
Computer (The power
saving function might have
operated. If this
occurred, the pilot LED will
be light amber.)
Contrast, brightness and
backlight adjustment
Power switch
Is not the mode
registered?
Is the mode guaranteed?
Perform the V. FINETUNE
(Vertical stripe), H.
FINETUNE (Horizontal
stripe) adjustments (In the
1024 × 768 mode.)
Liquid Crystal panel
H. FINETUNE (Horizontal
stripe) adjustments
Does the video clock
frequency of the image
signal exceed the standard
level (80 MHz)?
Has the Office mode been
set?
Is the video level correctly
adjusted?
Is the brightness or
contrast adjustment turned
all the way down?
Has the Dynamic or Enter-
tainment mode been set?
SELF-TEST function
Signal cable
The outlines of text are
sharp.
I-12
I-19
I-13 ~ 14
I-14
I-15
I-14
I-13
I-15
I-15
I-14
I-19
I - 17
If Trouble Occurs
If problems continue even after the inspections described below are performed, always remove the
power plug and contact our dealer.
Symptom Check Remedy
Reference
Page
Please observe the following points to ensure safety.


