Channel setting (cont’d)
Getting started
Recording
Disc Playback
Editing
Before you start
Connections
Getting started
Changing the Setting menu
Others
Español
19
4
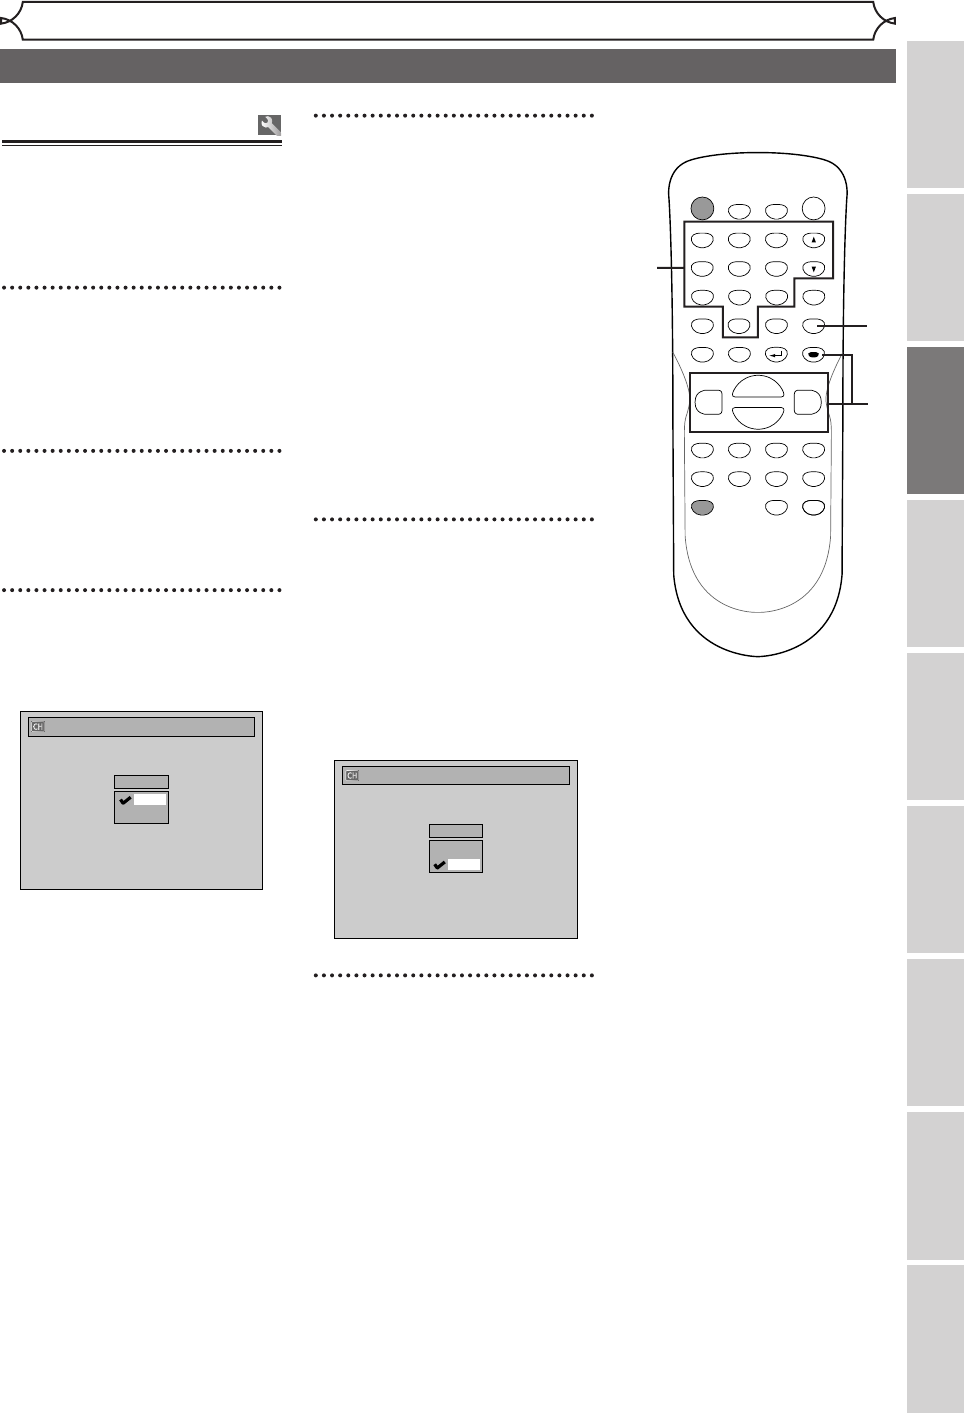
Select the channel number to
add or delete.
Press [{] or CH [L] to move
to a smaller channel number.
Press [B] or CH [K] to move
to a larger channel number.
• Use [{ / B] to move through
the channels one by one, includ-
ing the ones not in the channel
memory, while use [CH K / L]
to move through the channels
only in the channel memory.
Press the Number buttons to
select a channel number directly.
5
Using [K / L], select “Add”
or “Delete”. Hit [ENTER].
The channel number will be
added or deleted from the chan-
nel memory.Then the next chan-
nel number will appear so that
you can continue adding or delet-
ing channels.
6
Hit [SETUP] to exit.
Manual Preset
CH 2
Add
Delete
Adding/deleting
channels
The channels you no longer
receive or seldom watch can be
deleted from the memory.You can
also add channels into memory.
1
Hit [SETUP] in the stop
mode.
Easy Setting Menu or Advanced
Setting Menu will appear.
2
Using [K / L], select
“Channel”. Hit [ENTER].
Channel menu will appear.
3
Using [K / L], select “Manual
Preset”. Hit [ENTER].
Manual Preset menu will appear.
Manual Preset
CH 2
Add
Delete
POWER
ZOOM
DISPLAY
SETUP
TOP MENU
MENU/LIST
REC SPEED
REC
MONITOR
REC/OTR
PAUSESKIP SKIP
PLAY
CM SKIP
REPEAT
OPEN/CLOSE
TIMER
PROG.
FWD
REV
CLEAR
1
2
3
4
5
6
7
8
9
SPACE
0
A
HG
ENTER
CH
RETURN
.@/:
ABC
DEF
GHI
JKL
MNO
PQRS
TUV
WXYZ
B
C
{
B
K
L
h
g
F
STOP
1
2
3
4
5
6
4
E6701UD_ENSP.qx3 05.4.26 12:01 Page 19


