33
RQT7450
Transfer (Dubbing)
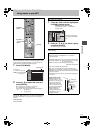
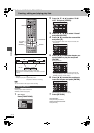
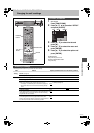
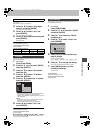
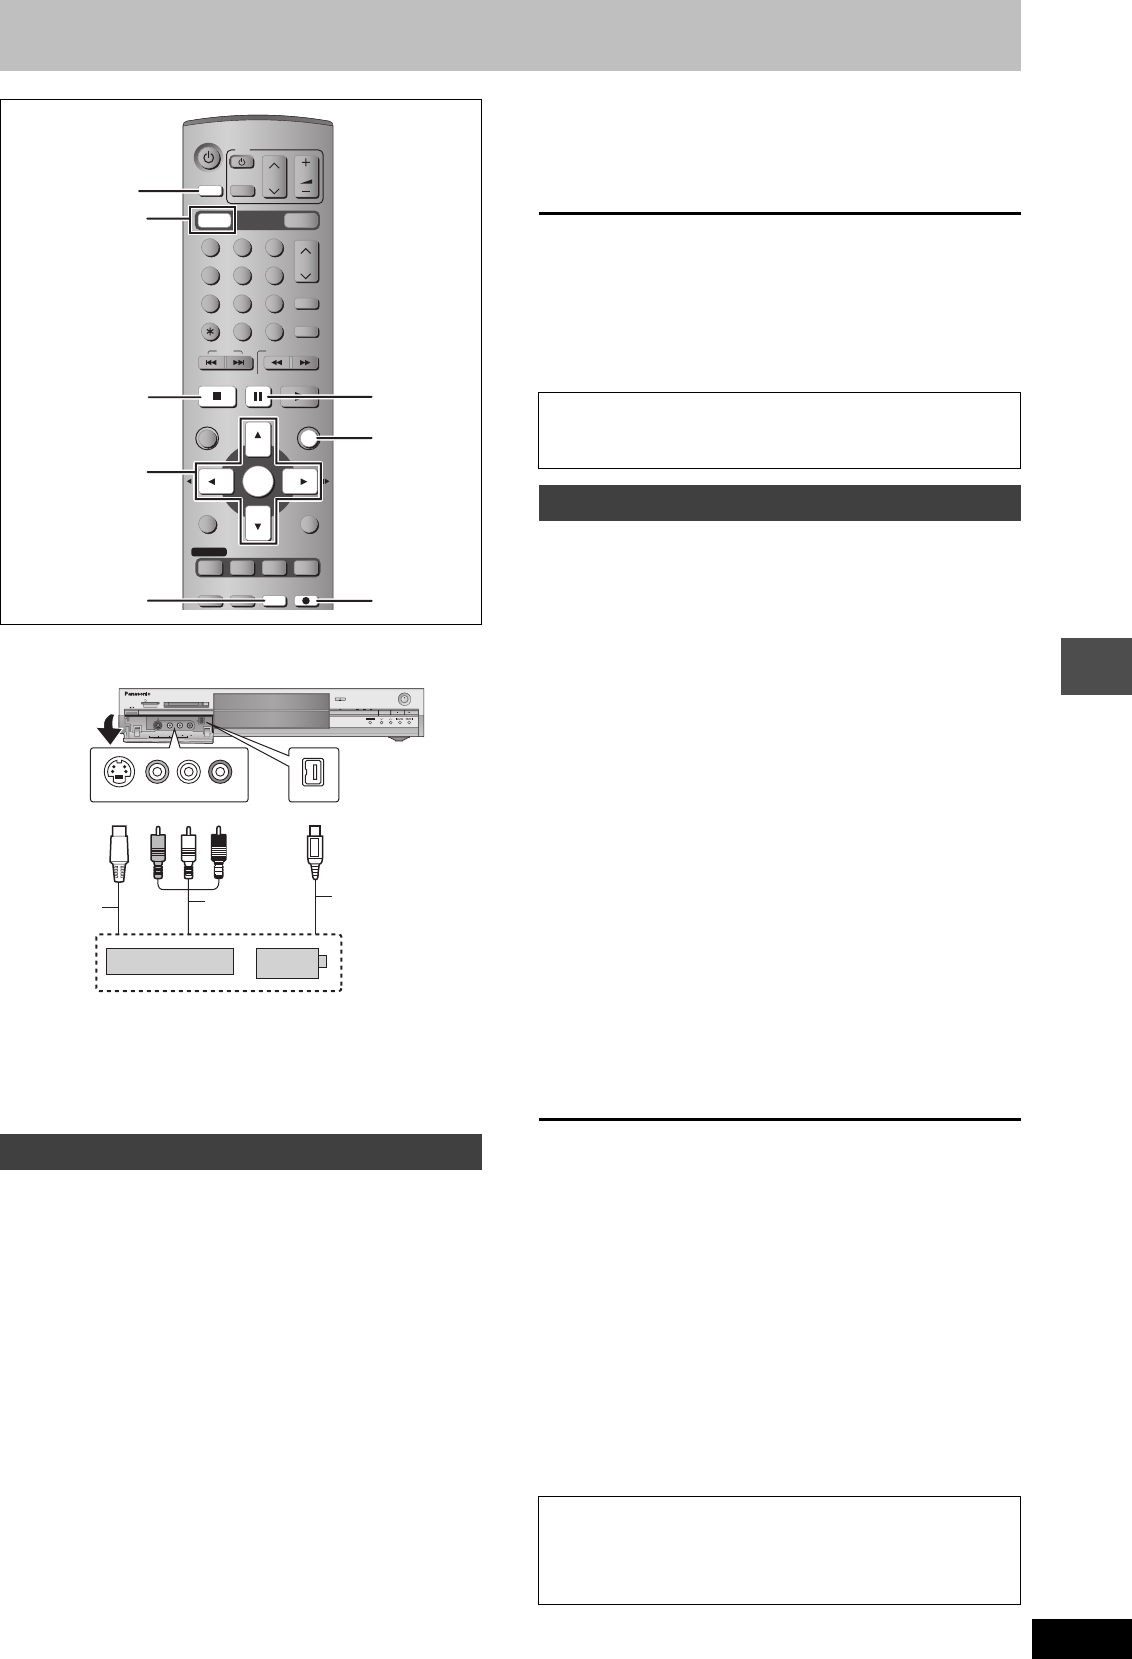
Recording from a video cassette recorder
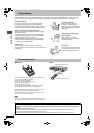
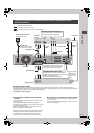
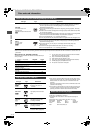
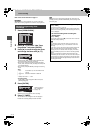
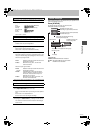
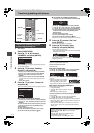
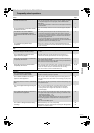
e.g., Connecting other video equipment to the AV3 or DV input
terminals
≥Turn off the unit and other video equipment before connecting.
If the audio output of the other equipment is monaural, connect to L/MONO.
§
The S-VIDEO terminal achieves a more vivid picture than the
VIDEO terminal.
When recording from the unit’s DV terminal
Select the type of audio recording from “Audio Mode for DV Input” in
the SETUP menu (➡page 41).
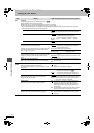
[RAM] [DVD-R]
Preparation
≥Connect a video cassette recorder to this unit’s input terminals.
≥Press [DVD] to select the DVD drive.
≥When recording bilingual programmes
[RAM]
When both M 1 and M 2 is selected on the connected equipment,
you can select the audio type in playback.
[DVD-R]
Select either M 1 or M 2 on the connected equipment. (You cannot
select the audio type in playback.)
≥
When the output signal from the external equipment is NTSC,
change the “TV System” to “NTSC” in the SETUP menu (
➡
page 43).
≥To reduce noise in input from a video cassette recorder, set “AV-in
NR” to “On” in the SETUP menu (➡page 40).
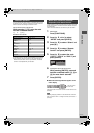
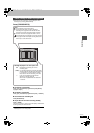
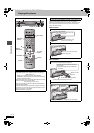
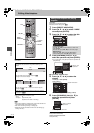
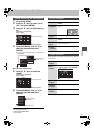
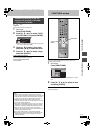
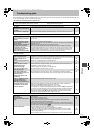
1 While stopped
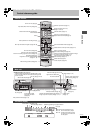
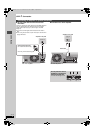
Press [INPUT SELECT] to select the
input channel for the equipment you
have connected.
e.g., If you have connected to AV3 input terminals, select “AV3”.
2 Press [REC MODE] to select the
recording mode.
3 Start play on the other equipment.
4 Press [¥ REC].
Recording starts.
To skip unwanted parts
Press [;] to pause recording. (Press again to restart recording.)
To stop recording
Press [∫].
To record programmes to fill up the remaining space on the
disc
➡page 16, Flexible Recording
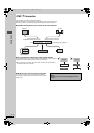
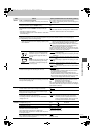
[RAM]
When the “DV AUTO REC” function is used, programmes are
recorded as a title while at the same time chapters are created at
each break in the images and the play list is created automatically.
Preparation
1 Turn off the main unit and DV equipment, then connect the
equipment with the unit’s DV input terminal (➡left).
2 Turn on the main unit and DV equipment.
3 Pause play of the DV equipment at the point you want recording
to start.
4 Press [DVD] to select the DVD drive.
≥
When the output signal from the external equipment is NTSC,
change the “TV System” to “NTSC” in the SETUP menu (
➡
page 43).
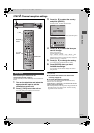
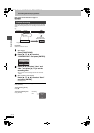
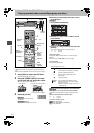
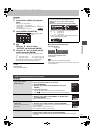
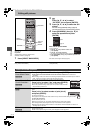
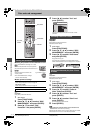
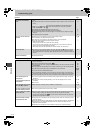
1 While stopped
Press [FUNCTIONS].
2 Press [3, 4, 2, 1] to select “DV
AUTO REC” and press [ENTER].
3 Press [REC MODE] to select the
recording mode.
4 Press [2, 1] to select “Rec” and
press [ENTER].
Recording starts.
When recording finishes
The confirmation screen appears. Press [ENTER] to finish DV
automatic recording.
To stop recording
Press [∫].
[Note]
≥Only one piece of DV equipment (e.g., digital video camcorder) can
be connected to the unit via the DV input terminal.
≥It is not possible to operate the unit from the connected DV
equipment.
≥The DV input on this unit is for use with DV equipment only. (It
cannot be connected to a computer, etc.)
≥The DV equipment name may not be shown correctly.
≥Depending on the DV equipment, the images or audio may not be
input properly.
≥The date and time information on the tape of the DV equipment will
not be recorded.
≥You cannot record and play simultaneously.
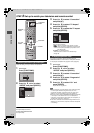
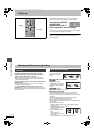
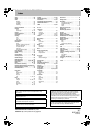
Manual recording
VOLUME
CH
DVD
TV
AV
123
456
78
0
9
MANUAL SKIP
CH
CANCEL
INPUT SELECT
SKIP
STOP
PAU SE
PLAY/x1.3
SLOW/SEARCH
FUNCTIONS
ENTER
DIRECT NAVIGATOR
TOP MENU
RETURN
SUB MENU
TIMER
PROG/CHECK
REC MODEERASE
REC
TIME SLIP
STATUS
DISPLAY
F
DVD
SD/PC
DRIVE SELECT
3,4,2,1
ENTER
FUNCTIONS
REC MODE
DVD
¥ REC
∫
;
INPUT SELECT
G-Code
-/--
OPEN/CLOSE
REC
/
x
1.3
TIME SLIP
CH
TIME SLIP
DRIVE SELECT
SD PCDVD
SD CARD PC CARD EJECT
AV3
S-VIDEO IN VIDEO IN AUDIO IN DV IN
R
L/MONO
L/MONO - AUDIO IN - R
VIDEO IN DV IN
S-VIDEO IN
Audio/
Video cable
S-Video
cable
§
Other video
equipment
Yellow White Red
This unit
DV cable
(IEEE 1394, 4-pin)
Almost all videos and DVD software on sale have been
treated to prevent illegal copying. Any software that has
been so treated cannot be recorded using this unit.
DV automatic recording (DV AUTO REC)
If the DV automatic recording function does not work properly,
check the connections and DV equipment settings, and turn the
unit off and back on.
If that does not work, follow the instructions for manual
recording (➡left).
7450L.book 33 ページ 2004年5月12日 水曜日 午後3時23分