RQT8314
21
1 When the unit is on
Press [g].
The confirmation screen appears.
2 Press [w,q] to select “Stop recording”
and press [ENTER].
Recording stops and the scheduled recording is cancelled.
(Daily and weekly schedules remain and scheduled recording
will start as programmed.)
1 Press [SCHEDULE].
2 Press [e,r] to select the program and
press [SUB MENU].
3 Press [e,r] to select “Schedule set to
Off” and press [ENTER].
Cancelled icon is displayed in left column.
• Be sure to select “Schedule set to On.” in step 3 before the
scheduled time to put the program on recording standby.
•“z” flashes on the unit’s display for about 5 seconds when the unit
cannot go to scheduled recording standby (e.g., a recordable disc
is not in the disc tray).
• Scheduled recordings begin when the set time is reached even
when recording or when playing.
• If the unit is turned on when scheduled recording begins, it remains
turned on after recording finishes. It does not turn off automatically.
You can turn the unit off during scheduled recording.
• If you are making consecutive recordings that will start one after
the other, the beginning of the later program cannot be recorded.
e.g., Program1 10:00–11:00
Program2 11:00–12:00
• If the actual broadcasting times of scheduled recordings overlap,
the recording that starts first always has priority, and the recording
of the later program will start only after the first scheduled
recording has finished.
• If you set DST (Daylight Saving Time) to On when manually setting
the clock (Ô page 15), scheduled recording may not work when
summer switches to winter and vice versa.
Even when the unit is turned off, you can display the schedule list by
pressing [SCHEDULE].
Press [SCHEDULE].
n To change a program
Press [e,r] to select the program and press [ENTER]
(Ô page 20, step 3).
• During scheduled recording, you can change the end time as long
as the recording mode is not “FR”.
n To delete a program
Press [e,r] to select the program and press [CANCEL ] or
[ADD/DLT].
n To cancel recording that has already begun
Press [e,r] to select program and press [SUB MENU], then
press [ENTER].
n To exit the schedule list
Press [SCHEDULE].
• Programs that failed to record are displayed gray, and cannot be
changed. They are automatically deleted from the schedule list at 4
a.m. two days later.
Cancel scheduled recording that has
already begun
Release program from recording
standby
Notes on scheduled recording
Schedule
List
ChannelNo
64 ABC01
11:00
Program2Program1
RecordedRecorded
Not recorded
Check, change or delete a program
CANCEL
S
SUB MENU
Timer Off
A
Schedule
List
Remaining Recording Time
3/26 Tue 12:53 PM
1:58 SP
ChannelNo Date On
New Scheduled Recording
Off Mode Check
ENTER
RETURN
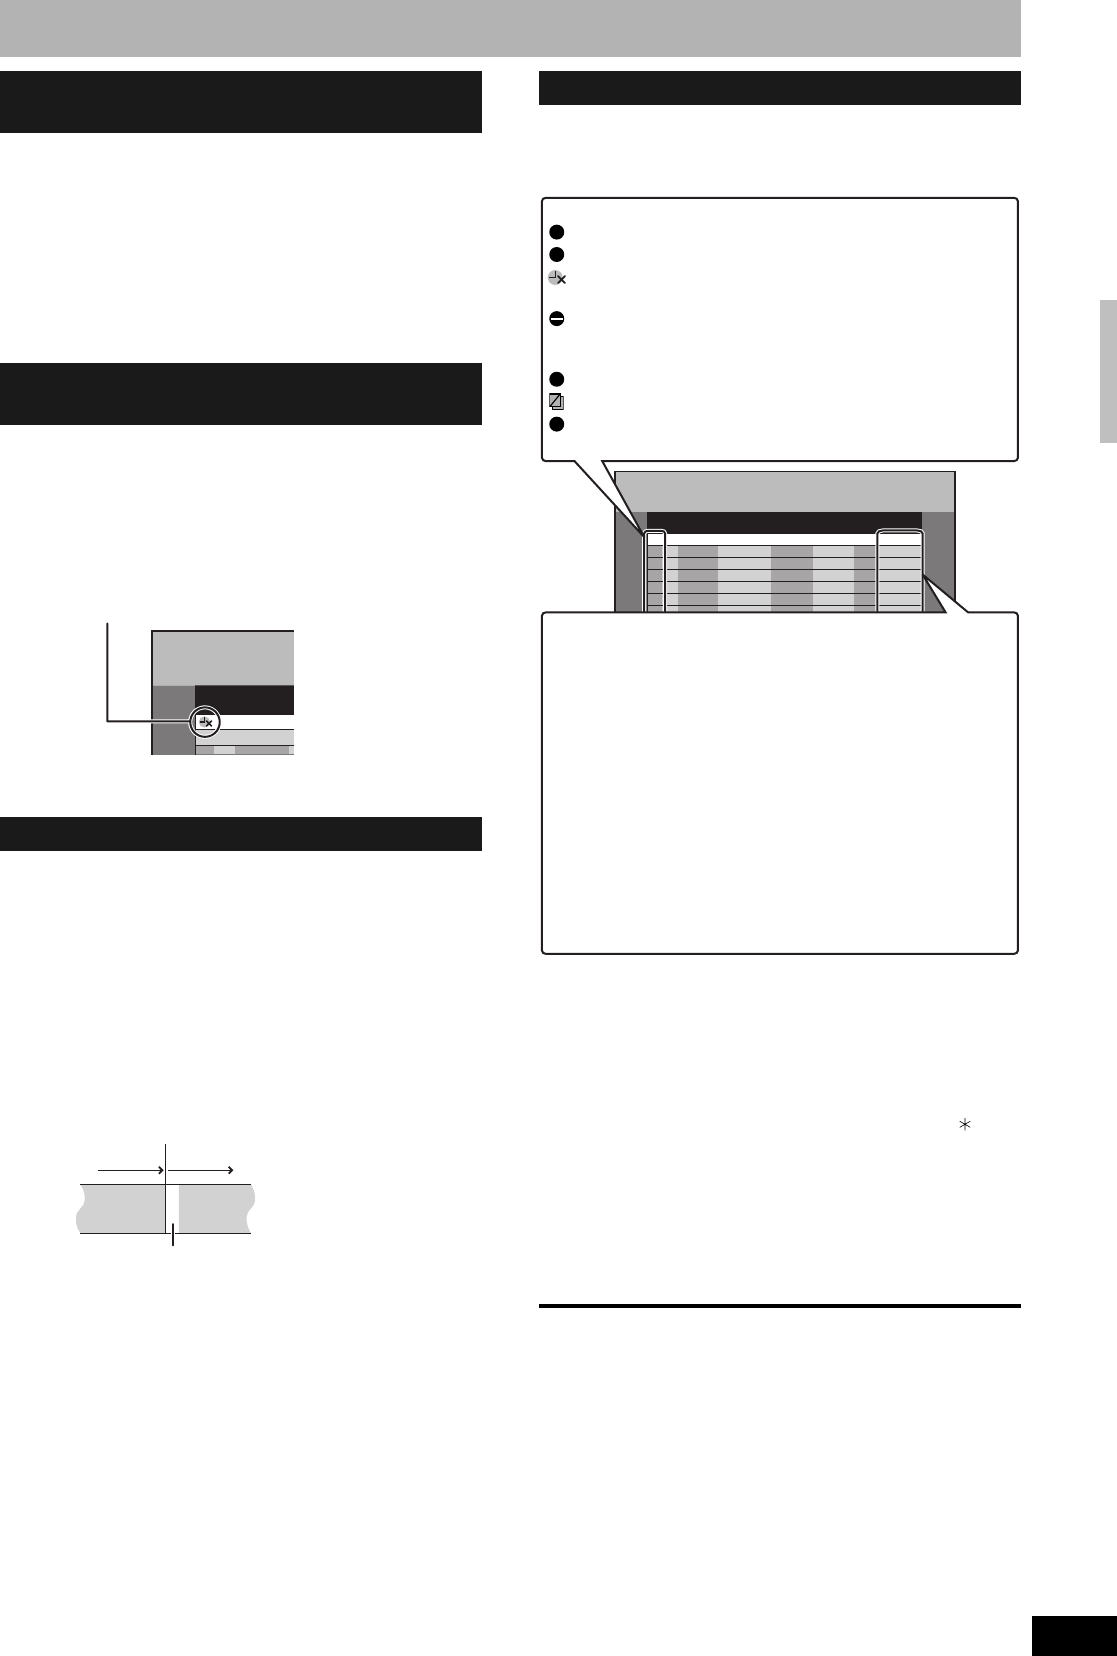
Icons
This program is currently recording.
The times overlap those in another program.
Scheduled recording standby is cancelled. Recording will not
start at the scheduled time.
You stopped a weekly or daily scheduled recording. The icon
disappears the next time the scheduled program starts
recording.
The disc was full so the program failed to record.
The material was copy-protected so it was not recorded.
The program did not complete recording because the disc is
dirty or for some other reason.
W
F
X
Message displayed in the Check line
OK: Displayed if the recording can fit in the remaining
space.
→ (Date): For recordings made daily or weekly, the display will
show until when recordings can be made (up to a
maximum of one month from the present time)
based on the time remaining on the disc.
!: It may not be possible to record because:
• no disc is inserted
• the disc is write-protected
• there is no more space left
• the number of possible titles has reached its
maximum
• scheduled recording standby is cancelled
Overlap: The times overlap those in another program.
Recording of the program with the later start time
starts when the earlier program finishes recording.
Scheduled recording
